
Recovering a patio umbrella means replacing or repairing the canopy fabric while keeping the existing frame, and it is almost always worth doing if the frame is solid. A new canopy typically costs $30 to $150 depending on size and material, compared to $150 to $600 or more for a whole new umbrella. If you have one or two panels that are faded, torn, or leaking, you can either patch them or swap the entire canopy in an afternoon with basic tools. This guide walks you through every step: figuring out whether to patch or re-cover, measuring your umbrella correctly, removing the old canopy, and installing a new one on both standard market umbrellas and offset/cantilever models. For a full repair walkthrough, see how to repair patio umbrellas.
How to Recover a Patio Umbrella: Complete Canopy Repair Guide

Luca Morrison
6 Aug 2026
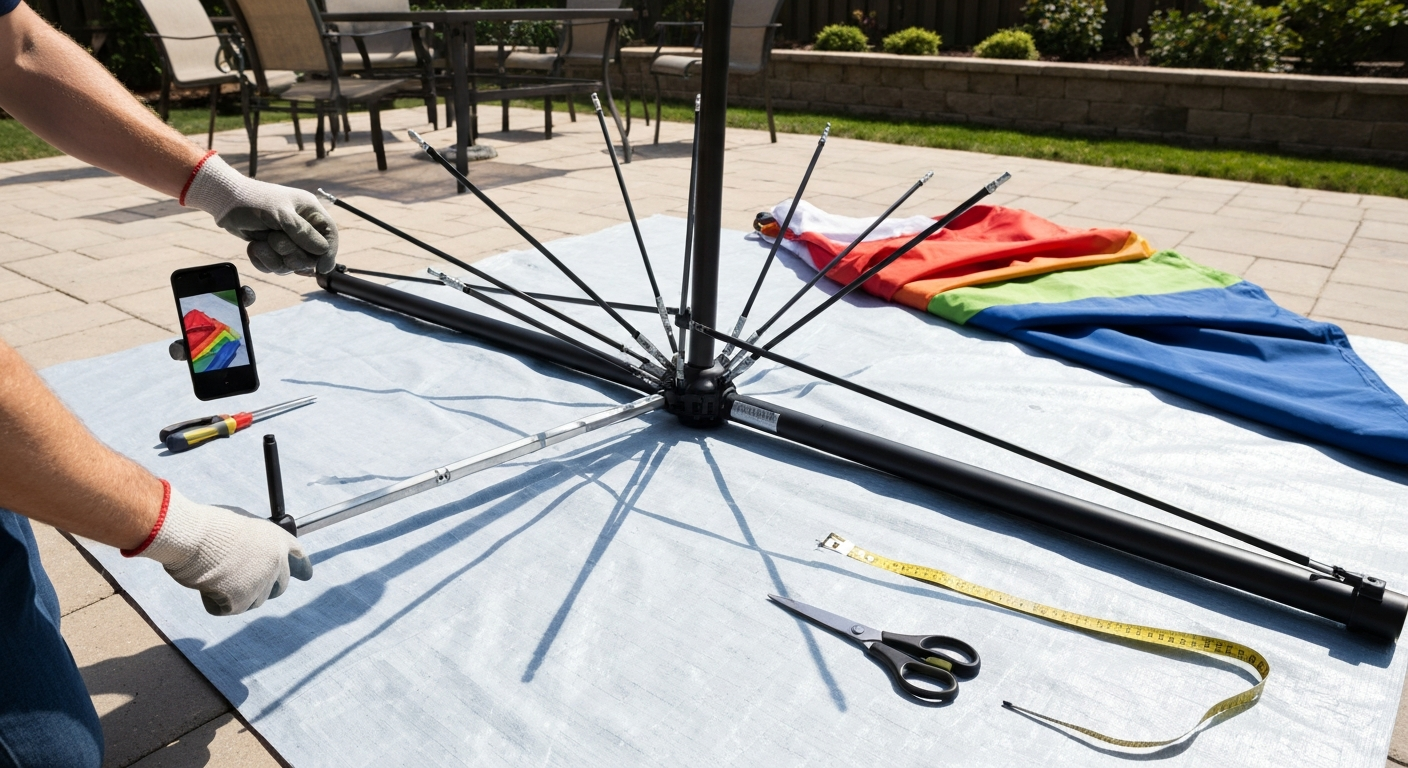
What 'Recovering' Actually Means (and Who This Guide Is For)
In the context of patio umbrellas, 'recovering' covers two related repairs: patching isolated damage on an otherwise sound canopy, and doing a full canopy swap where you remove the old fabric entirely and attach a new one to the same frame. Both are DIY-friendly with the right approach. This guide is written for homeowners who have a structurally sound frame but a canopy that is faded, torn, leaking at the seams, or simply ugly after years of outdoor exposure. If your ribs are bent, your crank is stripped, or your pole has corroded through, recovering the canopy is still worthwhile, but you will want to sort out those mechanical issues first before putting new fabric on the frame.
Offset and cantilever umbrellas use a different attachment system than standard market umbrellas, so I have given them their own removal section below. If you have a Treasure Garden, Hampton Bay, or similar cantilever model, skip ahead to that section rather than forcing the standard process onto your umbrella and cracking a hub plate.
Patch vs. Re-Cover vs. Replace: Make the Right Call First
Before you order anything or touch a seam ripper, spend five minutes honestly assessing the damage. I have seen people spend $80 on a custom canopy for a frame that had three cracked ribs, and I have seen others throw out a perfectly reusable frame because one panel had a small tear. Use this checklist to make the right call.
Quick Decision Checklist
| What You See | What It Means | Best Action |
|---|---|---|
| Single clean tear or hole under 2 inches | Localized stress or puncture damage; fabric still structurally sound elsewhere | Patch it |
| One or two small pinholes or seam separations under 1 inch | Early UV or flex fatigue at a stress point | Seam sealer or adhesive patch |
| Multiple tears in different panels, or any tear over 4–5 inches | Widespread fabric degradation; patching will not hold long-term | Full canopy replacement |
| Fabric tears when you rub or flex it, or crumbles at the edges | UV-brittleness throughout the weave; material is at end of life | Full canopy replacement |
| Severe overall fading across all panels | UV breakdown of the dye/coating; cosmetic issue that often precedes structural failure | Full canopy replacement |
| Seam leaking but fabric intact | Thread UV failure or original seam sealer worn off | Reseal seams with Gear Aid Seam Grip WP or equivalent |
| Frame has cracked ribs, bent hub, or corroded/bent pole | Structural failure; new canopy on a broken frame is wasted money | Fix frame issues first, then re-cover |
| Cost of repair parts and labor approaches 40–50% of a new comparable umbrella | Economic tipping point; repair stops making financial sense | Replace the whole unit |
That 40-to-50-percent threshold is a real-world rule of thumb I use when someone asks whether repair is worth it. A $300 cantilever umbrella with a $130 custom canopy quote plus $40 in hardware is right at the edge. A $300 umbrella with a $60 stock canopy replacement is a clear win for repair. If you are weighing the economics of a more involved repair, the same logic applies: single-component failures are almost always worth fixing, but multiple simultaneous failures on an old frame rarely are.
Safety Before You Start
Most umbrella canopy work is low-risk, but there are a few things worth taking seriously before you grab a seam ripper.
- Work with the umbrella fully closed and, ideally, removed from the base so it cannot tip onto you. Even a 9-foot umbrella at full extension is a serious lever if the base shifts.
- If you need to access the top hub on a tall cantilever umbrella, use a stable step ladder rated for your weight plus the umbrella components. Do not stand on patio furniture.
- Do not work during windy conditions. Even a partially detached canopy acts like a sail. Check the forecast and pick a calm, dry day.
- Avoid working near overhead power lines when extending or tilting the pole during disassembly.
- Wear work gloves when handling cut fabric edges and when using a hot knife or seam iron to seal synthetic fabric. Melted acrylic and polyester cause burns.
- If you are using adhesive products (seam sealers, fabric glue), work in a ventilated area. Most solvent-based fabric adhesives have strong fumes.
- Keep a utility knife and scissors sharp. Dull blades cause slipping and cut injuries more often than sharp ones.
Tools, Materials, and Supplies Checklist
Print this section out and take it to your workspace before you start. There is nothing more frustrating than getting halfway through removing a canopy and realizing you need a specific screwdriver or that you are out of thread. I have grouped items by task so you can skip anything that does not apply to your repair.
For All Canopy Work
- Seam ripper (sturdy upholstery-grade, not a lightweight sewing version)
- Sharp scissors or rotary cutter
- Flathead and Phillips screwdrivers (for hub screws and finial caps)
- Needle-nose pliers (for snaps, grommets, or stubborn rib caps)
- Measuring tape (cloth/flexible tape, minimum 12 feet)
- Permanent marker or fabric chalk
- Camera or phone (photograph the original canopy attachment before removing anything)
- Clean flat surface to lay the canopy out (a clean tarp or garage floor works)
For Patching Small Tears
- Gear Aid Tenacious Tape or equivalent peel-and-stick outdoor repair tape (works on polyester, nylon, and coated fabrics)
- Gear Aid Seam Grip WP or equivalent waterproof seam sealer/fabric adhesive
- Isopropyl alcohol (70% or higher) for cleaning the repair area before applying adhesive or tape
- Matching outdoor fabric patch (if the tear is larger than 1 inch and you want a sewn repair)
- UV-resistant polyester thread (Tex-69 or Tex-92 weight for outdoor fabrics)
- Hand-sewing needles, canvas weight (size #18 to #22)
For Full Canopy Replacement or DIY Sewing
- Replacement canopy (stock, universal, or custom — see ordering section below)
- Heavy-duty sewing machine capable of handling layered canvas or acrylic fabric (Sailrite Ultrafeed LSZ or equivalent walking-foot machine)
- Canvas or sailmaker needles up to size #22
- UV-resistant PTFE (Tenara/Gore) or polyester thread for outdoor seams
- Seam sealer to waterproof all sewn needle holes
- Hot knife or edge hotknife (to cleanly seal cut edges of synthetic fabric and prevent fraying)
- Grommet die set and stainless steel grommets (if making a custom canopy or replacing damaged grommets)
- Heavy awl or punch for grommet placement
- Clamps or binder clips (to hold fabric panels in position while sewing)
How to Measure Your Umbrella for a Replacement Canopy
This is where most people go wrong. Umbrella manufacturers sell their products with nominal marketing sizes (a '9-foot umbrella'), but the actual canopy dimensions almost never match that number exactly. When you order a replacement, suppliers key their sizing charts to actual rib length or actual tip-to-tip diameter, not the marketing spec. Take your own measurements every time, even if you think you know the size.
Measurement Checklist (Print and Complete Before Ordering)
- Canopy shape: circle/octagon, square, rectangle, or hexagon. Write it down.
- Tip-to-tip diameter (round/octagonal): Open the umbrella fully and measure straight across from one rib tip to the opposite rib tip. Take two measurements at 90 degrees to each other and use the average if they differ slightly.
- Rib length: With the umbrella open, measure from the center of the hub (not the top of the finial, but the inside center of where the ribs radiate from) along the outside of one rib to its outermost tip. This is the number suppliers most commonly use in their ordering forms.
- For square or rectangular canopies: measure tip-to-tip along each axis separately (width and length). Do not assume it is square even if it looks square.
- Rib count: Count the number of ribs. Common counts are 6, 8, and 16. Cantilever umbrellas often use 8 or more.
- Number of vents: Count the vent tiers (single-top, double-top, or none). Note whether the vent panel is a separate floating fly or sewn directly to the main canopy.
- Top opening/hub hole diameter: Measure the diameter of the hole at the top center of the canopy where it fits over the pole or finial. This matters for a snug fit that does not let rain channel down the pole.
- Pole diameter: Measure the pole just below the hub, because the canopy's center opening must clear it. Standard market umbrella poles are typically 1-inch to 1.5-inch diameter.
- Attachment type: Is the canopy held by rib pockets/sleeves, loop-and-tip ties, a slip-over hub with tie strings, Velcro strips at the runner, snaps, or some combination? Record exactly what you see.
- Valance style: Does the canopy have a straight valance (flat hanging skirt), a scalloped valance, or no valance? Measure the valance drop length in inches.
One measurement tip I always give people: if the old canopy is still mostly intact, lay it flat on a clean surface before you remove it and trace the rib pocket lines with chalk. That gives you a physical pattern to reference if you end up going the custom sewing route. Once it is cut apart and crumpled up, reconstructing those angles is genuinely difficult.
Measurement Reference Table
| Measurement | How to Take It | Where to Record It | Why It Matters |
|---|---|---|---|
| Tip-to-tip diameter | Open canopy, measure rib tip to opposite rib tip | ________ inches | Primary sizing for round/octagonal canopies |
| Rib length | Hub center to rib outer tip, along rib | ________ inches | Most supplier order forms use this number |
| Rib count | Count all ribs | ________ ribs | Determines number of panels/gores in new canopy |
| Top opening diameter | Measure hole at canopy crown | ________ inches | Canopy must clear pole and sit flush at hub |
| Pole diameter | Measure pole below hub | ________ inches | Confirms center hole clearance |
| Vent count/type | Count vent tiers, note floating or fixed | ________ vents, type: ________ | Replacement must match vent configuration |
| Valance drop | Measure from canopy edge to valance hem | ________ inches | Ensures correct visual proportion and wind shedding |
| Canopy attachment type | Inspect and photograph how canopy attaches | Type: ________ | Determines compatibility with replacement options |
Removing the Old Canopy: Standard Market Umbrellas
Standard market umbrellas (the center-pole type with a crank or push-button tilt) are the most straightforward to re-cover. The canopy typically attaches at the top hub/finial and at each rib tip, either through sewn pockets or small loops. Take photos before you start, because manufacturers vary enough in their attachment details that you will want a visual reference when putting the new canopy on.
- Close the umbrella completely and remove it from the base. Lay it on a clean flat surface or lean it against a wall where you have easy access to the full length.
- Photograph the top hub, the rib tips, and the runner area from multiple angles before touching anything. Seriously, do this. It takes 30 seconds and saves a lot of head-scratching later.
- Locate the finial (the decorative cap at the very top of the pole). It usually unscrews counterclockwise or pries off with a flathead screwdriver. Remove it and set it somewhere safe.
- With the finial off, look at how the canopy crown attaches. Most market umbrellas have a fabric loop or tie string at the crown that wraps around the hub or feeds through a small hole. Untie or cut it.
- If your canopy has a center sleeve (a tube of fabric the pole passes through rather than a simple hole), you will slide the canopy up and off the pole from the top once the rib pockets are freed.
- Open the umbrella halfway so the ribs are extended but not fully locked. This gives you slack in the canopy fabric to access the rib tip attachments without fighting the tension.
- Work around the canopy from rib to rib. For loop-and-tip attachments, lift each small loop off the plastic or metal rib cap at the tip. For sewn rib pockets, the canopy panel slides off the rib end once the crown is free.
- If any rib pocket seams are stitched around the rib rather than slid over it, use your seam ripper to open the pocket end seam carefully. Do not rip through the main canopy panel fabric.
- Once all rib tips are free, lift the canopy fabric away from the runner and lower hub if there are any Velcro, snap, or tie attachments there. Release these before fully pulling the canopy off.
- Slide the canopy off the pole from the top. If it is stuck, check that you have released all attachment points, including any internal runner ties you may have missed.
- Lay the removed canopy flat and double-check your measurements against the actual panels before disposing of it. This is your last chance to verify rib pocket width, gore count, and valance dimensions.
If any rib caps (the small plastic end caps on the rib tips) are cracked or missing, this is the perfect time to replace them. They are usually $5 to $15 for a set and they protect the new canopy fabric from abrasion at the tips. Do not skip this if they look worn.
Removing the Old Canopy: Offset and Cantilever Umbrellas
Cantilever and offset umbrellas mount the canopy on a non-central hub and use a different tensioning system than market umbrellas. Brands like Treasure Garden, Abba Patio, and Hampton Bay each have slightly different hub plate and suspension arm designs, but the general sequence is consistent. The key difference is that you may need to partially disassemble the support arm assembly to relieve canopy tension before you can free the fabric.
- Close the umbrella fully and engage any locking mechanism (most cantilever umbrellas have a locking collar or pin near the tilt joint). Do not attempt canopy removal on an open or partially open cantilever umbrella; the spring tension can cause the canopy to snap back.
- If the model has a separate canopy tension cord or bungee system (common on Treasure Garden cantilever models), locate and release that tension before doing anything else. The manual for your specific model will show where this is, so check the brand website if you do not have the paper manual.
- Remove the counterweight bag or counterweight assembly if it is attached in a way that pulls the canopy or ribs taut. Set it aside safely; counterweights can be heavy and will fall if unhooked carelessly.
- Locate the hub plate at the canopy center. On most cantilever models this is a round or cross-shaped plate through which the ribs radiate. There may be a finial cap screwed or snapped onto the hub plate center. Remove it.
- Photograph the hub plate and all rib-to-hub connections before opening any fasteners. Cantilever hub systems often use proprietary snap rings, hex screws, or spring-loaded pins that are easy to lose.
- Open the canopy ribs just enough to access the rib tip attachments, but do not fully open or lock them. On most cantilever models you can do this manually with one hand while working the attachments with the other.
- Free the rib tip attachments working around the canopy. Most cantilever canopies use sewn rib pockets rather than tip loops, so you will be sliding each panel off the rib end once the crown is released.
- Release any Velcro or tie strips along the support arm frame where the canopy may be tacked down to prevent flapping.
- Slide the canopy fabric off the ribs from the hub outward and set it aside flat.
- Inspect all ribs, the hub plate, and the hub screws before installing the new canopy. Cantilever ribs flex significantly and may develop hairline cracks near the hub socket that are not obvious until you are handling them up close.
- If your model has a specific canopy removal sequence in a PDF manual (Treasure Garden publishes model-specific guides), follow that sequence exactly. Their cantilever hub plates in particular are engineered for a specific assembly order and forcing them out of sequence can crack the hub.
Cantilever umbrella repairs are more involved than standard market umbrella work, and there is a detailed walkthrough of common offset-model failure points and fixes available in the offset umbrella repair section of this site. For step-by-step instructions for these models, see our how to repair offset patio umbrella guide. For a step-by-step walkthrough on how to fix a patio umbrella, see the dedicated repair guide on this site (covers hub plates, ribs, and common cantilever issues). If you find cracked ribs or a broken hub plate during canopy removal, that guide covers sourcing replacement parts and hub reassembly.
Measuring and Ordering a Replacement Canopy: Stock, Universal, and Custom
Once you have your measurements in hand, you have three main options for sourcing a replacement canopy. Each has trade-offs in cost, fit quality, and lead time.
Stock (OEM and Brand-Matched) Canopies
If your umbrella is a current or recently discontinued model from a major brand (Treasure Garden, Galtech, California Umbrella, AmazonBasics/Basics, Hampton Bay), the manufacturer or an authorized parts dealer may sell an exact-fit replacement canopy. These are made to the original spec, so rib pockets, attachment hardware, and vent sizing all match without any modification. Search for your model number (usually on a label sewn inside the valance or stamped on the pole) plus 'replacement canopy.' Treasure Garden in particular maintains an extensive parts catalog and their customer service line can confirm compatibility. Expect to pay $40 to $120 for stock OEM canopies for 9-foot market umbrellas, and $80 to $200 or more for cantilever models.
Universal Canopies
Universal replacement canopies are sold by diameter (8-foot, 9-foot, 11-foot) and rib count and are designed to fit a range of frames. They are widely available on Amazon, at home improvement stores, and through outdoor furniture retailers. The trade-off is fit precision: a universal canopy may fit loosely at the rib tips, have a slightly different rib pocket width, or include a center sleeve when your frame uses a tie-string crown instead. Before buying, confirm the attachment type matches your frame. Universal canopies in polyester start around $25 to $60. Solution-dyed acrylic (Sunbrella or similar) universal canopies are more expensive at $80 to $150 but will last significantly longer in UV and mildew resistance.
Custom and Made-to-Order Canopies
If your umbrella is an unusual shape, a non-standard size, or a commercial model with proprietary hub geometry, a custom canopy is the right move. Companies like Canopy Kingdom, ShadePro, and local sail or canvas shops can fabricate canopies from your measurements and a pattern. Some will ask you to ship the old canopy as a physical template. Budget $100 to $300 or more depending on size and fabric choice, with a lead time of one to three weeks. If you have access to a heavy-duty walking-foot sewing machine and are comfortable with canvas work, making your own canopy is also genuinely doable using the Sailrite methodology, which involves laying out individual gore panels with seam allowances, sewing reinforced rib pockets, and applying seam sealer to all needle holes to maintain waterproofing.
Canopy Option Comparison
| Option | Best For | Typical Cost | Fit Quality | Lead Time |
|---|---|---|---|---|
| OEM/brand stock | Current or recent models from major brands | $40–$200 | Exact match | 2–7 days (in stock) or 1–2 weeks |
| Universal | Standard 6-, 8-, 9-, 11-ft round or square market umbrellas | $25–$150 | Good to approximate | 1–5 days (Amazon/store) |
| Custom/made-to-order | Non-standard sizes, cantilever, commercial, unusual shapes | $100–$300+ | Exact match if measured correctly | 1–3 weeks |
| DIY sewn | Those with sewing skills and access to industrial machine | $30–$80 in materials | Exact if patterned from old canopy | 1–2 days of work |
Fabric: What to Order
Solution-dyed acrylic (Sunbrella is the most recognized brand, though Glen Raven and others make equivalent grades) is the material I recommend for anyone who wants a canopy to last more than two or three seasons. The dye is locked into the fiber during extrusion, so UV exposure does not fade it the way surface-printed polyester fades. It resists mildew, dries quickly, and can be cleaned with mild soap and water, or for stubborn mildew, with a diluted bleach solution without damaging the fabric. The Sunbrella, Cleaning Instructions / Care Guide (Glen Raven) notes that solution-dyed acrylic resists mildew, dries quickly, and can be cleaned with mild soap or a diluted bleach solution Sunbrella — Cleaning Instructions / Care Guide (Glen Raven). Standard polyester canopies cost less upfront but typically show significant UV degradation within two to four seasons in full-sun climates. If you are already doing the work to re-cover, spend the extra $30 to $60 on a better fabric and you will not be doing this again in 18 months.
Installing the New Canopy and Attaching It to the Frame
Installation is essentially the reverse of removal, but a few details are worth spelling out to avoid the most common mistakes. If you need a quick answer on whether it’s feasible for your model, see the short FAQ: can you replace fabric on patio umbrella. For a step-by-step replacement walkthrough, see our guide on how to replace patio umbrella canopy (ID: 288b0bfc-ad30-4c76-b29f-6ed56a1c467).
- Before installing, lay the new canopy flat and compare its rib pocket dimensions to your frame's rib profile. The rib should slide smoothly into the pocket with roughly 1/2 inch to 1 inch of play for tensioning. If the pocket is too tight, the ribs will bind and the canopy will pull unevenly.
- Thread the canopy over the pole from the top down (for center-sleeve designs) before beginning rib attachment. This is the step everyone forgets, and realizing you need to thread it over the pole after you have already attached four ribs is genuinely annoying.
- Start at one rib and work around the canopy evenly, attaching every other rib rather than going sequentially around the perimeter. This distributes the tension symmetrically and prevents the canopy from pulling off-center.
- For rib-pocket canopies, slide each rib fully into its pocket until the rib tip reaches the pocket end seam. The rib tip should sit securely at the bartacked end of the pocket.
- For loop-and-tip designs, seat each loop over the rib cap firmly. If the loop is a different size than the cap, check that you have the right canopy for your rib count, or test whether the loop can be tightened with a cable tie as a temporary fix.
- Once all ribs are attached, secure the crown tie strings or slip the center sleeve down to sit flush at the hub. Reattach the finial cap and tighten or snap it into place.
- Open the umbrella slowly to about halfway and visually check that all panels are pulling evenly. If one panel looks significantly tighter or looser than the others, close it back down and re-seat that panel's rib pocket before fully opening.
- Open to full extension and check the overall tension and drape. The canopy should sit taut and symmetrical, with the rib tips pulling the fabric flat without puckering at the rib seams.
- For cantilever models, re-engage any tension cord or bungee system after the canopy is on and the ribs are fully extended. Do this last, not before, or the tension will work against you during installation.
- Apply seam sealer along any needle holes or factory seams that were disturbed during installation, particularly around the rib pocket end seams and the crown attachment, to ensure these points are waterproof.
Patching Small Tears Instead of Replacing
If your damage is a single clean tear under about two inches or a small seam separation, patching is legitimate and can last for years when done correctly. The biggest mistake people make with outdoor fabric patches is skipping surface prep. Any dirt, mildew residue, or UV chalking on the fabric surface will prevent the adhesive from bonding, and the patch will peel at the edges within a season.
- Clean the area around the tear thoroughly with a mild soap and water solution. Rinse and let it dry completely, or wipe with isopropyl alcohol and let it flash off (about two minutes).
- For adhesive patches (Gear Aid Tenacious Tape or similar): cut the patch to at least 1 inch beyond the tear on all sides. Round the corners of the patch, because square-cornered patches peel at the corners first. Peel the backing and apply with firm pressure from the center outward.
- For an adhesive/seam sealer repair (Gear Aid Seam Grip WP): apply a thin bead along the tear, spread it gently with a spreader or gloved finger, and press the edges of the tear together. Apply a second coat over the top and feather it out 1/4 inch to each side. Let it cure fully (24 hours) before exposing to water.
- For a sewn patch: cut a patch of matching outdoor fabric at least 1 inch larger than the tear on all sides. Pin it in place on the underside of the canopy. Using UV-resistant polyester thread and a canvas needle, sew a reinforced rectangle or bartack pattern around the perimeter of the patch. Apply seam sealer over all needle holes after sewing.
- For seam leaks without visible tearing: apply Seam Grip WP or a comparable outdoor seam sealer directly along the seam from the underside of the canopy. Work it into the seam with a brush and wipe away any excess. One application usually restores waterproofing for a full season.
Patching is covered in more depth, including step-by-step photos of adhesive vs. sewn patch techniques, in the companion guide on how to patch a patio umbrella on this site. If you are dealing with general fabric wear beyond a single tear, the how-to-repair-patio-umbrella-fabric guide covers panel replacement and stitching repairs in detail. For a step-by-step walkthrough of panel replacement and stitching repairs, see the how to repair patio umbrella fabric guide.
Troubleshooting Common Fit and Hardware Problems
Even when you measure carefully and order the right canopy, installation can throw up surprises. Here are the issues I run into most often.
| Problem | Likely Cause | Fix |
|---|---|---|
| Canopy pulls off-center or one panel is tighter than others | Rib pockets attached in wrong sequence, or one rib shorter than others from bending | Remove and re-attach from center out, re-seating all pockets evenly; check ribs for bends |
| Center hole too small to clear the pole | Universal canopy spec does not match your pole diameter | Carefully enlarge the opening with scissors in small increments, re-hem or apply grommet to the new edge |
| Rib pocket too narrow for rib profile | Wrong canopy for the rib thickness, or rib has a wider-than-standard profile | Check that pocket width matches rib spec; for custom canopies, request pocket width adjustment |
| Canopy sags in the middle between ribs | Rib count mismatch (e.g., 6-rib canopy on an 8-rib frame) or fabric is cut too loosely | Confirm rib count matches canopy panel count; if universal fit, try a smaller nominal size |
| Finial cap does not fit after new canopy installed | Center sleeve or crown fabric is thicker than original, adding height | Trim the crown fabric slightly or use a slightly longer or adjustable finial |
| Valance too short or too long | Universal canopy proportioned differently than original | Acceptable if functional; for cosmetic correction, a canvas shop can add or shorten the valance hem |
| Rib tips pull through or tear the pocket end seams | Rib caps are missing or cracked, causing sharp edge damage to fabric | Replace all rib caps before installing new canopy; bartack or reinforce pocket end seams |
Cost and Time Estimates
Here is what you can realistically expect to spend and how long each approach takes.
| Repair Type | Materials Cost | DIY Time | Professional Cost |
|---|---|---|---|
| Adhesive patch (small tear) | $8–$20 | 30–60 minutes | $50–$100 at a canvas shop |
| Seam sealer application | $10–$15 | 20–40 minutes | $40–$80 |
| Universal canopy replacement (market umbrella) | $30–$100 | 1–2 hours | $80–$150 installed |
| OEM canopy replacement (market umbrella) | $50–$150 | 1–2 hours | $100–$200 installed |
| Custom canopy (cantilever or non-standard) | $100–$300 for canopy | 2–4 hours installation | $200–$500 full service |
| DIY fully sewn canopy (sewing skills required) | $30–$80 in fabric/thread | Full day or more | N/A (labor intensive) |
When to Hire a Professional (and How to Find One)
Most canopy replacements on standard market umbrellas are comfortably DIY. But there are situations where bringing in a professional makes sense: large commercial umbrellas with proprietary hardware, custom sewing work on an unusual frame, or cases where the frame also needs structural repair at the same time as the canopy swap. For professional canopy work, your best sources are local sail lofts and marine canvas shops (they handle outdoor fabric and hardware constantly and are usually faster and less expensive than furniture dealers), awning and shade sail companies, and patio furniture specialty retailers that offer repair services. If you are not sure where to look, the guide on who fixes patio umbrellas on this site has a more detailed breakdown of how to find and vet local repair services.
Maintenance Tips to Make Your New Canopy Last
The single most effective thing you can do to extend the life of a recovered canopy is to close the umbrella when you are not using it and especially before any weather arrives. Every manufacturer, including Treasure Garden and Galtech, states this explicitly: leaving canopies open in wind and rain accelerates seam and fabric failure faster than UV exposure alone. Treasure Garden's manual explicitly advises removing or tying the canopy and closing/covering the umbrella in storms blank" rel="noopener noreferrer">Treasure Garden's manual explicitly advises removing or tying the canopy and closing/covering the umbrella in storms.. A canopy that is closed and tied or covered when not in use will last two to three times longer than one that is left open.
- Close the umbrella whenever you leave the patio for more than a short time, and always before rain or wind.
- Clean the canopy at least once a season with mild soap and water. For solution-dyed acrylic, a diluted bleach solution (1/4 cup bleach per gallon of water) safely handles mildew without damaging the fabric. Rinse thoroughly.
- Let the canopy dry fully in the open position after rain before closing it. Storing a wet canopy promotes mildew growth in the folds.
- At the end of the season, remove the canopy entirely and store it clean and dry in a breathable storage bag. Do not store in an airtight plastic bag where condensation cannot escape.
- Inspect the rib caps, hub, and runner mechanism at the start of each season. Replace cracked rib caps and lubricate the runner mechanism with a dry silicone spray.
- Apply seam sealer to rib pocket end seams and the crown attachment every one to two seasons as preventive maintenance, before leaks develop.
- If your umbrella does not have a double-top vent, consider whether your next canopy should include one. Double-top vents reduce uplift pressure in wind gusts, which is a leading cause of rib damage and canopy tearing.
FAQ
What is 'recovering' a patio umbrella canopy and when should I consider it?
Recovering means replacing or repairing the fabric canopy (the cover) while keeping the existing frame and hardware. Consider recovering when the frame, ribs, and crank/tilt hardware are functional but the fabric is faded, torn, mildew‑damaged, or leaking. Patch small localized damage; re‑cover when multiple panels, seams, or the entire canopy are compromised; replace the whole umbrella when frame/hub damage is extensive or repair costs approach the price of a comparable new umbrella.
How do I decide whether to patch, re‑cover, or replace the canopy?
Use this decision checklist: 1) Patch: single small hole/tear < ~2 inches, clean edges, no other fabric brittleness. 2) Re‑cover: multiple tears, seam failure, large faded panels, or fabric that tears easily across many gores but frame is sound. 3) Replace umbrella: bent/broken ribs, cracked hub or mast, crank/gear failure, or when total repair costs (parts + labor) reach ~40–50% of a new comparable umbrella. Also consider age, warranty, and sentimental or matching needs.
What safety notes should I follow before starting work?
Always close and lock the umbrella, remove it from wind/exposed conditions, and work on a stable flat surface. Wear gloves and eye protection when cutting fabric, using awls, grommet tools, or working with tensioned ribs. If disassembling heavy cantilever parts, work with a helper and support the arms to avoid sudden drops. Disconnect power/weights only after securing the frame. Follow manufacturer warnings for specific models.
How do I remove an old canopy step‑by‑step for standard center‑pole umbrellas?
1) Close and lock the umbrella. 2) Remove finial/top knob if present (unscrew or unclip). 3) Loosen any ties, Velcro, or hub fasteners holding the canopy at the runner. 4) Slide the canopy down the pole or out from the hub — remove rib tips from pockets or loops. 5) If ribs are bolted to the hub, remove bolts per manufacturer instructions. 6) Lay the canopy flat and label panels for pattern reference. Keep all fasteners for reattachment.
How does canopy removal differ for offset/cantilever umbrellas?
Cantilevers often require additional steps: fully lower and lock the arm, remove any counterweights or covers, unfasten the hub plate or cover screws, ease tension from suspension cables, and partially support the canopy before detaching rib tips. Follow the manufacturer's replacement manual (many brands provide model‑specific sequences) and work with a helper because parts are heavier and under different loads.
How do I measure my umbrella to order a replacement canopy?
Record these measurements: 1) Canopy shape (round, octagonal, square, rectangular). 2) Tip‑to‑tip diameter across the open canopy OR rib length × 2 (measure from center hub to rib tip and multiply by two). 3) Rib count. 4) Number/size of vents (single/double top). 5) Hub/top‑opening diameter (hole size for finial/pole). 6) Pole diameter and whether the pole is two‑piece or fixed. 7) Valance style and pocket/sleeve dimensions. Photograph the hub, rib tip, and valance for supplier reference.
Next Articles
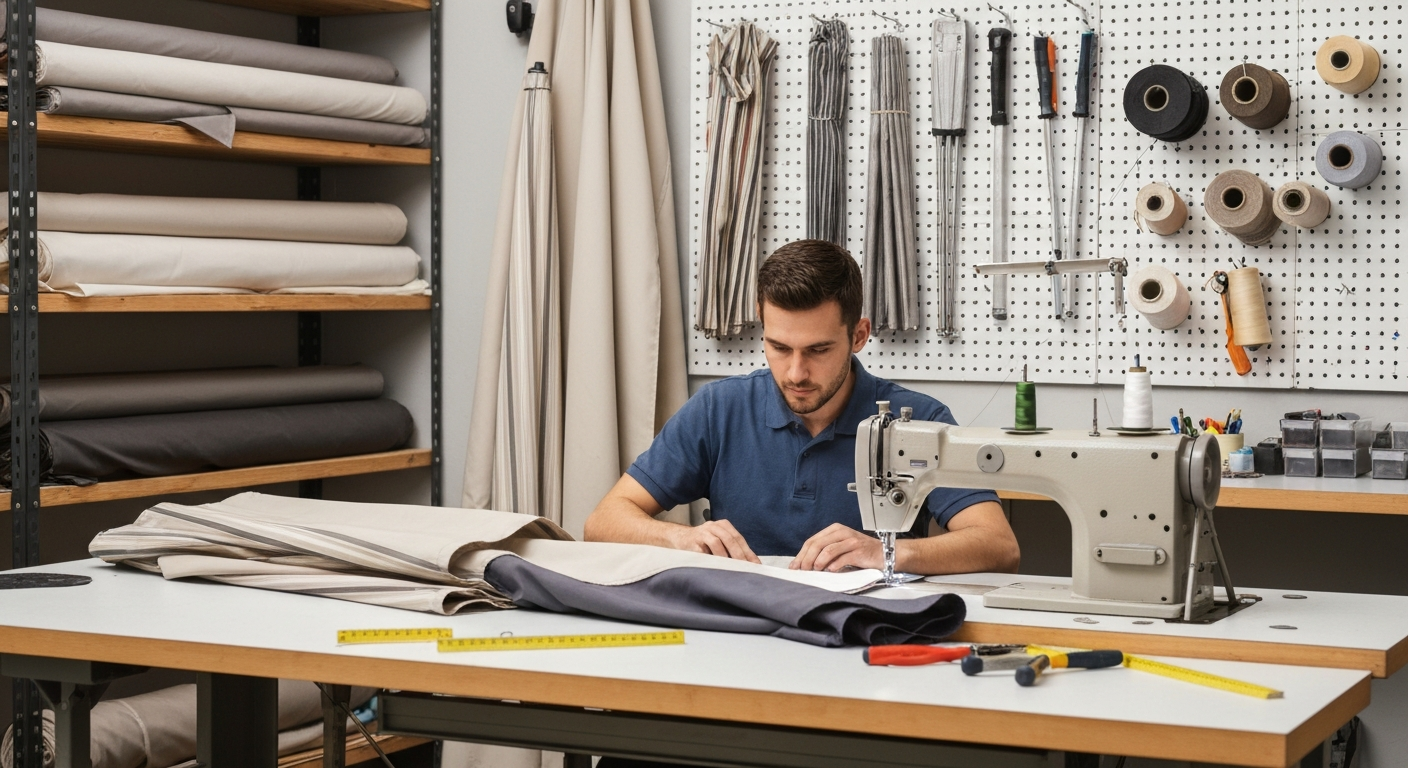
Who Fixes Patio Umbrellas: Repair Help, Costs & DIY Tips
Who fixes patio umbrellas? Find pros, DIY steps, costs, parts sources, and safety tips to repair, maintain, or replace.
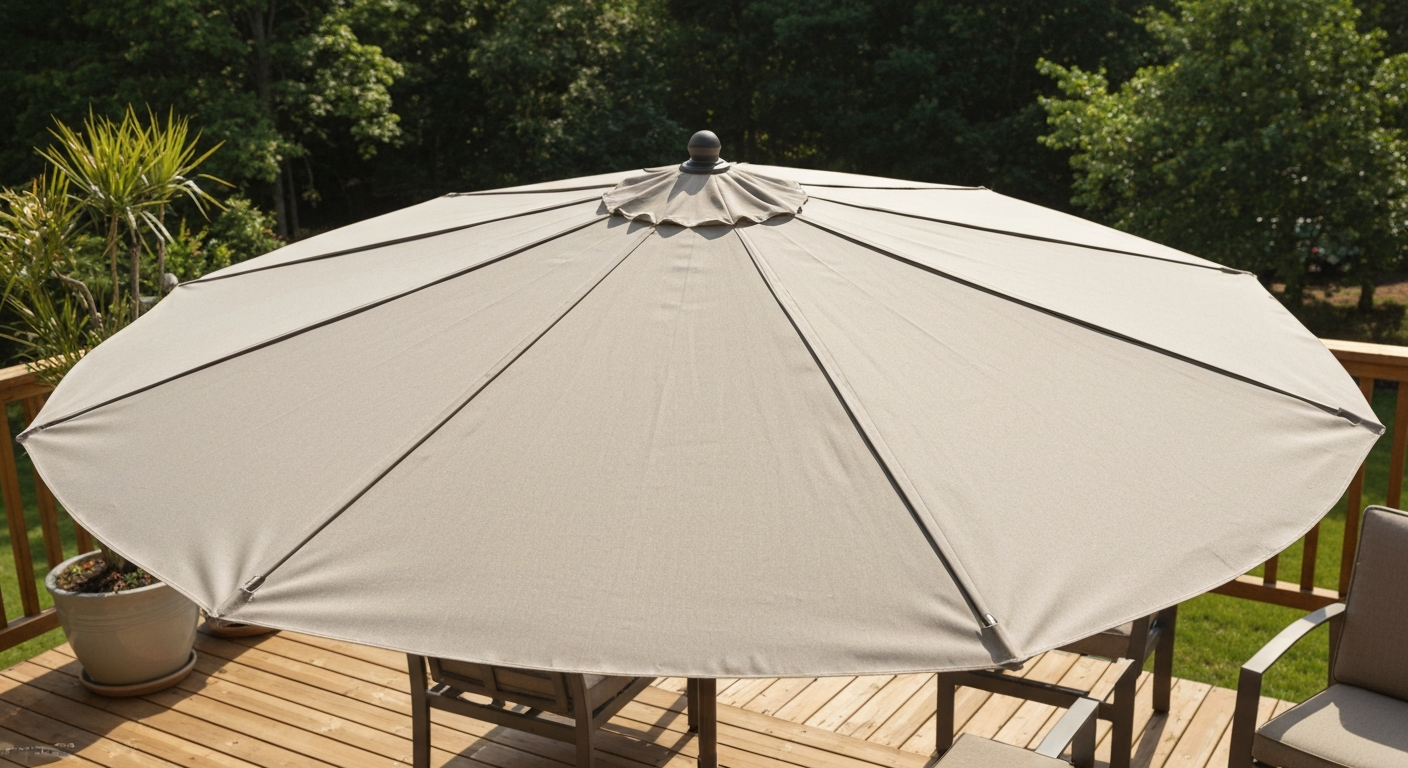
Can You Replace Fabric on Patio Umbrella: Complete DIY Guide
Learn when and how to replace patio umbrella fabric: inspect, measure, choose fabric, DIY steps, costs & pros.
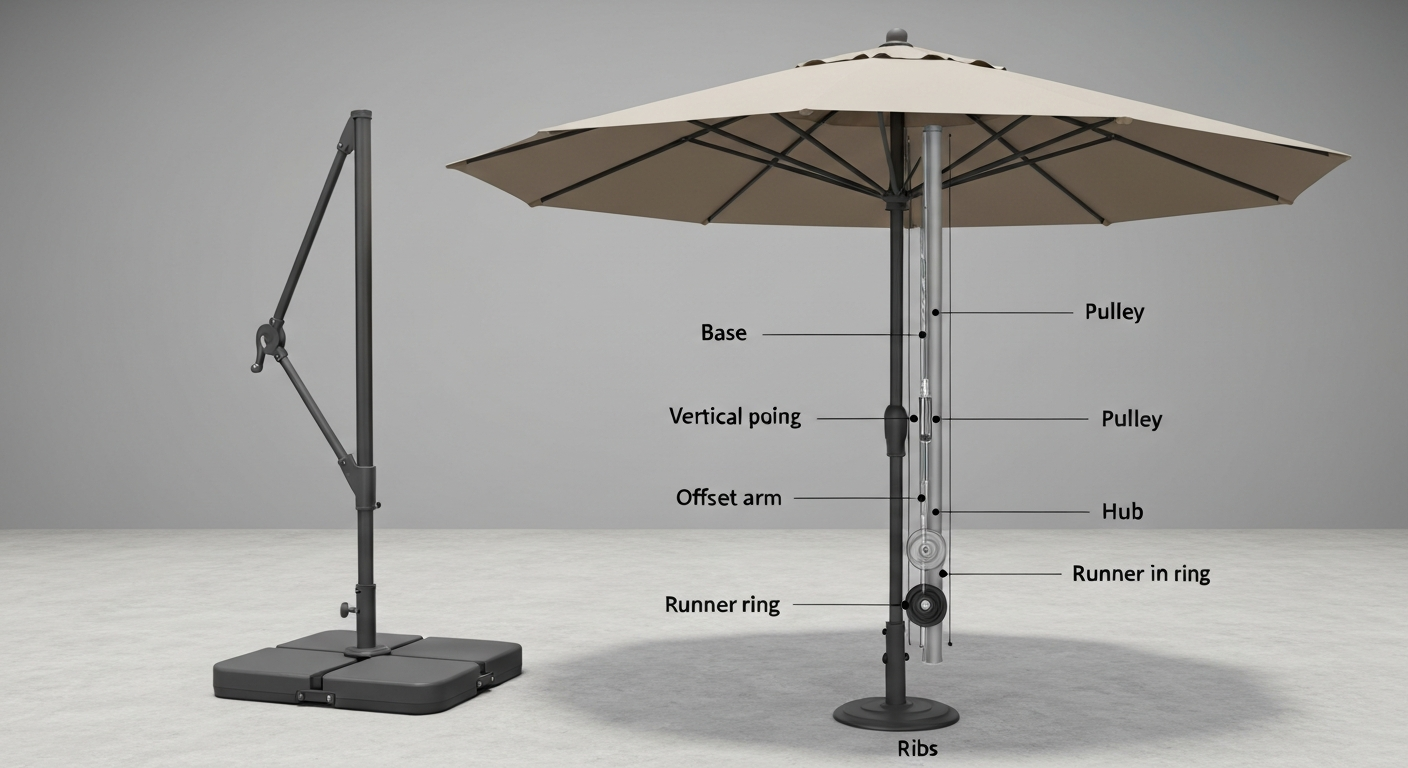
How to Repair Offset Patio Umbrella: Complete DIY Guide
How to repair offset patio umbrella: step-by-step fixes for crank, tilt, cables, ribs, fabric, bases & storage.