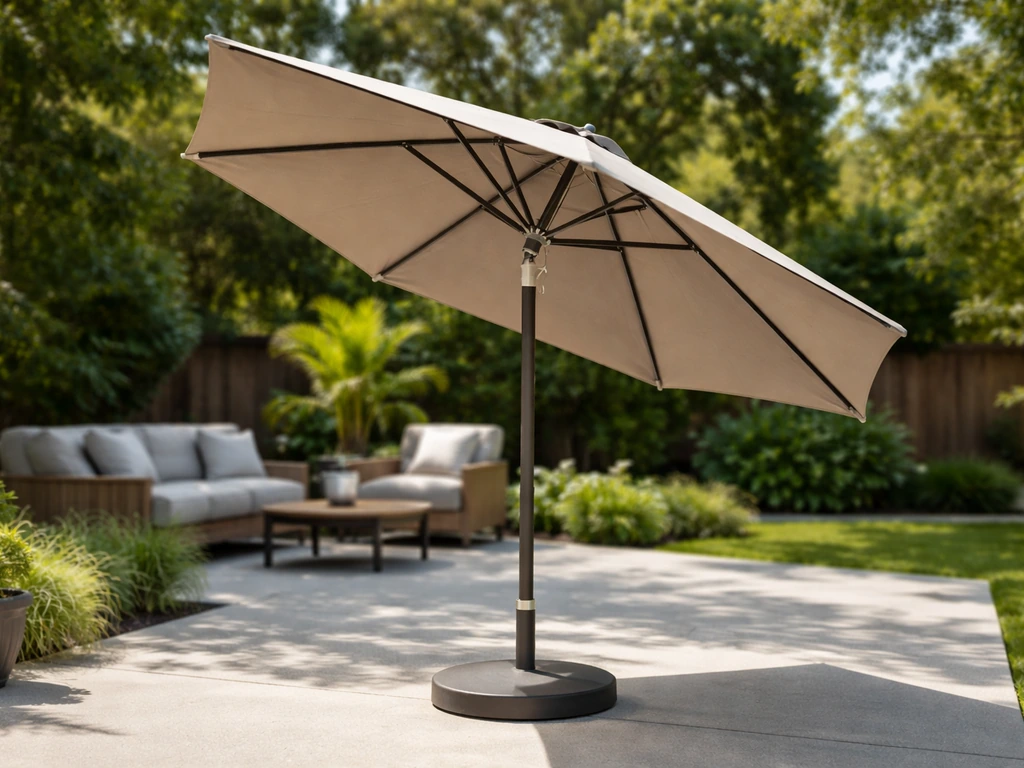
Yes, you can replace just the canopy on most patio umbrellas without buying a whole new umbrella. The frame is usually the expensive part, and as long as yours is still solid, swapping the fabric is a straightforward DIY job that takes about 30 to 60 minutes. You need to know your umbrella type, measure correctly, and work through a specific sequence of steps depending on how your canopy attaches to the frame. Here's exactly how to do it.
How to Replace Patio Umbrella Canopy Step by Step

Luca Morrison
16 May 2026
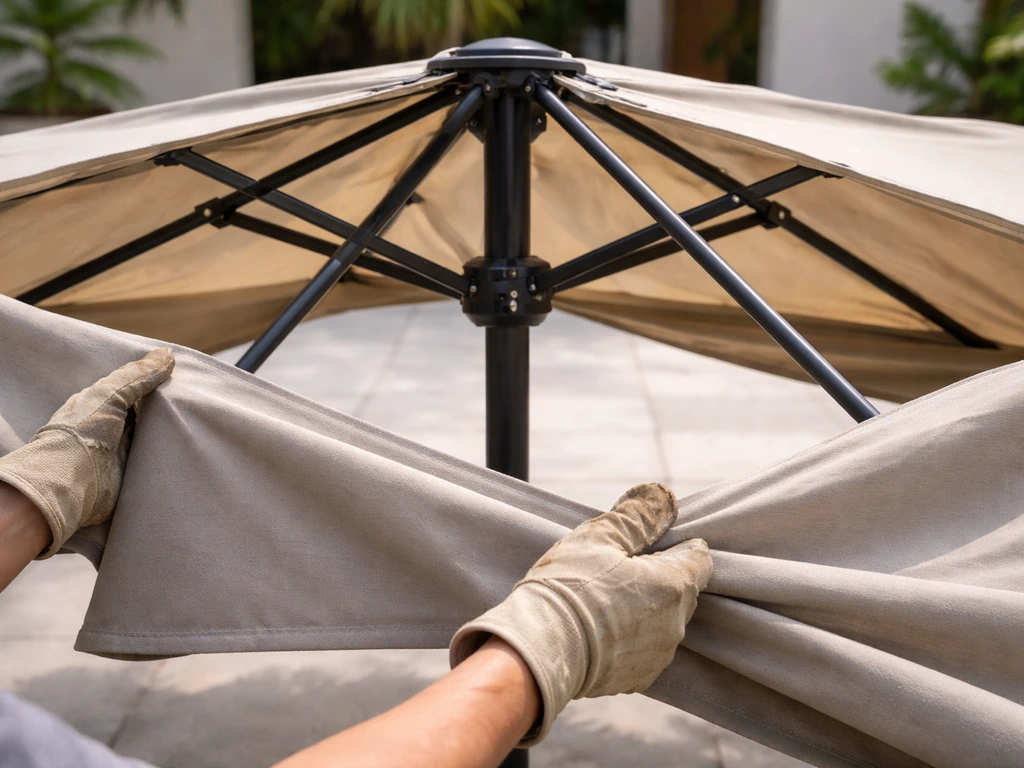
Figure out your umbrella type and how the canopy attaches
Before you order anything or touch a screw, you need to know what kind of umbrella you have. The attachment method changes everything about how you remove and install a canopy, and ordering the wrong style is the most common mistake people make.
The three main canopy attachment styles
| Attachment Type | How It Works | Common Umbrella Types |
|---|---|---|
| Rib sleeve / pocket | Each rib slides into a sewn fabric sleeve or channel in the canopy panel | Market umbrellas, most standard center-pole umbrellas |
| Velcro / tie straps | Canopy ties or wraps around ribs at the tips and hub with straps | Cheaper pop-up and garden umbrellas |
| Screw-in end caps | Screws at each rib tip hold the canopy fabric down; you remove the screws to release it | Commercial and higher-end umbrellas (TUUCI, some offset models) |
| Cord/roller system | An internal cord threads through channels and routes through a crank mechanism that raises/lowers the canopy via a lift ring | Crank-lift umbrellas (most common backyard style) |
Many umbrellas combine these methods. A typical crank-lift market umbrella has rib sleeves in the canopy panels AND relies on the cord/roller system to open and close. Offset (cantilever) umbrellas often use a combination of sleeve attachment and a different hub/strut arrangement. If you have a TUUCI or similar commercial umbrella, expect screw-in end caps at the rib tips that you have to remove before the canopy slides off.
Measure before you buy a replacement
The size printed on your umbrella's tag or box often refers to the rib-tip-to-rib-tip span measured across the fully open canopy, not the pole length or folded size. A "9 ft" canopy from one brand can fit differently than a "9 ft" canopy from another, so measure yourself rather than trusting the label. Measure from the tip of one rib pocket straight across to the tip of the rib pocket directly opposite when the umbrella is fully open.
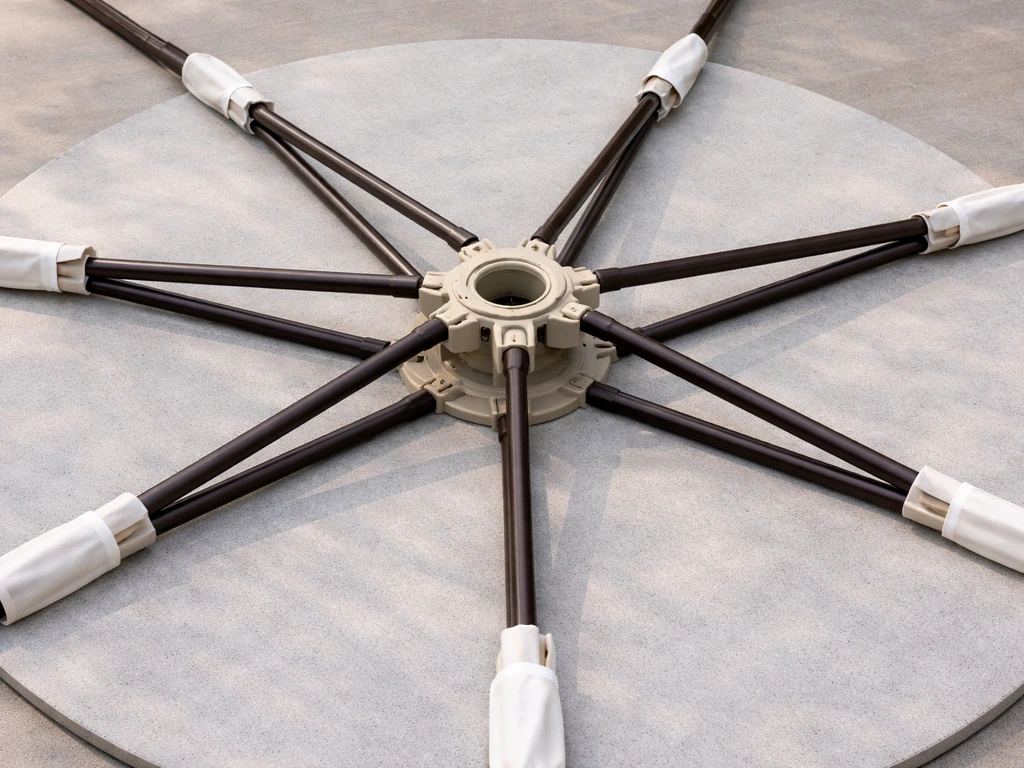
If you can't open the umbrella safely, measure the length of one rib arm and multiply by two, then add the width of the center hub. For example: 53 1/8 inch rib arm times 2, plus a 2-inch hub, gives you a 108 1/4 inch canopy, which is roughly a 9 ft umbrella. Also count your ribs, because this controls how many panels the canopy has. A 6-rib frame needs a 6-panel canopy; an 8-rib frame needs 8 panels.
Getting that number wrong means the canopy won't fit no matter how close the diameter is.
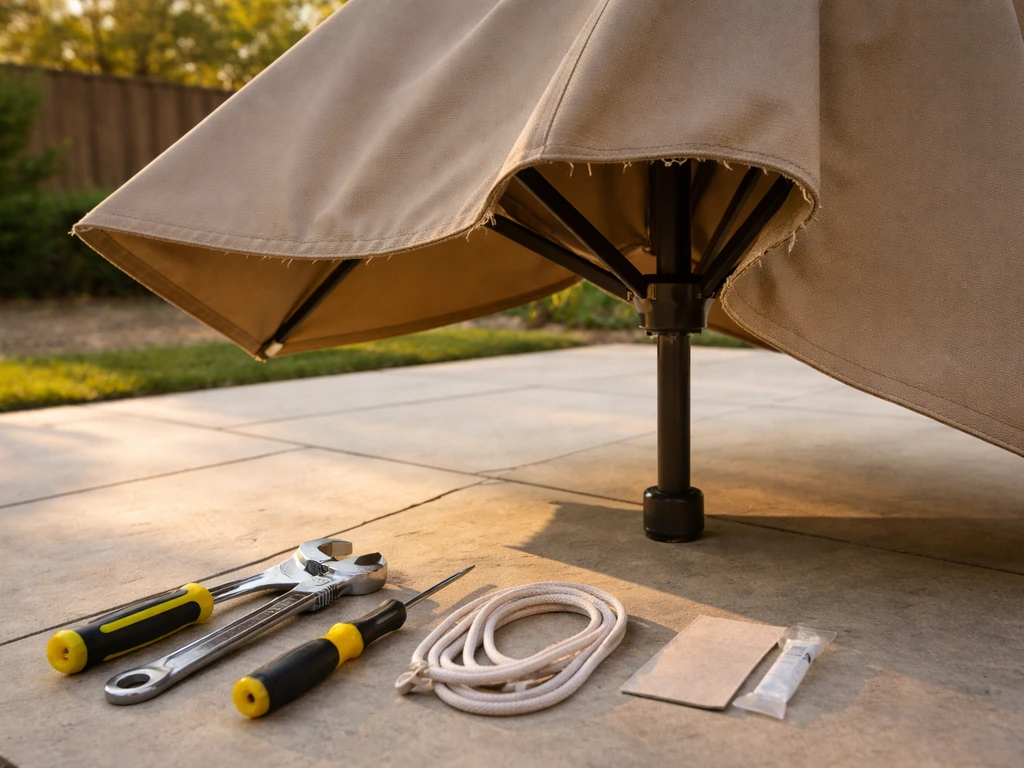
Tools and materials you'll need
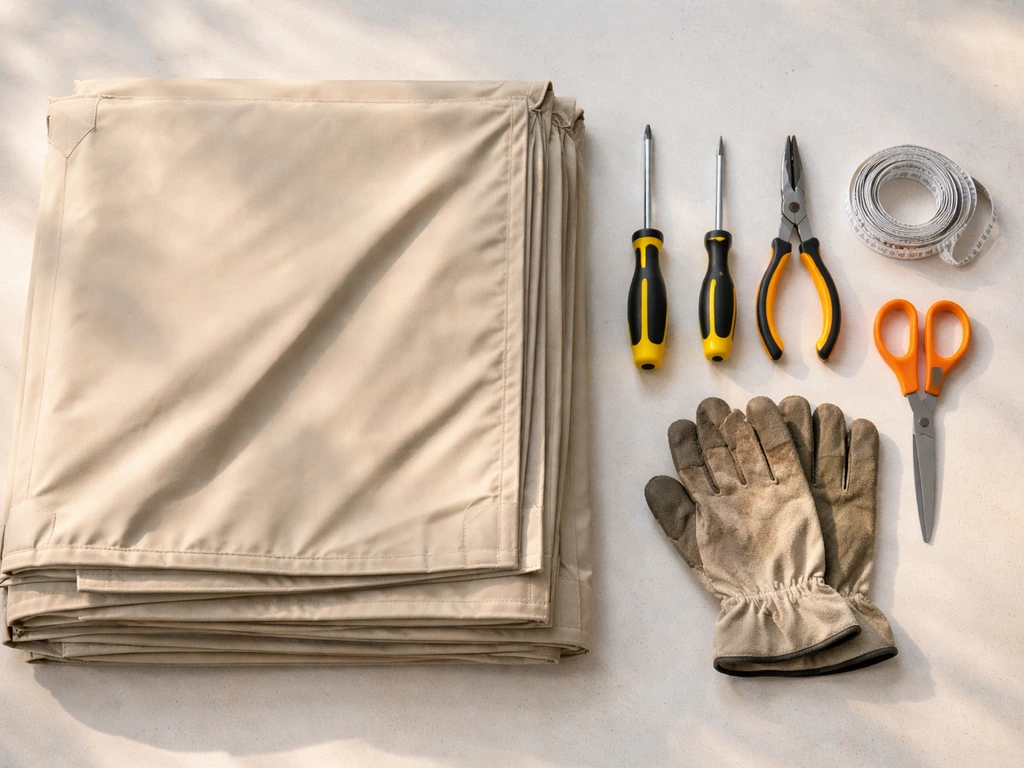
Most canopy swaps don't require special tools. Here's what to gather before you start:
- Replacement canopy (matched to your rib count, diameter, and attachment style)
- Phillips head screwdriver and/or flathead screwdriver (for screw-in end cap styles)
- Needle-nose pliers (useful for pulling cord ends or stubborn rib tips through sleeves)
- Measuring tape (to confirm fit before starting)
- A helper or a low sawhorse/table (to lay the umbrella flat during work)
- Mild soap and water or a soft brush (to clean the frame while the canopy is off)
- Optional: replacement cord if yours is frayed, and a lighter to melt/seal cord ends
Where to source a replacement canopy
Your best first stop is the original manufacturer, especially if the umbrella is a recognizable brand. Many brands sell replacement canopies sized for their own frames. If you can't find a brand match, specialty outdoor retailers and patio parts suppliers stock universal replacement canopies in common rib counts (6, 8) and diameters (7 ft, 9 ft, 11 ft). When ordering, specify: canopy diameter, number of ribs/panels, attachment style (sleeve vs. tie vs. end-cap), and whether you need a vent hole at the top. If your umbrella is older, parts availability can be limited, so have your measurements ready and be willing to shop across a few suppliers.
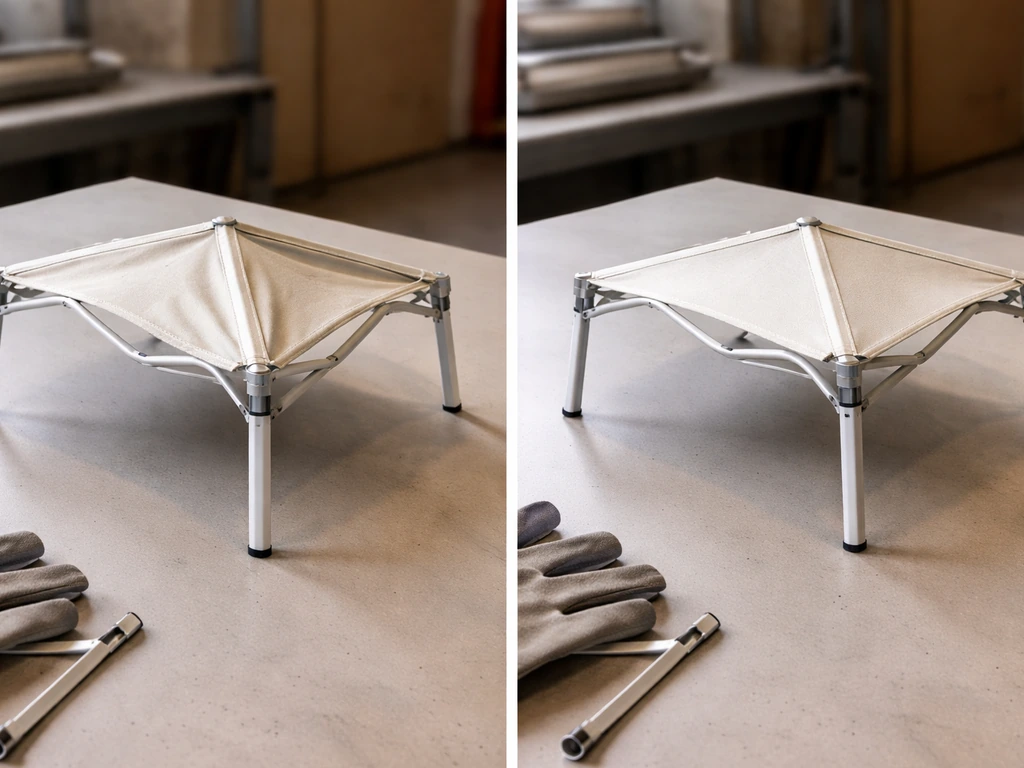
How to remove the old canopy safely
Do not start with the umbrella fully open. A fully tensioned canopy puts stress on the ribs and the attachment points, and trying to pull fabric off under that tension can bend ribs or injure you. Close the umbrella first, or at least get it to a mostly closed position before you begin.
- Close the umbrella completely using the crank or lift mechanism and engage any locking mechanism so it stays closed.
- Remove the umbrella from the base and lay it on a flat surface (a table, a pair of sawhorses, or even clean ground). This gives you control and keeps the ribs from flopping around.
- If your umbrella has screw-in end caps (like TUUCI models), use a screwdriver to remove the screws at the tip of each rib. Keep them in a small container so you don't lose them.
- For sleeve-style canopies: starting at one rib tip, slide the rib out of its fabric sleeve. Work your way around all ribs, freeing each one from its sleeve before moving to the next.
- For tie-strap canopies: untie or unfasten each strap at the rib tips and at the hub. Some use Velcro, some use actual ties.
- Once all ribs are free from the fabric, slide the canopy up and off the center pole through the top opening. The canopy should come off as one piece.
- While the canopy is off, inspect the frame. Check each rib for bends or cracks, look at the hub connections, and check the cord for fraying. This is the easiest time to fix anything else before the new canopy goes on.
If the canopy is stuck and won't slide off, it's usually because the fabric has deteriorated and is binding on a rib tip, or there's a hidden screw or clip you missed. Don't yank it. Work the fabric loose section by section with your hands, and check every rib tip again for fasteners.
How to install the new canopy
Installing is essentially the removal process run in reverse, but the sequence matters. Getting it out of order is the main reason canopies end up uneven or don't open properly.
- Keep the umbrella frame collapsed and lying flat. Find the center opening in the new canopy and feed it down over the top of the center pole so the canopy drapes loosely over the frame.
- Identify the top of the canopy (the side with the vent hole or the finished seam around the center opening) and make sure it's facing up toward the finial.
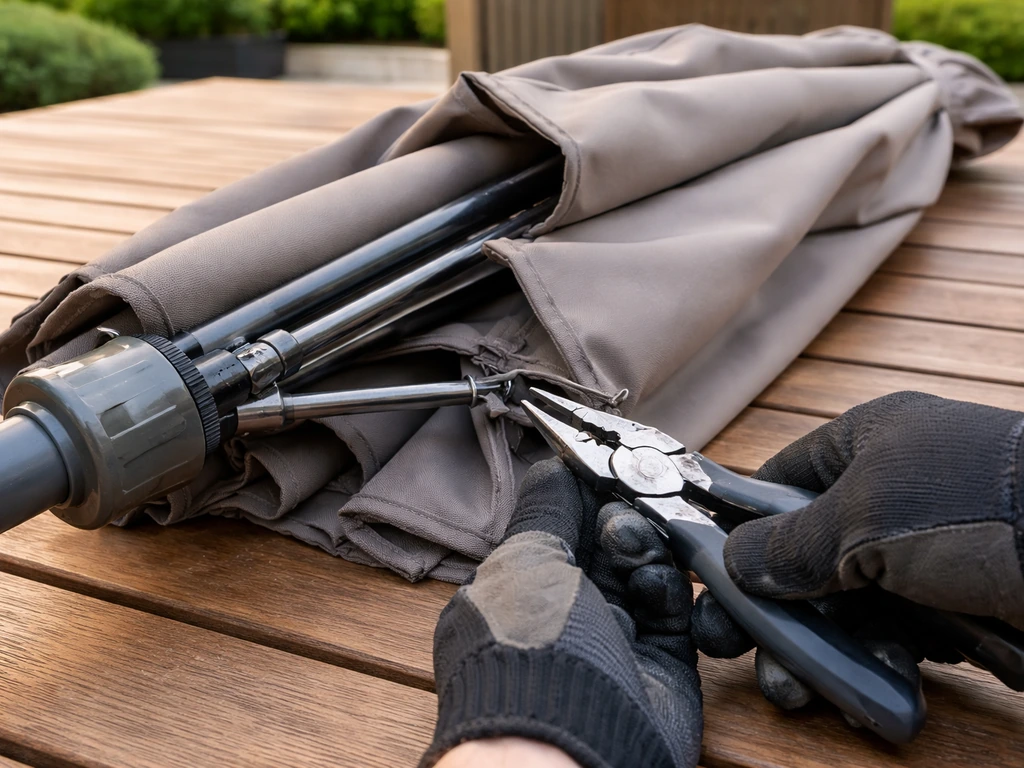
- Working one rib at a time, feed each rib's tip into its corresponding canopy sleeve or pocket. For sleeve-style canopies, hold the sleeve opening wide and guide the rib end in. Use needle-nose pliers to grip the rib tip if it's hard to push through.
- Work around the frame alternating sides (do opposite ribs in sequence rather than going around the circle) so the tension distributes evenly and the canopy doesn't bunch on one side.
- If your canopy has a cord system: before seating the last one or two ribs, check that the internal cord is still correctly routed through the lift ring and hub. Re-thread it if it slipped out during removal.
- For screw-in end cap styles: once the fabric is positioned at each rib tip, replace and tighten the screws. Don't overtighten, just snug them down so the fabric is held flat against the rib end.
- Once all ribs are seated, slowly and gently raise the umbrella to a partially open position using the crank. Check that the canopy panels are pulling evenly and the fabric isn't caught anywhere.
- Continue opening to fully open. Look for equal tension across all panels, a centered vent hole at the top (if applicable), and ribs that are all the same height. If everything looks even, you're done.
A note on cord-and-crank systems
In a standard crank-lift umbrella, the cord connects the crank handle to a lift ring that pushes the ribs outward as you turn the handle. If your cord got dislodged or tangled during the canopy swap, the umbrella will crank but nothing will move. Before you put the canopy on, turn the crank with the frame bare and confirm the ribs spread open and close normally. If the mechanism isn't working bare, the cord routing is the problem, not the canopy. Fix the cord first, then install the new fabric. If the cord routing is wrong, you may need to troubleshoot your patio umbrella next, which is part of how to fix a patio umbrella effectively.
Dealing with common problems mid-replacement
The old canopy is ripped and won't come off cleanly
If the fabric has deteriorated to the point where it tears as you try to remove it, work in sections. Cut the damaged panels away carefully with scissors rather than pulling, which can stress the rib connections. The goal is just to get the frame clean without bending anything. Once the main body of the fabric is off, remove any remaining pieces from the rib sleeves one at a time.
A rib is broken or an end cap is missing
If you discover a bent or broken rib once the canopy is off, replace it before installing the new canopy. Putting a new canopy over a damaged rib will just result in uneven tension and a faster second failure. Specialty patio parts suppliers stock replacement ribs for common umbrella sizes. The rib replacement process involves removing screws that attach the rib to the lower hub, sliding out the old rib, placing the replacement, and tightening the hub ring back down.
TUUCI rib replacement tutorials also specify removing screws that attach the rib to the bottom hub before sliding the rib out removing screws attaching the rib to the bottom hub. After any rib work, do a bare-frame function check (crank it open, watch all ribs spread evenly) before putting the new canopy on.
If you're missing end cap screws, most hardware stores carry metric and standard machine screws in the right size range.
The new canopy has uneven tension or sags on one side
Uneven tension almost always means one or more ribs didn't seat fully into their sleeve pocket, or you went around the ribs in order rather than alternating opposite sides. Close the umbrella, open it again slowly, and watch which panel goes taut first and which sags. The sagging panel's rib usually isn't fully inserted into the sleeve. Collapse the umbrella and work that rib further into its pocket, then test again. If all ribs are properly seated and it's still uneven, the replacement canopy may be slightly too large for your frame diameter, which causes draping/slack. Compare your measured diameter against the canopy's listed diameter.
The canopy won't open or close smoothly after installation
This is almost always a cord routing or alignment issue, not a canopy problem. First, check that no fabric is caught between the ribs and the hub area. On cantilever (offset) umbrellas, the ribs need to be manually separated about 10 inches from the center post before you raise the hub, otherwise the struts can pinch the fabric and bind the mechanism. If you have a crank-lift model and the crank is turning but the ribs aren't moving, the cord has likely slipped off the lift ring during installation. You'll need to collapse the umbrella, remove the canopy again, re-route the cord, and do a bare-frame test before reinstalling.
The replacement canopy doesn't fit
If the canopy is clearly too small (sleeves won't reach the rib tips) or too large (excess fabric bunches at the hub), you have a sizing mismatch. Don't try to force it. A canopy that's too small puts excessive stress on the rib tips and seams. A canopy that's too large will never tension properly. Go back to your measurements, double-check the rib count, and order the correct size. Most specialty suppliers accept returns on unused canopies, so keep the packaging until you've confirmed fit.
Should you replace just the canopy, or buy a whole new umbrella?
Replacing only the canopy makes sense in most situations because the frame is the expensive part. If you run into a damaged frame or the canopy will not fit, a patio umbrella repair shop can help, including those who fix patio umbrellas.
If your frame's center pole is straight, the ribs are intact or can be replaced cheaply, and the crank/lift mechanism still works, a new canopy can give you what is effectively a new umbrella for a fraction of the cost. Canopy fabric typically degrades from UV exposure and weather long before the metal frame does. Should you replace just the canopy, or buy a whole new umbrella?
If you only need to replace fabric on patio umbrella, this guide focuses on swapping the canopy over an intact frame.
That said, there are situations where replacing the whole umbrella is the smarter call. If the center pole is bent or cracked, the main hub is broken, more than two ribs need replacement, or the crank mechanism is seized and parts aren't available, the repair cost and effort start to exceed what a comparable new umbrella costs.
For older umbrellas from discontinued lines or brands that limit parts availability for older models, you can run into a dead end trying to source components. TUUCI’s warranty documentation also notes that certain damage types and certain conditions are not covered, and that parts availability for older designs may be changed or limited limit parts availability for older models.
If the fabric damage is small (a tear shorter than about 6 inches or a localized UV-weakened spot), patching or a simple repair might be all you need rather than a full canopy replacement. If the fabric damage is small, patching or a simple repair might be all you need, but if you need a full redo, follow the steps in how to repair patio umbrella fabric.
But for large tears, general brittleness across the whole canopy surface, or fading that bothers you every time you look at it, replacement is the right call.
| Situation | Best Move |
|---|---|
| Frame is solid, ribs intact, fabric faded or torn | Replace the canopy only |
| Small tear under 6 inches, fabric otherwise good | Patch or repair the existing canopy |
| Multiple broken ribs plus damaged canopy | Assess total repair cost vs. new umbrella price |
| Bent center pole or broken hub | Replace the whole umbrella |
| Parts unavailable for your model | Replace the whole umbrella |
| Canopy is fine but crank mechanism is broken | Repair the mechanism, keep the canopy |
Test it before you call it done
Once the new canopy is on, don't just open it once and walk away. Run through a full open-and-close cycle two or three times. Watch the canopy track evenly, listen for any binding or clicking from the hub area, and check that the vent hole at the top sits centered. If your umbrella has a tilt function, test that too.
Give the frame a gentle shake with the umbrella fully open to confirm the canopy panels are all taut and none are flapping loose. A properly installed replacement canopy should feel and move just like a new umbrella. If anything feels off during testing, collapse it and work through the troubleshooting steps above before leaving it deployed. Getting the installation right the first time saves you from a canopy that fails at the seams after a few weeks of use.
FAQ
Can I replace the canopy while the umbrella is still partially open?
It’s better not to. Even partial tension puts load on the rib tips and sleeve connections, which can bend ribs or strain stitches when you pull fabric off or seat it onto the hub. Close it first, then do the swap under minimal tension.
What should I do if my replacement canopy arrives but the rib count or panel count seems different?
Do not “make it fit.” A different rib count usually means the sleeve pockets and panel seams won’t land correctly, causing wrinkles, uneven tension, or gaps at the hub. Recheck your rib count on the frame, then verify the canopy’s stated panel count (often equivalent to rib count), and return or exchange if it’s wrong.
How do I measure canopy size if my umbrella has a vented top (or no vent)?
Size (diameter and rib count) and venting are separate ordering details. Confirm whether your current canopy has a vent hole at the top and measure its placement only as a reference, then order a canopy that matches your vent requirement. A mismatched vent usually won’t fit correctly around the hub area or top assembly.
If the fabric seems too big, what’s the first sign it’s oversize?
Look for fabric bunching or pooling around the hub area and sleeves that do not sit evenly along the rib tips. Oversize can drape and never tension uniformly, even if the canopy attaches loosely at first. Compare your measured canopy diameter against the replacement canopy’s listed diameter and don’t try to force it by tightening unevenly.
If the fabric seems too small, is it safe to force the sleeves onto the rib tips?
No. Forcing a small canopy increases stress on rib tips and seams, which can lead to seam failure or ripped sleeve seams soon after installation. Reconfirm diameter and rib count, then exchange for the correct size.
What’s the best way to handle a crank that turns but the canopy ribs do not move?
Run a bare-frame check first with the canopy removed. If the crank turns but ribs don’t spread, it’s usually a cord routing or lift-ring misalignment issue rather than a bad canopy. Collapse the umbrella, re-route the cord to the correct lift point, then test the rib spread function again before reinstalling the fabric.
How do I tell whether my uneven tension is due to seating order or a sizing problem?
First, verify ribs fully seat into their sleeve pockets. If only one panel goes taut early while the opposite panels sag, that points to an unseated rib or incorrect seating order. Seat the sagging rib deeper, then test again. If every rib seats properly and it still won’t tension evenly, treat it as a sizing mismatch and recheck diameter.
Do I need special tools to replace the canopy if I have end-cap screws on the rib tips?
Often you only need basic hand tools, but end-cap screws can require the correct screwdriver or bit type. Before you start, identify whether the rib tips use screw-in end caps, and ensure you have the right driver size and suitable spare screws if any are missing or stripped.
What if my canopy fabric tears while I’m removing the old one?
Stop pulling hard. Cut the damaged panels away in sections with scissors to avoid stressing or bending the rib sleeve connections. Once the main fabric is off, remove remaining pieces from the sleeves one at a time to keep ribs aligned.
What should I do if I find a bent or broken rib during the canopy swap?
Replace the rib before installing the new canopy. A repaired or replacement rib needs to be seated correctly, then you should do a bare-frame open test to confirm all ribs spread evenly. Installing a canopy over a damaged rib usually results in uneven tension and faster failure.
How many open-and-close cycles should I do after installing the new canopy?
After installation, run a full open-and-close cycle two or three times. Watch for even canopy travel, listen for abnormal clicking or binding near the hub, confirm the vent hole stays centered, and test tilt (if your umbrella has it) before you leave it deployed.
When should I stop DIY and switch to a repair shop instead of replacing only the canopy?
If the center pole is bent or cracked, the hub is broken, more than two ribs are damaged, or the crank mechanism is seized and parts are unavailable, replacing only the canopy becomes poor value. If the umbrella is discontinued and replacement parts are hard to source, a shop may be able to assess frame repair versus full replacement.
Next Articles
Fix a Patio Umbrella: DIY Troubleshooting and Repair Steps
DIY steps to fix a patio umbrella: diagnose crank, stand tilt, canopy tears, ribs, cords, and when to replace parts.

How to Fix a Patio Umbrella That Won't Open or Close
Step-by-step fixes for patio umbrellas that won’t open or close, with checks for jams, cords, latches, and lubricating t
How Does a Patio Umbrella Work? Components, Use, and Fixes
Learn how patio umbrellas work: components, open close tilt, stability, and step by step troubleshooting common mechanic