You can repair patio umbrella fabric in about an hour for small tears and seam splits, or replace the whole canopy in an afternoon if the damage is too far gone. The key is knowing which situation you're actually dealing with before you buy anything or pull out the seam ripper. Most umbrellas use one of three attachment systems (sleeve/pocket, Velcro ties, or hub-and-runner clips), and the fix is completely different depending on which one you have. This guide walks through both scenarios: patching and reattaching existing fabric, and swapping in a brand-new canopy. If you have to replace fabric on a patio umbrella, you’ll want to measure your canopy and match both the fabric type and the attachment system before ordering a replacement.
How to Repair Patio Umbrella Fabric Step by Step

Luca Morrison
8 Jun 2026
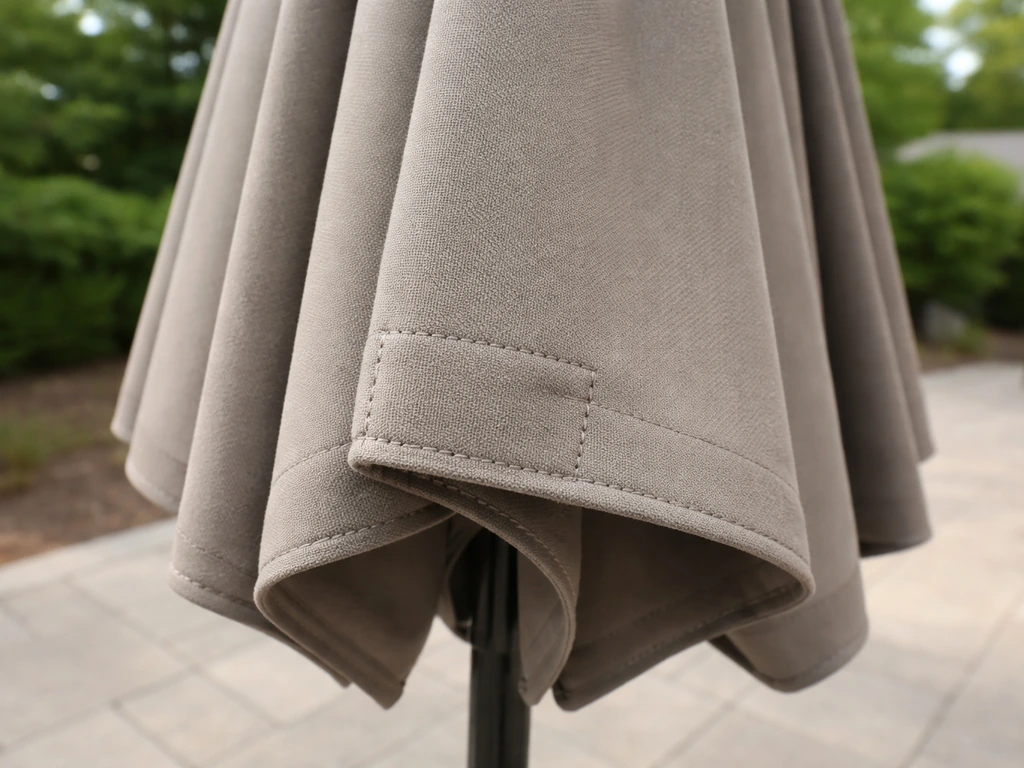
Figure out your fabric type and how it's attached first
Before you touch anything, spend five minutes identifying exactly what you're working with. Grab a chair, open the umbrella fully, and look at how each panel connects to the ribs and the hub. There are three main attachment methods on residential patio umbrellas.
- Sleeve/pocket style: each rib slides through a fabric sleeve sewn into the panel. Common on market-style umbrellas. The fabric essentially wraps the rib inside a channel.
- Velcro ties or fabric ties: short strips wrap around each rib and fasten. Very common on cheaper umbrellas and easy to replace.
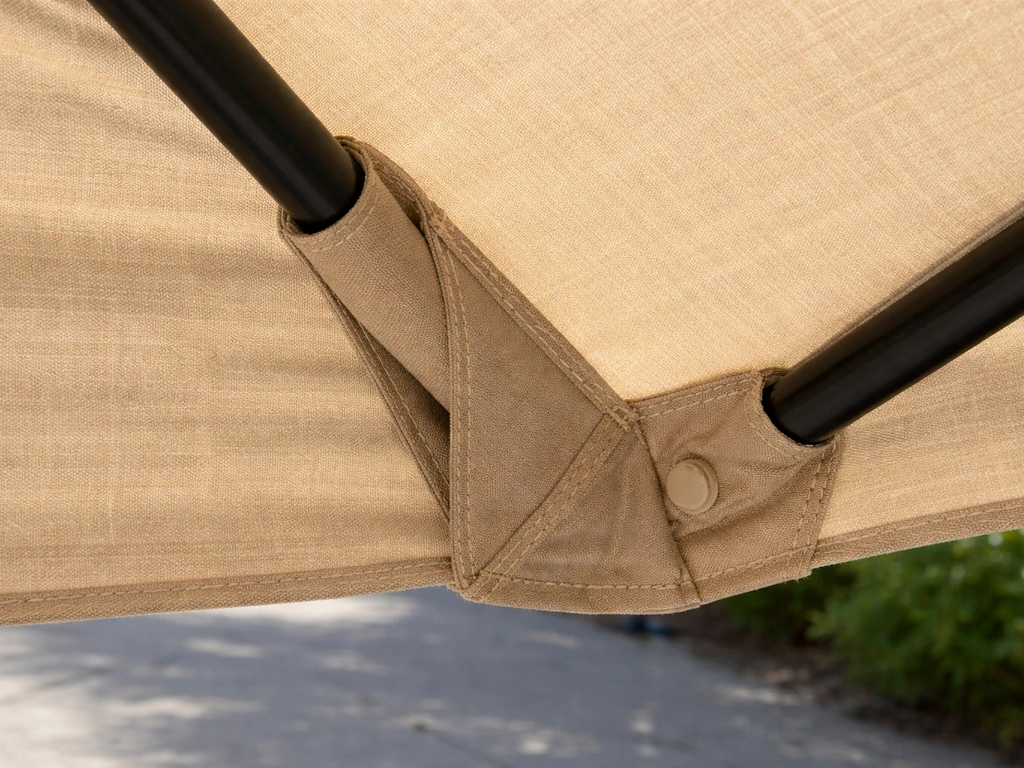
- Hub-and-runner clips or push-button tabs: the top hub has slots and the lower runner has hooks; the fabric panels attach at both ends. Common on cantilever (offset) umbrellas and some higher-end market umbrellas.
Next, identify the fabric itself. Run your hand across it. Sunbrella and similar solution-dyed acrylics feel slightly textured and almost canvas-like; the color is baked into the fiber during manufacturing, so it looks the same on both sides. Polyester feels smoother and lighter, and if you hold it up to sunlight you'll often see a shiny or slightly slick surface from the waterproof coating. The PatioLiving patio umbrella buying guide notes that polyester is hydrophobic, so it tends to dry faster, and that acrylic is lightweight and vibrantly dyeable Polyester feels smoother and lighter. Olefin (polypropylene) looks similar to polyester but has a slight waxy feel. Knowing this matters because it affects which patch adhesive or thread you use, and whether a waterproof re-coating is worth applying after repairs.
Also note your umbrella's rib count (6, 8, or more ribs) and the pole diameter (usually 1.5 inches or 2 inches for residential models). These numbers come up when ordering replacement canopies. Write them down now.
Repair the existing fabric or replace it entirely?
This is the honest question most guides skip. I'll give you a straight answer: if the damage fits in the repair column below, fix it. If it hits two or more replacement triggers, buy a new canopy. After you confirm your attachment system and measure your ribs and pole size, follow the replacement steps to install a new canopy without twists or sag. Patching a fabric that's also structurally compromised wastes your afternoon.
| Damage type | Repair it | Replace it |
|---|---|---|
| Tear or puncture | Under 3 inches, clean edges | Longer than 3 inches or ragged/frayed edges |
| Seam split | One panel, seam is otherwise intact | Multiple panels or seam tape is disintegrating |
| Mildew/staining | Surface stain, fabric still flexible | Deep black mold with fabric breakdown or persistent musty smell after cleaning |
| Fading | Uniform fade, fabric still strong | Severe uneven bleaching or fabric feels brittle/papery |
| Binding/hem | One loose hem or detached binding | Hem pulling away around the full canopy perimeter |
| Tie or sleeve failure | One or two ties/sleeves torn | More than half the attachment points failed |
One more honest note on cost: a mid-grade replacement canopy for a standard 9-foot, 8-rib market umbrella runs roughly $30 to $80 online. If your repairs would require more than two hours of labor, a patch kit, new thread, and a seam sealer, you're often better off just replacing. The one exception is if you have a premium Sunbrella canopy that cost $150 or more new. Those are worth repairing because quality solution-dyed acrylic genuinely lasts 10 to 15 years with proper care. AwningTown’s fabric guide similarly describes solution-dyed acrylic like Sunbrella as having a much longer service life, often around 10 to 15 years with proper care quality solution-dyed acrylic genuinely lasts 10 to 15 years with proper care.
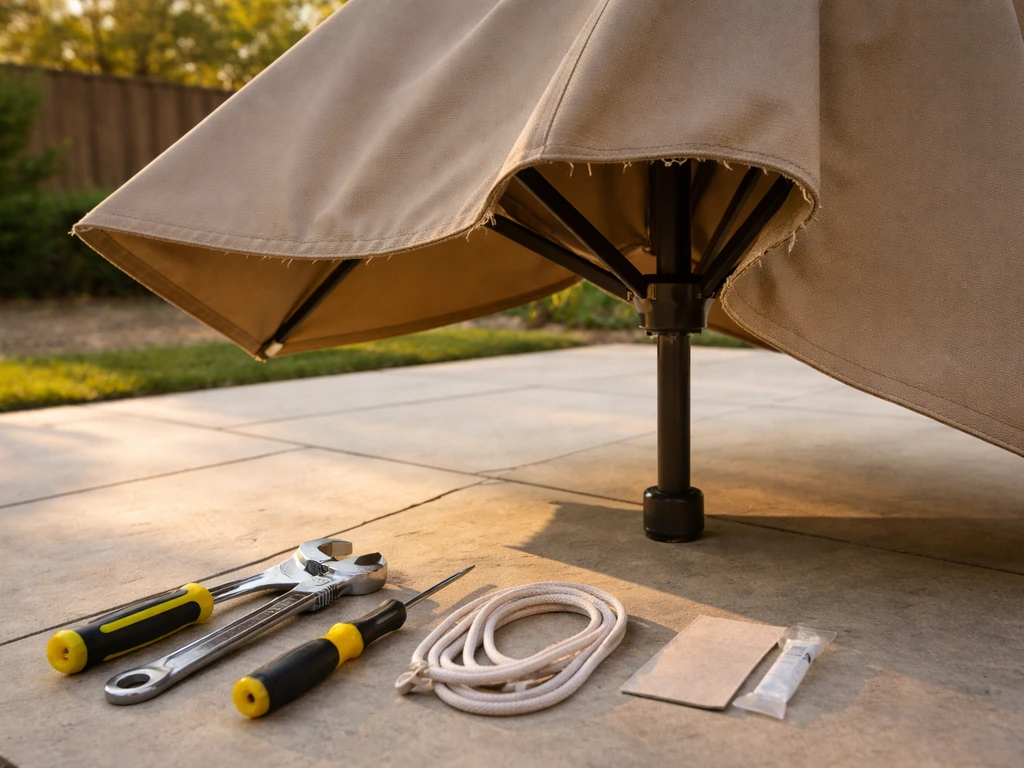
Tools, materials, and measuring your canopy
What you'll need
- Seam ripper (for removal)
- Sharp fabric scissors or rotary cutter
- Measuring tape
- Outdoor-rated polyester thread (UV-stabilized, not standard cotton)
- Heavy-duty curved upholstery needle or a sewing machine with a size 16–18 needle
- Flex Seal, Tear-Aid Type B patch, or a marine-grade vinyl patch kit for quick repairs
- Seam sealer (like Kenyon or McNett SeamGrip) for stitched repairs
- Mild bleach solution (1 cup bleach per gallon of water) for mildew treatment
- Soft-bristle brush
- Fabric waterproofing spray (for polyester fabrics only — acrylic doesn't need it)
How to measure for replacement fabric
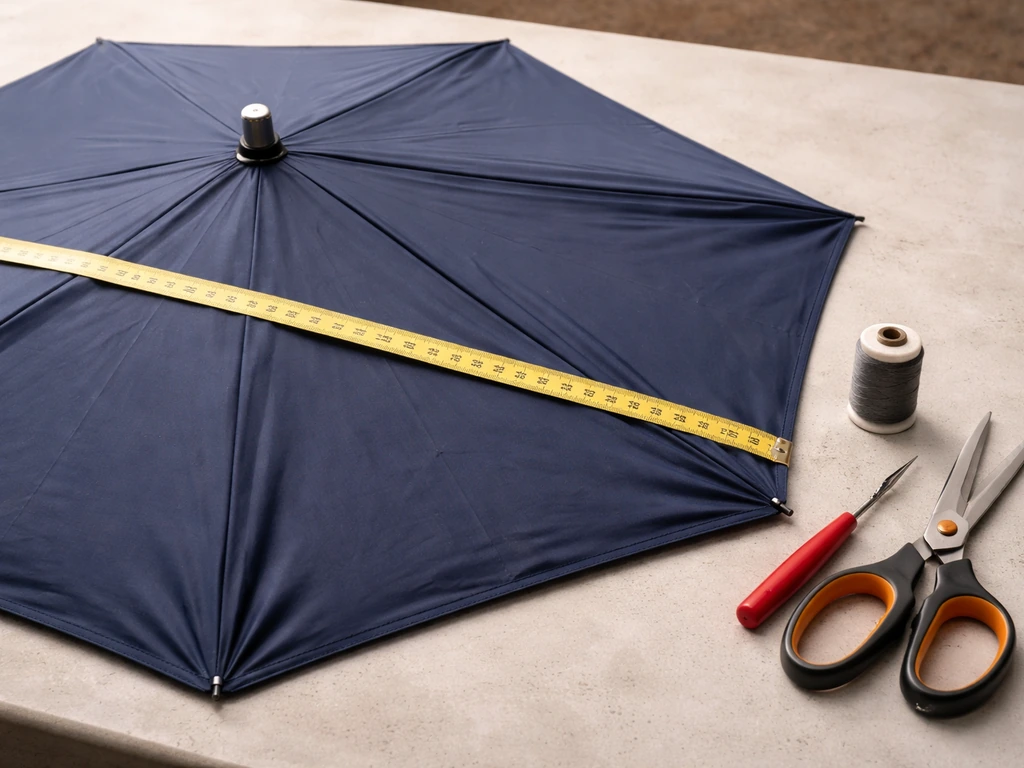
Measure the umbrella while it's open and taut. For a standard market umbrella, you need three numbers: the diameter (tip to tip across the widest point), the rib length (from center hub to tip), and the rib count. For a cantilever umbrella, also measure the span from the support arm attachment point to the outer edge. These measurements are what replacement canopy listings use. When in doubt, go one inch larger on the diameter rather than smaller, a slightly oversized canopy can be tensioned; an undersized one will always look saggy and gap at the edges.
If you're shopping for fabric by the yard to sew a custom replacement, you'll need the surface area of each panel (roughly half the rib length multiplied by the panel width at its widest point, then multiply by your rib count) plus about 10% extra for seam allowances and hems. For an 8-rib, 9-foot umbrella, that typically works out to 6 to 7 yards of 60-inch fabric.
How to remove the old canopy without wrecking anything
Close the umbrella first and lay it down on a clean, flat surface like a picnic table or the lawn. Removing fabric while the umbrella is open puts stress on the runner and ribs and is a good way to bend something. Work from the tips inward toward the hub.
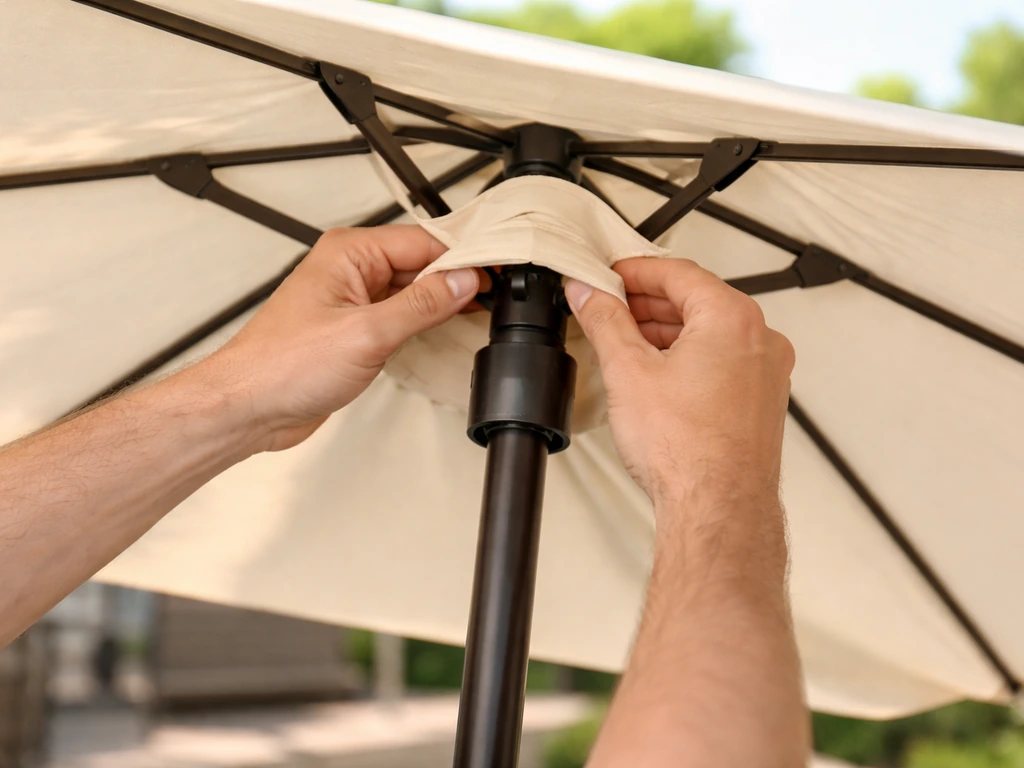
- Remove the finial (the decorative cap at the very top of the pole). Most unscrew counterclockwise; a few pull straight off. Set it aside so it doesn't roll away.
- If your canopy has a top vent cap (a small secondary canopy at the peak), remove that separately. It usually lifts off or has its own small ties.
- For sleeve-style canopies: slide each rib out of its fabric sleeve one at a time. Support the rib with one hand while you pull the fabric back with the other — don't yank or you'll bend the rib tip. If a sleeve is sewn tight and the rib won't slide, use a seam ripper to open the tip of the sleeve just enough to free it.
- For tie-style canopies: unfasten all ties at the rib tips first, then work back toward the hub and undo the ties near the runner.
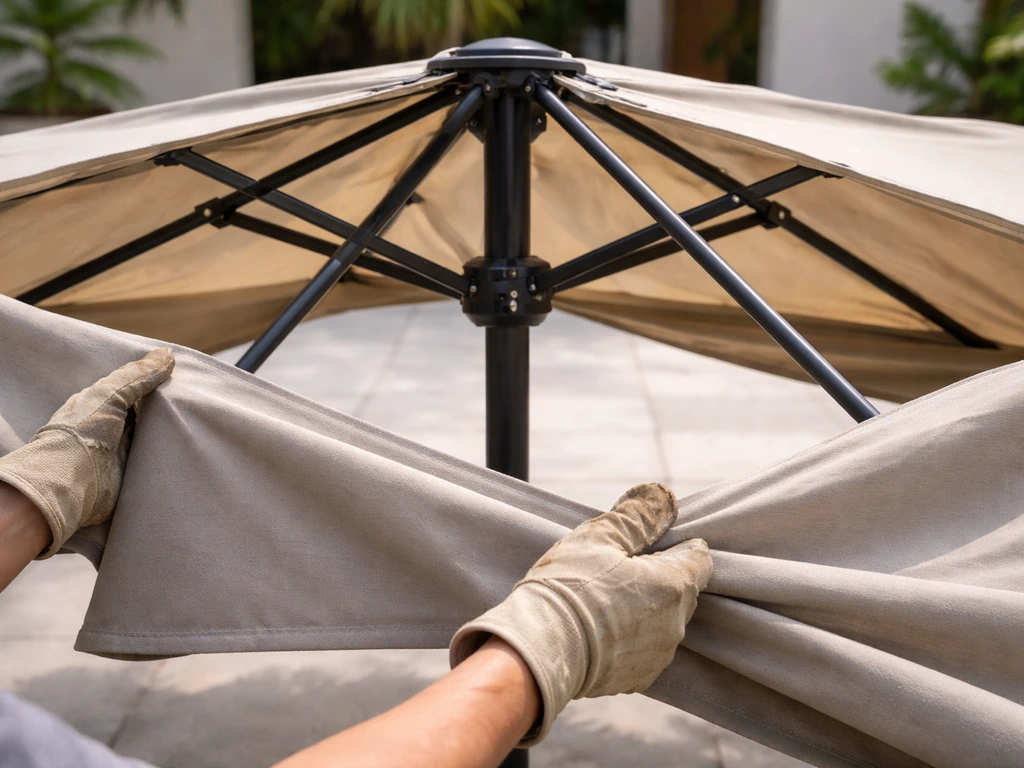
- For clip/hub-style canopies: depress the release tabs at the hub and runner and unhook the panel grommets or loops. Note which direction the panels overlap before you remove them — a quick phone photo saves a lot of confusion later.
- Once the panels are free from the ribs, slide the entire canopy up and off the pole. On most umbrellas there's a small hole in the center of the fabric that fits over the pole. Don't force it if it catches — check for a secondary hub ring or clip underneath.
- Inspect all ribs for bends or cracks while they're exposed. This is your best opportunity to fix any rib damage before reinstalling fabric.
Repair steps for existing fabric (patches, sewing, and reattaching)
Patching a tear
For a clean tear under 3 inches, a Tear-Aid Type B patch is the fastest reliable fix. Once the tear is patched, follow the same steps to patch patio umbrella fabric and get the canopy back on securely how to patch patio umbrella. Clean and dry the fabric completely first, patches don't bond to wet or dirty fabric. Cut the patch at least 1 inch larger than the tear on all sides, round the corners with scissors (square corners peel up faster), peel the backing, and press firmly from the center outward. For extra durability, apply a matching patch on the underside too. This fix holds up to sun and rain surprisingly well, especially on acrylic fabrics.
For tears over an inch or in a high-stress area near a rib sleeve, sewing is better. Use a backstitch or a zigzag stitch with UV-stabilized polyester thread. Bring the edges together snugly, stitch across the tear, then apply seam sealer over the stitched line on both sides. Let the seam sealer cure for at least 4 hours before folding or reinstalling the canopy.
Fixing a seam split
Open the seam fully with a seam ripper so you have clean edges to work with, trying to sew over a partially failed seam just creates weak spots. Re-pin the panels with their original overlap (usually about half an inch), then sew a straight stitch, followed by a second parallel line 3mm away for strength. Seal both lines with seam sealer. If the original seam had seam tape bonded between the layers, replace it with new heat-seal seam tape before stitching.
Dealing with mildew
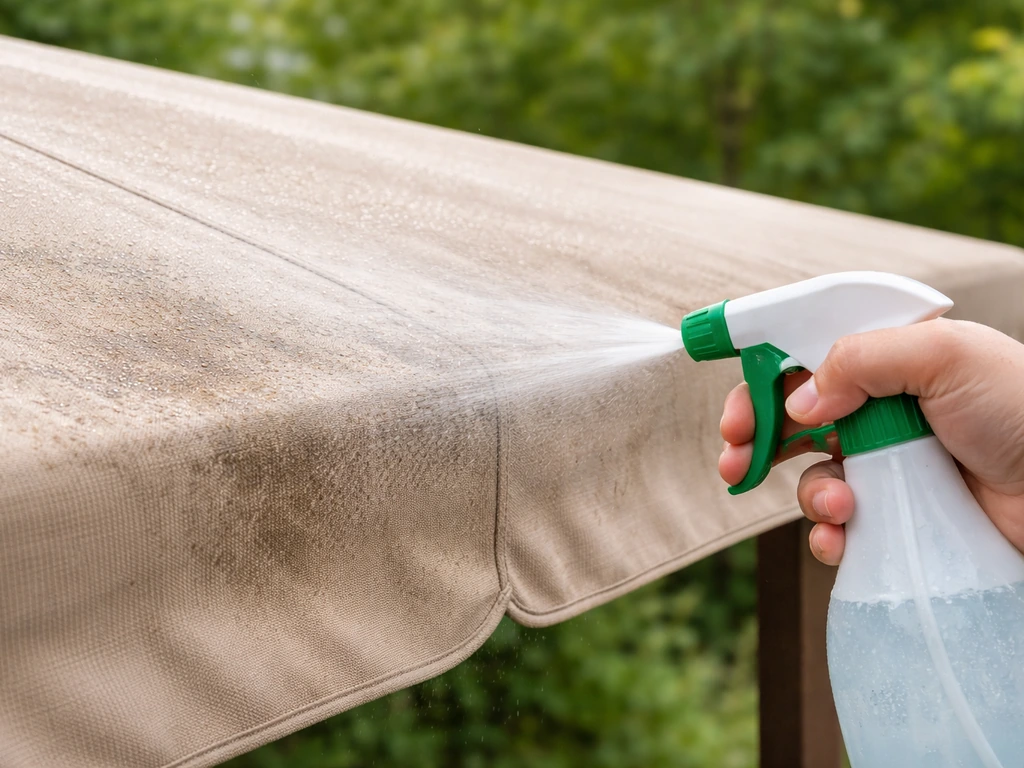
Sunbrella and other acrylic fabrics naturally resist mold and mildew, but surface mildew can still form in humid climates. Mix 1 cup of bleach with 1 gallon of water and a squirt of mild dish soap. Apply it to the affected area with a soft brush, let it sit for 15 minutes, then rinse thoroughly. For polyester canopies, test this solution on a small hidden patch first because bleach can affect some polyester coatings. After cleaning, let the canopy dry completely in the sun before reinstalling, reinstalling a damp canopy is how mildew comes back within weeks.
Reattaching a detached binding or hem
If the binding tape along the edge of a panel has pulled away, re-glue it with a fabric contact cement rated for outdoor use, clamp or clip it down, and let it cure overnight. Then run a line of stitching along both edges of the binding for permanence. A detached hem at the rib sleeve tip is similar: re-fold it to its original position, sew it closed with a running stitch, and seal the stitch line.
Installing a new replacement canopy correctly
Alignment and panel order
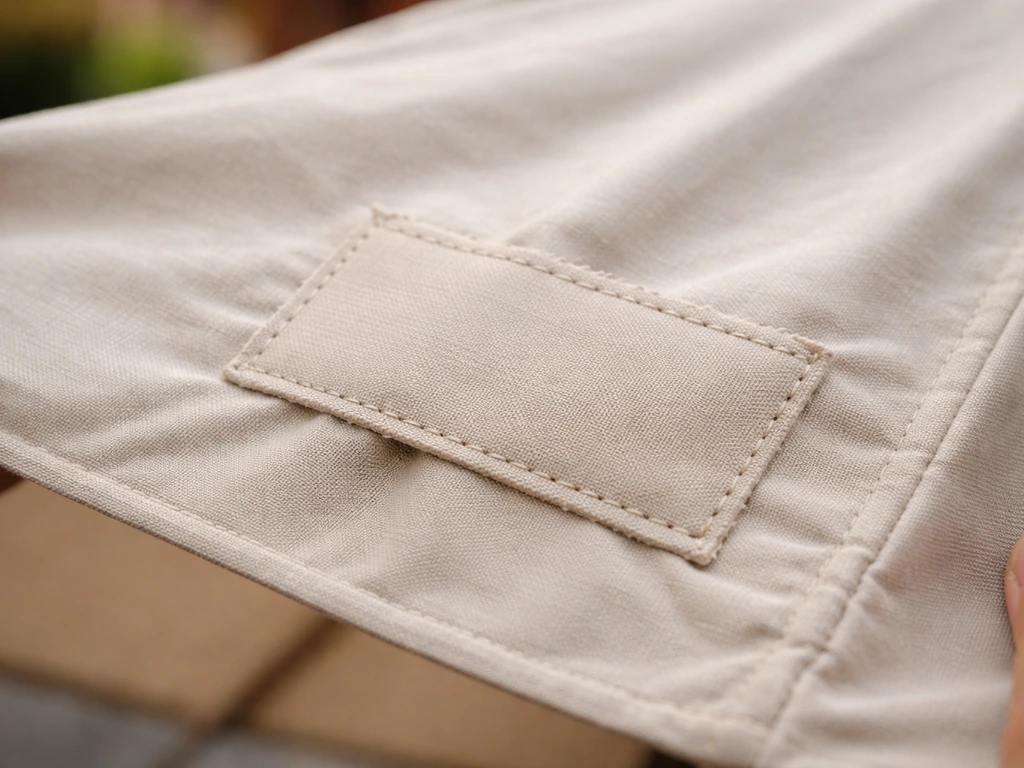
Before threading any fabric onto ribs, lay the new canopy flat and identify the panel seams and any printed pattern direction. On most umbrellas, the panels should alternate evenly around the hub. If your canopy has a pattern or alternating colors, figure out the rotation before you start, it's frustrating to get four ribs in and realize your pattern is off. Look for a small manufacturer tag or center-hole marking that indicates the 'top' of the canopy (the side that faces up).
Threading and attaching
- Thread the center hole of the canopy down over the pole tip, past the finial threads, down to just above the hub.
- For sleeve-style canopies: slide the first rib into its sleeve, working from the tip end. Push it all the way through until the rib tip seats fully in the sleeve pocket. Repeat for opposite ribs first (do rib 1, then rib 5 on an 8-rib umbrella, then rib 3, then rib 7, and fill in between). This keeps tension even and prevents the canopy from pulling to one side.
- For tie-style canopies: drape the canopy loosely, align the tie loops with each rib, and tie them loosely at first. Once all ribs have a loose tie, go back and tighten them evenly.
- For clip/hub-style canopies: hook the upper grommet over the hub tab, stretch the panel toward the tip, and clip or button the lower end to the runner. Work in the same opposite-rib order as above.
- Once all panels are attached, raise the umbrella slowly (by hand if possible, not by crank) while watching that no panel is bunching or pulling. Stop halfway and check that all sleeves or ties are seated correctly.
Getting the tension right
A properly tensioned canopy should be taut with no visible sag between ribs when fully open, but it shouldn't look like it's straining to pull the rib tips inward. If panels are sagging, check that each rib is fully seated in its sleeve and that the runner is locked in the fully-open position. If the fabric looks too tight and is pulling the ribs into a slight bow upward, the canopy may be slightly undersized for your frame. In that case, check your measurements and consider a replacement sized up by one inch in diameter. Do not force the umbrella open with a crank if the fabric is resisting, you'll strip the crank mechanism.
Test it, clean up, and keep it from happening again
Quick function test
- Open the umbrella fully using the crank or push-button and confirm it locks open cleanly.
- Check every panel from below — all should be equally taut with no obvious gaps at rib sleeves or ties.
- Activate the tilt mechanism if your umbrella has one. The canopy should tilt smoothly without bunching on one side.
- Close the umbrella fully and check that the canopy folds neatly without any panel catching on a rib or the pole.
- Re-open it once more and look at the vent (if present) to make sure it's seated and not caught under a panel.
Finishing touches after repair
If you repaired a polyester canopy, apply a fabric waterproofing spray now while the fabric is dry and clean. Acrylic canopies (like Sunbrella) don't need this step. Reattach the finial firmly and wipe down the pole and ribs with a damp cloth to remove any debris from the repair process. If you used seam sealer, give it a full 24 hours to cure before the umbrella gets rained on.
Maintenance habits that prevent future damage
- Close the umbrella whenever wind picks up above about 20 mph. Open fabric acts like a sail and the ribs will bend or snap before the fabric tears. This is the single biggest cause of umbrella damage.
- Don't leave a polyester canopy permanently open in direct sun. UV exposure degrades the waterproof coating and causes fading. Acrylic holds up much better under continuous sun exposure.
- Let the canopy dry fully before closing it. Folding a wet canopy traps moisture inside the folds, which is exactly how mildew develops.
- At the end of the season, remove the canopy entirely and store it flat or loosely rolled in a dry location. Do not compress it tightly in a plastic bag — that traps moisture.
- Inspect ties and sleeve tips at the start of each season. Catching a fraying tie early costs you five minutes. Ignoring it costs you a panel.
If after all this you find the fabric is in decent shape but the mechanical parts are the real problem (a broken crank, a stuck tilt, a bent rib), that's a separate repair path. If your issue is more about the mechanism like a broken crank or stuck tilt, a patio umbrella repair service is often the easiest next step, which is who fixes patio umbrellas. If you also need to fix an umbrella offset arm mechanism or reattach the offset hardware, follow the steps in our guide on how to repair offset patio umbrella issues. The fabric work described here assumes your frame is fundamentally sound. A solid canopy on a bent or broken frame won't open or close correctly no matter how well the fabric is attached, so always address structural issues first. If you need to recover your patio umbrella, the next step is matching the canopy to your frame size and reattaching it correctly.
FAQ
Can I repair patio umbrella fabric if the tear is bigger than 3 inches?
Yes, but it usually shifts from a simple patch to a sew-and-seal repair. For large tears, plan on sewing across the damaged area and then applying seam sealer after stitching, because edge-stress and unfolding at the ribs will pull a patch over time.
What if my seam is ripping but the fabric is not torn yet?
Treat it like a seam repair before the material fully fails. Unpick only the failed section to get clean edges, re-pin with the same overlap you had originally, stitch the seam lines, and replace any heat-seal seam tape you remove so the layers bond properly again.
Will hot glue or regular household glue work for reattaching binding tape?
Usually no. Use an outdoor-rated fabric contact cement for the binding, clamp or clip it in place, and then stitch along both edges. Hot glue can peel under sun heat and can create a stiff ridge where the binding bends.
How do I choose thread if I do not know the original canopy thread type?
Choose UV-stabilized polyester thread for most outdoor canopies, and use a stitch pattern that keeps stress off the needle holes (backstitch or a tight zigzag). If the fabric is solution-dyed acrylic, avoid using weak, non-UV thread, because it can degrade even if the seam looks fine at first.
Is seam sealer required after sewing, or can I skip it?
For umbrella fabric seams, it is strongly recommended. Sewing alone can leave channels that let water wick in along the thread line; applying seam sealer on both sides reduces leaks. Also allow curing time before exposing the seam to rain.
How long should I let the canopy dry after cleaning before reinstalling?
Dry completely. If you can still detect dampness or coolness in the fabric, wait longer. Reinstalling moisture can accelerate mildew growth and can also weaken patch bonding or seam sealer performance.
My canopy is solution-dyed acrylic but the patch keeps lifting, what should I check?
First, confirm the fabric was fully clean and dry before patching, then check that your patch extends at least 1 inch beyond the tear on all sides with rounded corners. If it still lifts, the next step is usually switching from adhesive-only patching to a sewn reinforcement patch on both sides to reduce peeling at the edges.
Can I waterproof a Sunbrella-style acrylic canopy after patching?
Generally you do not need it. Acrylic fabrics resist mildew naturally, and adding waterproof spray can create an uneven surface sheen or interfere with how the repaired area breathes. If you do waterproof anything, do it only after the fabric is dry and follow the product’s compatibility with solution-dyed acrylic.
What is the safest way to open or tension the umbrella after installing a new canopy?
Open it without forcing the crank if the canopy resists. If the fabric looks overly tight and pulls rib tips inward, double-check your diameter and rib seating. In many cases, a too-small canopy causes stress on ribs and runner, which leads to premature tearing.
How can I tell whether my issue is fabric damage or a frame problem?
If the umbrella will not open fully, the tilt feels stuck, or ribs look mis-seated even with a taut canopy, focus on the mechanical parts first. A well-attached canopy cannot correct a bent rib, broken crank, or binding runner, and continuing fabric work can waste time.
Do I need to buy a replacement canopy if there is a small tear near a rib sleeve?
Not automatically, but it is higher risk. Tears near sleeve areas experience repeated flex, so sewing plus seam sealer is usually more reliable than a fast patch. If the sleeve area is also compromised or the fabric is already weakened in multiple spots, replacement can be the better value.
Can I repair only one panel of a striped or patterned canopy and keep the pattern aligned?
It is possible, but you must plan rotation before attaching. Find the canopy’s marked “top” or center-hole indication, then ensure each panel orientation alternates correctly around the hub. Mis-rotation can cause visible mismatches that become obvious once the umbrella is fully tensioned.
Next Articles

How to Repair Patio Umbrellas: Step-by-Step Fixes
Step-by-step fixes for torn fabric, holes, and malfunctioning patio umbrella mechanisms, including cantilever models.
How to Replace Patio Umbrella Canopy Step by Step
Step-by-step how to replace patio umbrella canopy, match attachment types, fix tension and fit issues, and test after.
Fix a Patio Umbrella: DIY Troubleshooting and Repair Steps
DIY steps to fix a patio umbrella: diagnose crank, stand tilt, canopy tears, ribs, cords, and when to replace parts.