
To decorate a patio table with an umbrella, start by matching the pole diameter to your table's center hole (most residential poles are 1.5 in.), choose a canopy size that extends roughly 2 feet beyond the tabletop on each side, pick a fabric color that ties into your outdoor palette, then seat the pole in a weighted base of at least 50 lbs for a standard 7–9 ft umbrella. Get those four things right and you have a setup that looks sharp and stays put. Everything else, such as tilt angle, string lights, and tie-down straps, is fine-tuning on top of a solid foundation.
How to Decorate Patio Table with Umbrella: Install, Style & Secure

Luca Morrison
26 Jul 2026
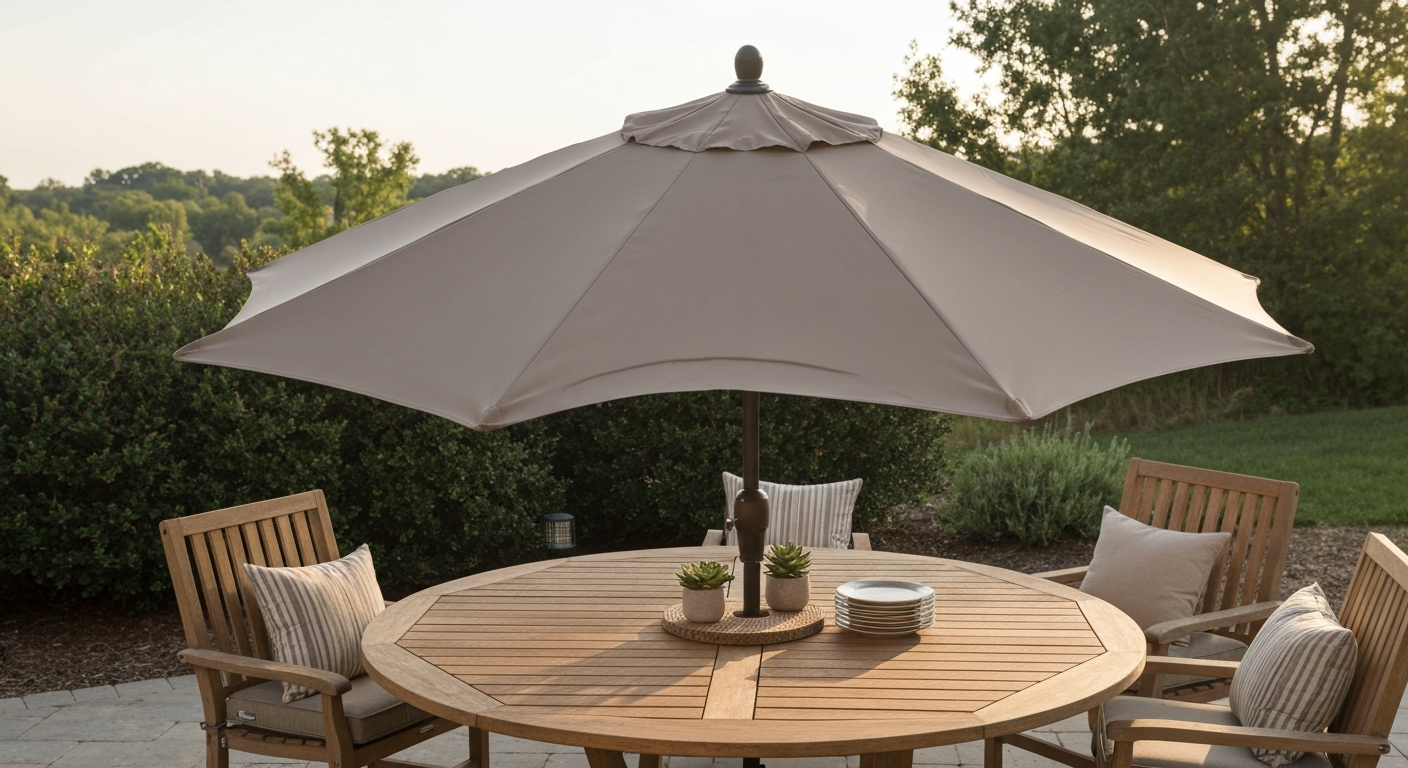
Why the umbrella is the centerpiece of your whole patio table setup
A patio table without an umbrella is just furniture. Add the right umbrella and you get shade, a visual anchor for the space, and a reason for people to actually sit and stay awhile. But I've seen plenty of setups where the umbrella wobbles in the slightest breeze, barely shades half the table, or clashes with everything around it because someone grabbed the cheapest option at the hardware store. The umbrella choice, installation, and styling all feed into each other. A canopy that's too small looks awkward. A pole that doesn't fit the table hole properly rattles and wears out the table. A base that's too light becomes a projectile in the wind. This guide walks through every decision point so you end up with a table that looks intentional and works reliably through a full outdoor season.
Center vs. offset, canopy size, shape, and material: decide these first
Before you buy anything, settle on umbrella type. A center-pole (market) umbrella fits through the hole in the middle of your table. An offset (cantilever) umbrella stands beside or behind the table on a separate arm and base. Both work, but they're completely different setups with different costs and space requirements.
Center-pole umbrellas are the right call for most dining tables. They're simpler, less expensive, and the table itself helps stabilize the pole. Offset umbrellas make sense when you have a table without a center hole, when you want shade over a seating area without a pole in the middle blocking the view, or when you have a very large seating area to cover. Just know that offset models typically need a dedicated base weighing 100 lbs or more, which is a real commitment.
For canopy size, a good rule of thumb is to add about 4 feet to your table's longest dimension. So a 4-foot round table pairs well with an 8-foot umbrella, and a 6-foot rectangular table works nicely with a 10-foot canopy. Going too small looks cheap and leaves half your guests in the sun. Going too large can create wind leverage problems if your base isn't heavy enough.
Canopy shape is mostly aesthetic, but it does affect coverage. Round canopies suit round and square tables. Rectangular canopies work better over long dining tables. Octagonal (the classic 8-panel market umbrella) is the most versatile and widely available shape.
Fabric is where a lot of people cut corners and regret it. Solution-dyed acrylic, like Sunbrella and Outdura, is the gold standard. The color goes all the way through the fiber, so UV doesn't fade it the way it bleaches cheaper fabrics. Olefin (solution-dyed polypropylene) is a decent budget alternative that dries fast and resists mildew. Basic polyester is the cheapest option and also the first to look washed out after a summer or two. If you want the canopy to still look good after several seasons and hold its color as a design element, spend the money on acrylic.
| Type | Best for | Typical base weight needed | Price range |
|---|---|---|---|
| Center-pole (market) | Standard dining tables with center hole | 50–75 lbs (7–9 ft canopy) | $ to $$ |
| Offset/cantilever | Tables without holes, large seating areas | 100+ lbs (dedicated base) | $$$ to $$$$ |
| Tilt market umbrella | Dining tables where sun angle shifts | 50–75 lbs | $ to $$ |
| Auto-tilt umbrella | Hands-free adjustment via crank | 50–75 lbs | $$ to $$$ |
Measure and prep your table before you buy the umbrella
This step saves a lot of hassle. Grab a tape measure and, if you have one, a set of calipers. Measure the diameter of the center hole in your table. Most dining table center holes range from about 1.7 inches to 2.5 inches depending on the design. Most residential umbrella poles measure 1.5 inches in outer diameter (OD). That means your pole will likely need a ring insert or collar to fill the gap and prevent the pole from rattling around. Many umbrellas come with a plastic ring insert for exactly this reason, but check before assuming yours does.
Also note your table material. Wood, aluminum, powder-coated steel, plastic, and glass all have different implications if you need to drill or modify the hole. Tempered glass is a hard stop: do not try to drill it yourself. I'll cover each material in the next section. For now, just identify what you're working with and measure the existing hole diameter and the table's total thickness at the hole location.
- Measure the center hole diameter with a tape measure or calipers (most range from 1.7–2.5 in.)
- Measure or look up the pole OD of the umbrella you're considering (typically 1.5 in. for residential models, 1.9–2.0 in. for larger commercial-grade umbrellas)
- Check the table thickness at the hole location, especially for wood or composite tops
- Identify the table material: wood, aluminum, steel, HDPE plastic, or glass
- Note whether the table has a cross-brace underneath that could accept an under-table anchor bracket
- Check if your existing table came with a plastic collar insert or umbrella plug
Drilling and modifying a table hole the right way
If your table has no center hole or the existing hole is the wrong size, you'll need to modify it. The approach depends entirely on the material. Here's what I've learned from doing this on several different table types.
Wood tables
Wood is the most forgiving material to work with. Mark your center point, then clamp a backer board underneath the tabletop to prevent tear-out when the bit exits. Drill a small pilot hole first (around 1/8 in.) to guide your larger bit. For a clean, flat-bottomed hole that accepts an umbrella sleeve insert, use a Forstner bit sized to match the insert's outer diameter. After drilling, chamfer or lightly route the top edge for a finished look and to help the insert seat cleanly. Seal the raw wood edges with an exterior sealant to prevent moisture absorption.
Metal tables (aluminum and steel)
Center-punch the layout mark first so your bit doesn't walk. Start with a small pilot bit, then step up in size. For thin-gauge aluminum or sheet steel, a step drill bit is much cleaner than a hole saw and reduces the risk of the material grabbing. For thicker metal, use cobalt HSS bits or an annular cutter, apply cutting oil continuously, and run at low RPM. Use a peck-drilling technique (drill a little, back out, drill more) to clear chips and avoid work-hardening the metal. Clamp a sacrificial backing plate underneath for a clean exit hole.
Plastic and HDPE tables
Plastic tables are easy to drill but melt if you go too fast. Use a sharp spade bit or hole saw at moderate speed, and back off if you see melting or smell burning. HDPE is forgiving and self-finishing to some degree. A standard backer board still helps with clean exits.
Glass tabletops
This is the one where I have to be direct: if your glass top is tempered, stop. Tempered (safety) glass cannot be drilled after the fact. The tempering process puts the surface under compression, and any attempt to remove material causes the whole pane to shatter instantly. Holes in tempered glass must be cut before tempering happens, at the factory. If you need a hole in a tempered glass top, order a new top from a glass fabricator with the hole specified upfront. Many local glass shops can do this for a modest per-hole fee. If your glass is annealed (non-tempered), you can drill it using diamond core bits with continuous water cooling (wet drilling) and a pilot guide to keep the bit from wandering. If you're not sure whether your glass is tempered, take it to a glass shop and ask before you pick up a drill.
Reinforcing the hole
For any material, if the hole is slightly oversized or you want the pole to sit more securely, use a rubber or stainless-steel grommet insert, or a plastic collar ring sized to bridge the gap between the pole OD and hole diameter. Seal around any drilled hole in wood or metal with exterior-grade silicone or urethane sealant to prevent water intrusion and corrosion over time.
Step-by-step: installing the umbrella into your patio table
- Assemble the umbrella canopy and frame according to the manufacturer's instructions before attempting to insert it into the table. It's much harder to attach ribs to a hub once the pole is seated.
- Check that the collar insert or ring adapter is in place in the table's center hole. The ring should match the pole OD closely so the pole doesn't rattle. Most umbrellas ship with a plastic ring; if yours doesn't fit snugly, buy a replacement ring or adapter (retailers stock them for 1.5 in. and 1.9–2.0 in. poles).
- Lower the pole through the center hole from the top. Have a helper hold the canopy upright while you guide the pole down, or prop it against something stable.
- Seat the pole into the umbrella base below the table. Make sure the pole is resting in the base receiver, not just sitting on top of the table insert.
- If using an under-table anchor bracket (such as a UBrace-style system), slide the bracket onto the pole below the table surface and clamp it to the table's cross-brace or center support. These brackets prevent the pole from tilting without requiring a heavy freestanding base.
- Tighten any thumbscrew, clamp bolt, or locking pin on the base receiver to secure the pole. Start by hand-tightening, then snug with a wrench, but don't over-torque plastic components.
- Check that the pole is plumb (straight up and down) by stepping back and eyeballing it from two directions, or use a small level against the pole.
- Open the canopy using the crank or push mechanism to confirm everything operates smoothly and the ribs are properly seated in the hub.
- Test the tilt mechanism if your umbrella has one. Confirm the canopy holds position at your desired tilt angle without creeping back.
- Place the decorative table insert ring (if included) over the pole at table level to fill any visual gap between pole and hole edge.
A note on adapters: if you're repurposing a beach umbrella or a larger commercial-grade pole on a standard table base, the pole OD is likely 1. For step-by-step instructions on repurposing a beach umbrella for table use, see how to use beach umbrella on patio. 9–2.0 in. rather than the standard residential 1.5 in. Many bases ship with interchangeable sleeve inserts in aluminum or steel to accommodate different pole sizes. Check what's included and swap the insert before you try to force a mismatched pole into the receiver. Forcing it damages both the pole and the base. For a step-by-step patio umbrella setup guide with photos and a quick checklist, see our patio umbrella setup guide. For more detail on adapting non-standard poles for patio use, the guides on how to convert a beach umbrella to a patio umbrella and how to put an umbrella in a patio table go deeper on adapter specifics and sleeve compatibility.
Base and support options: how much weight you actually need
The base is the part most people underinvest in, and it's the part most responsible for umbrella failures (and injuries) in wind. Here's the honest breakdown of your options and the weight requirements that come with each.
Fillable plastic bases
These are the most common and most versatile option. They ship light and you fill them on-site. You have two fill choices: water or sand. Water fill is convenient and easy to empty at the end of the season, but it produces less weight than sand. Sand fill gives you maximum mass and much better wind resistance, but it's messy to empty and you'll likely leave it in place all season. For windy areas, always choose sand. For most 7–9 ft umbrellas, aim for a base that reaches at least 50 lbs when filled. The common retailer rule of thumb is 10 lbs per foot of canopy diameter, so a 9-foot umbrella needs at least a 90-lb base ideally.
Cross bases and weighted plate bases
Cast-iron cross bases and weighted plate bases (stackable or single-piece) offer more stable footprints than round fillable bases and look more finished in outdoor settings. They're heavier to transport but you don't have to worry about filling them. Cast-iron cross bases typically start around 50 lbs and go up from there. These are a good option when the umbrella base is visible and you want it to look like part of the furniture arrangement.
In-ground sleeves
An in-ground sleeve is a steel tube set into a concrete footing in the ground. It's the most secure mounting option available and eliminates any concern about the umbrella tipping. If you have a fixed umbrella location in a concrete patio, this is worth considering. The downside is that it's permanent and the location can't be changed without breaking up concrete.
Surface mount anchors and deck mounts
Surface mounts bolt directly to a deck or concrete pad using lag bolts or concrete anchors. They provide very solid holding power without a deep footing and are removable at the end of the season by unbolting the flange. These are a practical middle ground between freestanding bases and in-ground sleeves for deck installations.
Under-table anchor systems
Products like the UBrace clamp to the table's cross-brace or frame from underneath and grip the pole, effectively using the table itself as the anchor. This works well for tables with a sturdy central cross-brace and reduces the freestanding base weight you need. It doesn't eliminate the need for a base entirely, since the base still prevents the pole from being lifted out, but it significantly increases lateral stability.
| Base type | Minimum weight (7–9 ft umbrella) | Minimum weight (10–13 ft / offset) | Portability | Best for |
|---|---|---|---|---|
| Fillable plastic (water) | 50 lbs | 100 lbs | High (empty to move) | Budget-friendly, seasonal use |
| Fillable plastic (sand) | 50–90 lbs | 100+ lbs | Low once filled | Windy locations |
| Cast-iron cross base | 50+ lbs | 100+ lbs | Low | Permanent or semi-permanent setups |
| In-ground sleeve | N/A (concrete footing) | N/A (concrete footing) | None | Fixed patio locations |
| Surface mount/deck flange | N/A (bolted) | N/A (bolted) | Seasonal (unbolt) | Deck installations |
| Under-table anchor bracket | Reduces base weight needed | Not typically suitable | Moderate | Tables with solid cross-braces |
Getting the shade right: positioning, tilt, and following the sun
Installing the umbrella is only half the job. Where it points and how it tilts determines whether it actually shades the people sitting at the table, or just looks like it does while everyone squints.
Height matters more than most people realize. The canopy should sit high enough that people can see across the table without ducking under the frame, but not so high that the shade cone misses the table entirely. For most dining setups, the canopy hub should be at least 7 feet above the ground. Many standard market umbrellas open at around 7.5–8 feet at the hub when fully raised, which works well for seated dining.
Tilt is what lets you track the sun as it moves across the sky. Most market umbrellas offer push-tilt (you physically push the canopy to angle it) or crank-tilt (the tilt engages automatically at the end of the crank's raise travel, called auto-tilt). For a dining table, a tilt range of about 30–45 degrees from vertical is enough to block low afternoon sun without making the canopy look awkward. Once you've tilted, make sure the mechanism locks positively. If it doesn't hold position and keeps drifting back, the tilt pin or crank-tilt cam is likely worn and needs replacement, which is a common repair covered in the troubleshooting sections of this site.
The sun moves from east to west and sits lower in the sky in morning and late afternoon. In the northern hemisphere, the highest sun position is toward the south at midday. For a fixed center-pole umbrella, the worst shading scenario is directly overhead midday sun, which a vertical canopy handles well. The problem is afternoon sun coming from the west at a low angle. If your table gets afternoon sun, choose an umbrella with a tilt feature and plan to tilt it westward in the afternoon. Some bases allow 360-degree rotation, which helps you quickly spin the canopy to face whatever direction the sun is coming from. A guide on how to position a patio umbrella covers the rotation and angle specifics in more detail.
Wind safety: when to tie it down, when to close it, and when to take it apart
This is the section where I've seen the most people make expensive or dangerous mistakes. An open patio umbrella in wind is effectively a sail. At sustained winds of 20 mph or gusty conditions above 25 mph, an open umbrella on a standard residential base can tip, roll, or become airborne. Close the canopy any time wind picks up beyond a light breeze. Do not leave an open umbrella unattended in questionable weather. This is the single most important piece of advice in this entire article.
Tie-downs, straps, and wind anchor kits
For extra security when you expect wind but want to keep the umbrella up (for example, a partial wind event where you plan to be outside), there are a few practical options:
- Velcro or bungee tie-down straps: wrap around the closed canopy to prevent it from opening in the wind; these are the simplest and cheapest option for storage and off-season security
- Umbrella clamp straps: clip from the canopy frame to the table or base pole to resist opening; useful for brief unattended periods
- Anchor kits with ground stakes: stake through the base feet to prevent the whole unit from rolling; effective on grass or dirt surfaces
- Sandbag weights: place over base feet or straps; add-on weight without commitment to permanent anchoring
- Under-table anchor brackets: as described in the base section, these resist lateral pole movement significantly
Repair vs. remove: the honest decision guide
After a wind event, you may find a bent rib, a broken crank, a cracked pole, or a snapped lift cord. Here's how I think about the repair-vs-replace decision. If the frame (the pole and hub) is intact and it's just a rib, a cord, or a crank mechanism that's failed, repair is almost always worth it. Replacement ribs, lift cords, and crank assemblies are widely available as OEM or aftermarket parts and typically cost $5–$40 depending on the part and brand. If the pole is cracked at the collar region or the hub has fractured, repair gets more complicated and expensive. A cracked pole on a mid-range umbrella is often a replacement trigger rather than a repair job, especially if the umbrella is more than 4–5 years old.
For brand-specific repair guidance, the manufacturer's customer support page (Treasure Garden, Purple Leaf, and others) lists OEM replacement part numbers and care recommendations. This site also covers the most common mechanical failures in detail: jammed cranks, tilting mechanisms that won't hold, broken ribs, and frayed lift cords. Check the brand-specific repair guides before ordering parts to make sure you're getting the right components for your model.
| Failure type | Repair worth it? | Typical cost to repair | When to replace instead |
|---|---|---|---|
| Broken rib | Yes | $10–$25 per rib | If multiple ribs failed simultaneously (frame fatigue) |
| Frayed or snapped lift cord | Yes | $5–$15 | Rarely a replacement trigger on its own |
| Jammed or stripped crank | Usually yes | $15–$40 for crank assembly | If crank housing is cracked or pole is also damaged |
| Tilt mechanism won't hold | Usually yes | $10–$30 for tilt pin or cam | If the hub itself is cracked |
| Cracked or dented pole | Sometimes | $30–$80+ for pole section | If pole is cracked at collar or hub junction |
| Torn canopy fabric | Yes for small tears; no for large | $0 (patch kit) to $60+ (panel replacement) | If more than one panel is torn or severely faded |
Styling the table: canopy color, accents, lighting, and making it a focal point
Once the umbrella is installed, positioned, and secured, the styling decisions are actually fun. The canopy is a large color plane that dominates the visual weight of your outdoor space, so treat it like you would a major furniture piece when choosing color. Neutral tones (white, natural, tan, slate gray) are the safest and most versatile choices. They recede visually and let the rest of the table decor do the talking. Bold stripes or solid saturated colors (navy, terracotta, forest green) make the umbrella the focal point and work well when the surrounding furniture is neutral.
Table accents that pair well with an umbrella setup include low centerpieces (lanterns, potted succulents, candle groupings) that sit well below the canopy and don't compete with it vertically. Avoid tall centerpieces under a market umbrella as they interfere with the pole and can limit how far the canopy opens. Placemats and cushions in complementary colors to the canopy fabric tie the whole table together without matching exactly.
String lights are one of the best additions to a patio umbrella setup for evening use. Drape café lights or solar string lights along the ribs from the hub outward and down to the finial or the edge of the canopy. This transforms the umbrella into ambient overhead lighting after dark with no additional fixtures needed. Use clips or small cable ties to secure the light strings to the ribs so they don't hang loose in wind. Solar-powered strings are the most convenient since you don't need a power source nearby.
For a fully finished look, add a matching umbrella base cover or decorative planter ring around the base pole if it sits on the table surface. Some tables include a decorative insert ring that fills the gap around the pole at table level; if yours doesn't, aftermarket rings are available in resin, metal, and teak finishes.
Keeping it looking good: fabric care, maintenance, and seasonal storage
A well-maintained umbrella lasts significantly longer than one that gets ignored. For solution-dyed acrylic canopies (Sunbrella and similar), the routine is simple: hose off surface dirt regularly and spot-clean stains with mild soap and water. After a heavy cleaning or at the start and end of each season, apply a fabric protector like 303 Fabric Guard to restore water-repellency and UV protection. Sunbrella publishes a detailed care guide with approved cleaners, and it's worth following if you have a quality canopy.
For the frame and mechanism, periodic lubrication keeps cranks, tilt cams, and rib hinge points operating smoothly and prevents the corrosion that leads to most mechanical failures. A spray of silicone lubricant or a drop of 3-in-1 oil on the crank gear, tilt pin, and rib pivot points at the start of the season is a 10-minute task that prevents most of the common failures I see. Inspect the lift cord for fraying at the same time. A frayed cord costs very little to replace proactively and a lot more to deal with after it snaps mid-season.
At the end of the season, close and secure the canopy, remove it from the base if possible, and store it in a breathable cover or a protective bag in a garage or shed. Avoid storing a damp canopy in a sealed plastic bag, as mildew can set in over a winter even on mildew-resistant fabrics. If you're leaving the base outdoors, drain fillable bases before freezing temperatures arrive to prevent cracking. For more on this, the seasonal storage and winterizing sections of this site cover the full process for both the canopy and the base hardware.
FAQ
How do I choose the right umbrella pole size for my patio table?
Measure your umbrella pole outer diameter (OD) with calipers or a tape measure. Most residential umbrella poles use about 1.5 in. (≈38 mm) OD; heavier recreational/commercial poles are ~1.9–2.0 in. Compare your measurement to the table hole or base collar. If the pole is smaller than the hole, use a sleeve/adapter or table insert; if the pole is larger, you’ll need a different umbrella or to replace the insert. Check product specs for pole OD before buying a new umbrella or base.
What are the step-by-step instructions to install an umbrella in a table?
1) Measure center point of the table and confirm material (wood, metal, glass, tile, stone). 2) Verify desired pole OD and sleeve/insert size. 3) For wood: clamp a backer board, mark center, drill pilot, then use a Forstner or hole saw sized to the finished insert; rout/chamfer the top edge and dry-fit the sleeve. 4) For metal: center‑punch, pilot with HSS/cobalt bit, then step drill or annular cutter using cutting oil and low RPM; use a backing plate. 5) For tile/stone/glass (non‑tempered): use a diamond core/wet hole saw; for tempered glass have a fabricator pre‑drill—do not DIY drill tempered glass. 6) Install a threaded sleeve or flange from below, seal with exterior silicone/urethane, tighten stainless fasteners, and fit adapter sleeves as needed. 7) Test fit umbrella, secure per manufacturer instructions, and anchor base under table if using an under‑table system.
What drilling tools and bits should I use for different tabletop materials?
Wood: pilot bit and Forstner or hole saw sized to your sleeve; use backer board. Metal: center‑punch, pilot HSS/cobalt bit, then step drill for thin metal or annular cutter/cobalt bit for thicker metal; use cutting oil. Tile/stone/glass: diamond core or diamond hole saw with wet cooling; for tempered glass a fabricator must pre‑drill. Always clamp work, use sacrificial backing where possible, and wear PPE.
How do I adapt an umbrella to fit a table hole that’s too large or too small?
If hole is larger than pole OD: install a decorative table sleeve/insert or a split/expanding collar sized to the hole and pole OD; use silicone sealant around the top edge for weatherproofing. If hole is smaller than pole OD: you must widen the hole using appropriate tools (see material‑specific guidance) or replace the table top/insert. For temporary fit, use a compression adapter sleeve or rubber sleeve inside a base sleeve, but permanent fixes should be sleeved and sealed.
What base options are there for a center‑hole table umbrella and how do I pick one?
Options: (a) fillable/weighted base placed under the table and passing through the hole, (b) under‑table anchor/bracket systems that clamp to cross‑braces, (c) through‑table anchored sleeves/flange plates bolted under the table, and (d) dedicated heavy fixed bases for cantilever umbrellas. Choose by umbrella size and table design: fillable bases are simple but need enough weight; under‑table anchors suit tables with cross‑braces; bolted sleeves give the best rigidity for permanent installs. Verify compatibility with your pole OD and table opening.
How much base weight do I need to safely anchor my umbrella?
Use the 10 lb per foot of canopy diameter rule as a starting point: e.g., a 7–9 ft umbrella typically needs ~50–90 lb; larger 10–13 ft or cantilever umbrellas often require 100+ lb or engineered bases. Fillable bases: sand gives much higher final mass than water—use sand for windy locations. Increase weight in exposed or coastal sites and always close and store umbrellas in high wind.
Next Articles
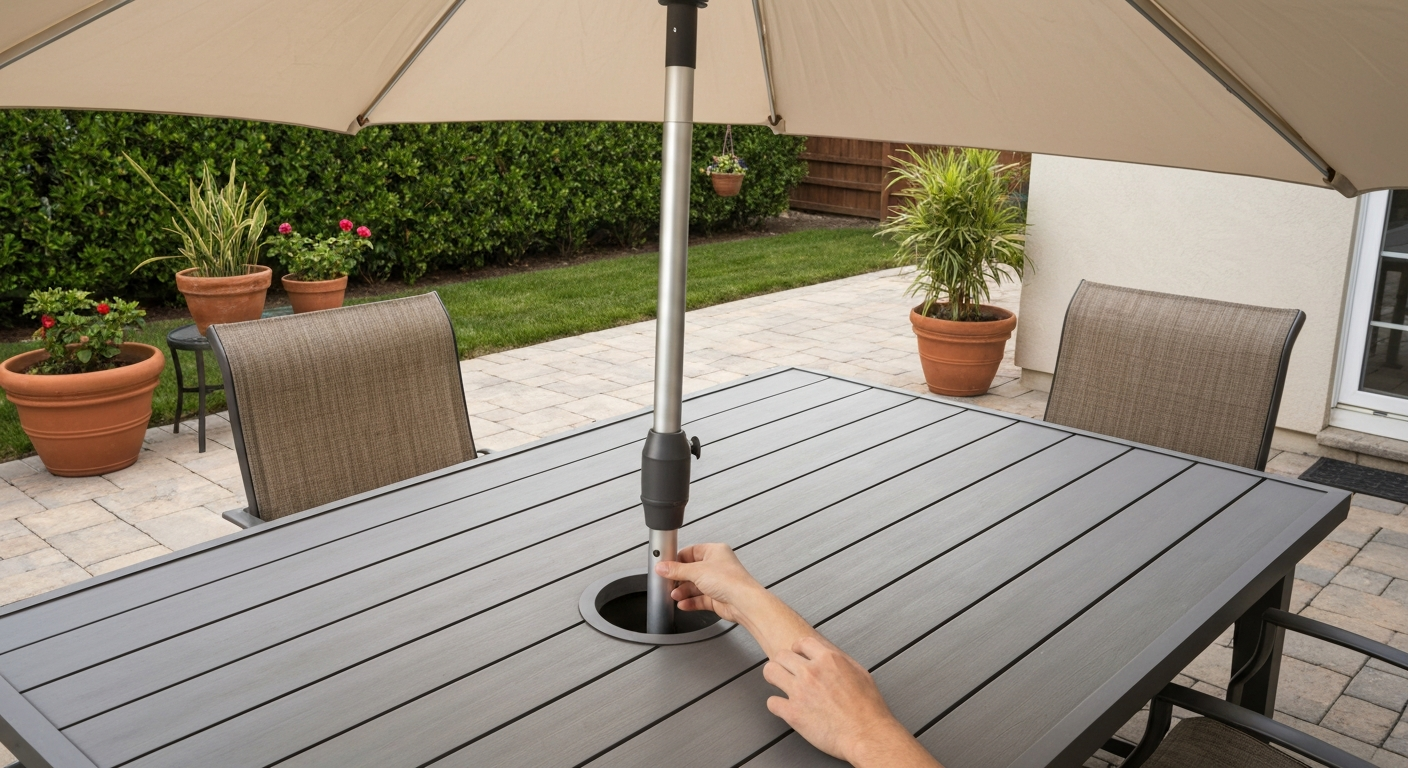
How to Put Umbrella in Patio Table: Fit, Install & Secure
Install, secure, and troubleshoot a patio-table umbrella: measurements, adapters, wind safety, and seasonal care.
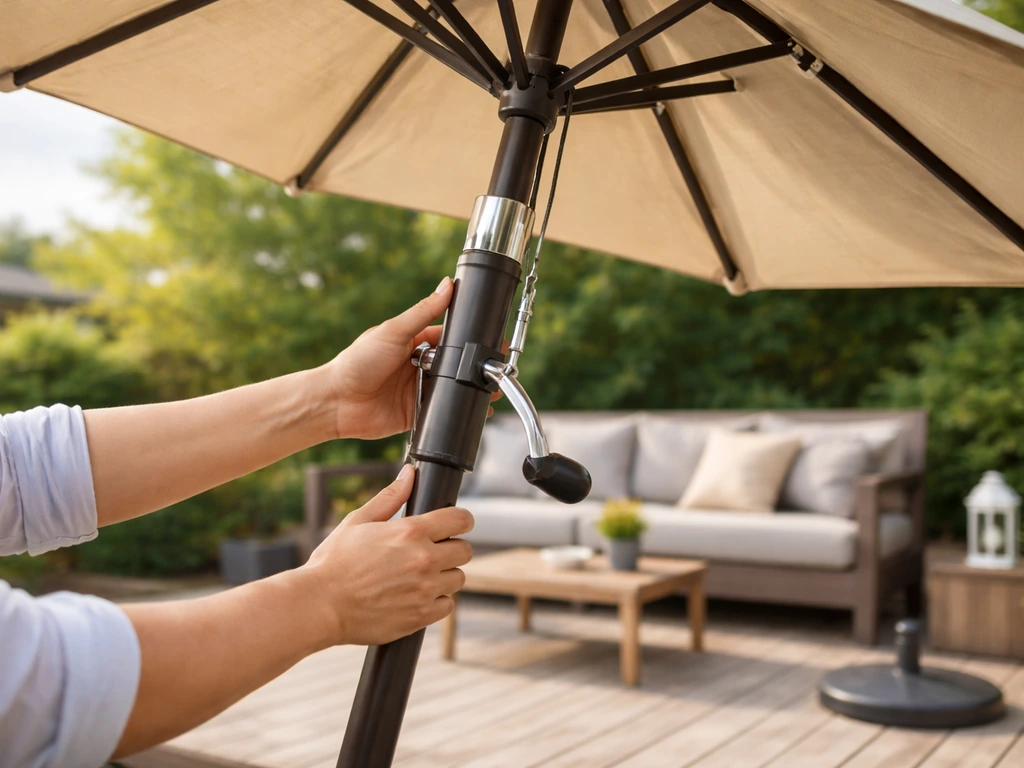
Patio Umbrella Setup: Step-by-Step Assembly and Secure
Step-by-step patio umbrella setup with fixes for jammed cranks, misaligned ribs, cords, and secure wind protection.
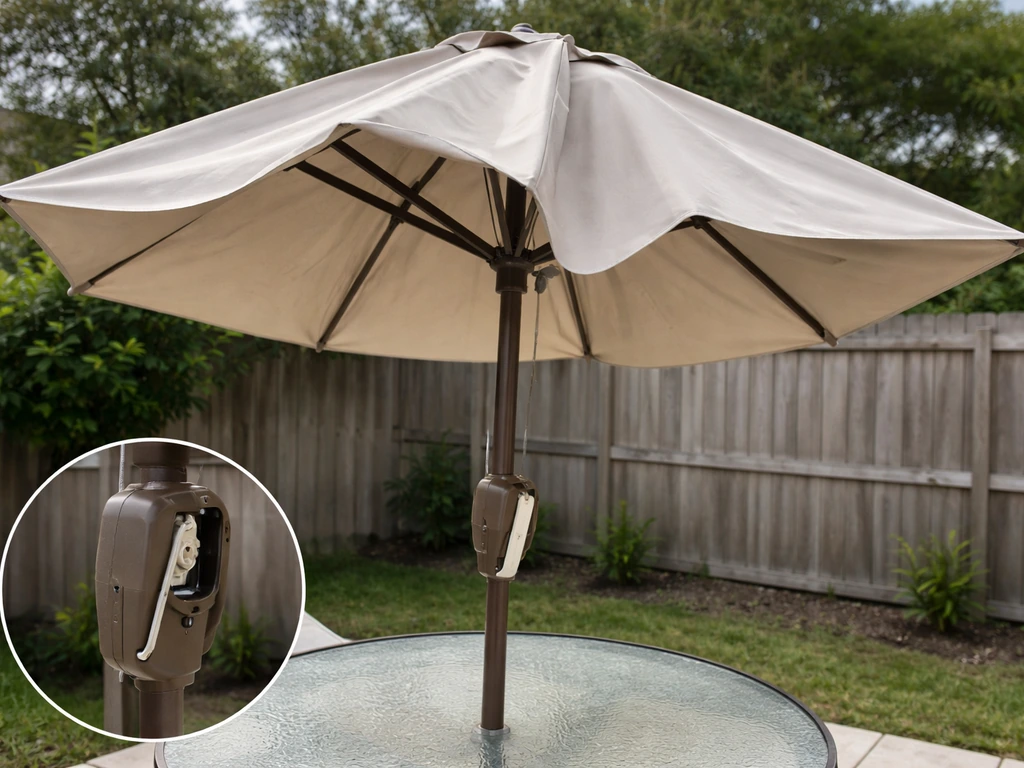
How to Fix a Patio Umbrella That Won't Open or Close
Step-by-step fixes for patio umbrellas that won’t open or close, with checks for jams, cords, latches, and lubricating t