
Most bent patio umbrella parts, whether a single rib, a spreader arm, or even a gently bowed pole, are fixable at home with basic hand tools, a sleeve splint or two, and about an hour of your time. The key is knowing which bend is safe to repair and which one means it is time to retire the frame. This guide walks you through diagnosing exactly what bent, choosing the right repair method for ribs, arms/spreaders, and the central pole or hub, sourcing the right replacement parts when you need them, and preventing the same damage from happening again.
Fix Bent Patio Umbrella: DIY Repairs, Parts & Replace Guide

Luca Morrison
18 Jul 2026
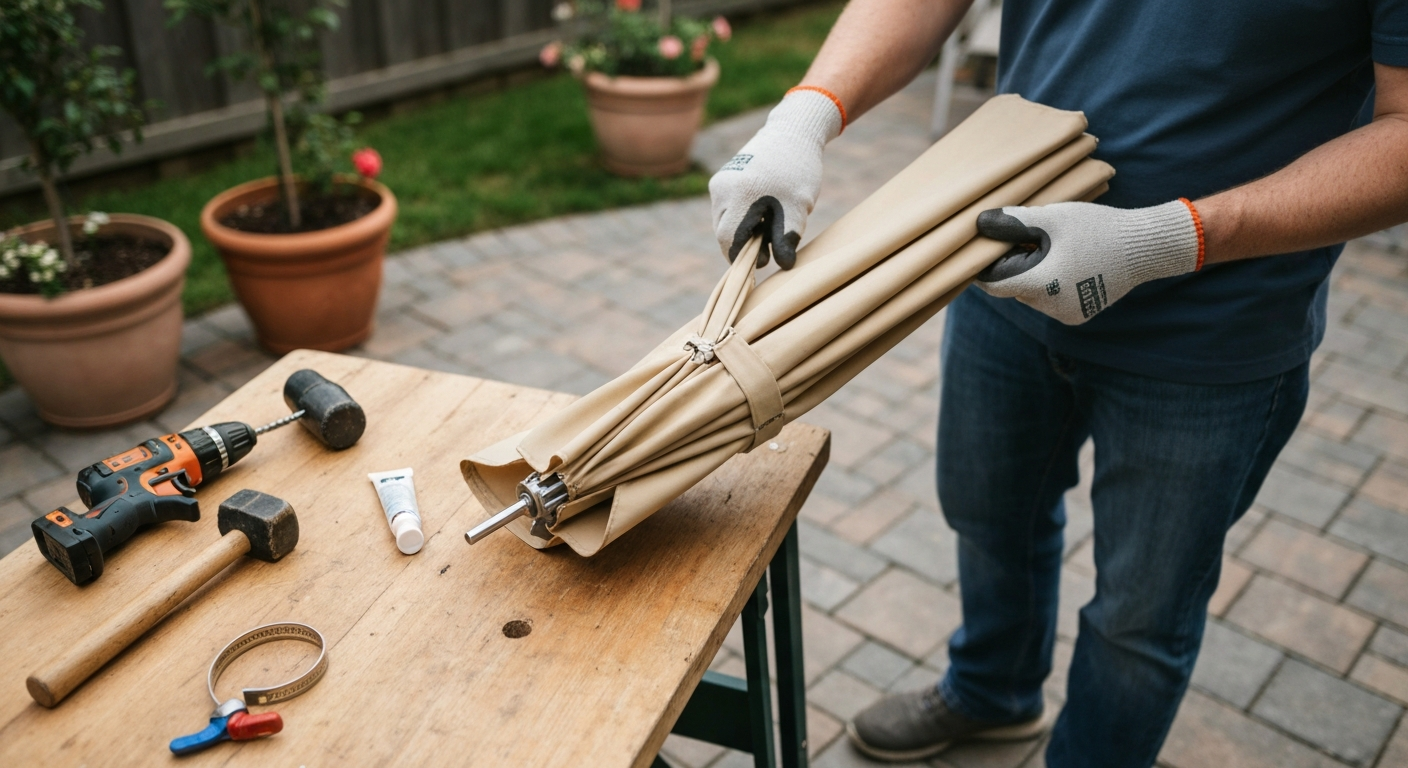
When to fix a bent patio umbrella (and what this guide covers)
A single wind gust, a falling branch, or just years of seasonal stress can leave your umbrella with a rib that droops, an arm that will not lock flat, or a pole that leans at an odd angle. Before you haul the whole thing to the curb, know that manufacturers like Treasure Garden design most ribs and spreader arms to be field-replaceable with nothing fancier than a Phillips screwdriver and a hand riveter. This guide covers three distinct repair zones: the outer ribs (the long spokes that support the canopy), the inner arms or spreaders (the shorter struts that connect runner to rib), and the central pole and hub assembly. For each zone you will get a diagnosis step, a severity check, a temporary fix if you need it today, and a permanent repair path.
Quick diagnosis: figure out exactly what bent
Work through this flow before you pick up a tool. Close the umbrella completely first, then open it back up slowly while watching how the frame moves. That sequence reveals most problems quickly.
- Close the umbrella and lay it flat or lean it on a wall. Sight down each rib from tip to hub. A bent rib will show a visible bow or kink; a cracked rib may look straight but will flex abnormally when you push it gently sideways.
- With the umbrella closed, check the runner (the sliding collar on the pole) and the notch (the locking collar above it). Wobble each spreader arm pivot pin. Excessive play or a snapped pin points to an arm/spreader problem, not a rib problem.
- Inspect the hub (the cast or machined fitting at the top of the pole where ribs attach) for cracked slots, elongated bolt holes, or warped/melted plastic.
- Stand back three feet and sight down the pole from above the finial. A bent pole shows an obvious curve or leans off-center in the base. Also squeeze the pole lightly at the bend point — if the cross-section feels oval rather than round, the tube wall has already deformed.
- If any part shows a through-crack (a crack that goes fully through the wall of the tube or casting), stop. That part needs replacement, not straightening.
Use the results of that check to jump to the right section below. If you found a bent or broken rib, go to the rib repair section. If the spreader arms are the problem, go to the arms section. If the pole or hub is bent, go straight to that section and read the safety notes carefully before doing anything else.
Safety first: gear up and set up before you start
I know it feels like overkill for what is essentially outdoor furniture, but bent metal frames have sharp edges and spring-loaded parts that can snap back hard. Take two minutes on these precautions.
- Wear cut-resistant gloves whenever you handle a bent or cracked metal rib or arm. Aluminum and steel edges after a bend failure are razor-sharp.
- Wear safety glasses when using a rivet gun, drilling out old rivets, or applying pressure to straighten a part. Fragments and rivet shanks move fast.
- Fully close and detach the canopy before doing any structural work. A loose canopy can catch a breeze and knock the frame over while you are working on it.
- Remove the umbrella from its base and lay it on a stable, flat surface (a workbench, a picnic table, or even a clean section of driveway). Do not work on it while it is upright in the stand.
- If the pole is bent and you need to apply force to straighten it, secure it with clamps before pushing. An unsecured pole can roll or kick sideways.
- Avoid using open flame or a heat gun on powder-coated or painted parts without proper ventilation. Burning powder coat releases fumes.
- Never attempt to repair a structural part (pole, hub) that shows a through-crack and then put it back into regular use. A re-bent cracked pole can fail suddenly under a person's weight or in wind.
Tools and parts you will need
You probably own most of these already. The total cost to stock the repair-specific items from scratch is typically under $60 for rib and arm repairs, and under $120 even if you need a replacement hub.
Hand tools
- Phillips screwdriver (most rib-to-runner connections use Phillips machine screws)
- Flathead screwdriver (for prying open runner caps)
- Needle-nose pliers (for removing pivot pins and pulling stubborn rivet shanks)
- Drill with a 3/32-inch to 1/8-inch bit set (for drilling out old rivets)
- Hand rivet gun with a selection of 3/32-inch and 1/8-inch aluminum or stainless rivets (a basic kit from a hardware store runs $10 to $30)
- Rubber mallet (for coaxing bent aluminum back into alignment without marring the surface)
- Tape measure and permanent marker
- Fine-grit sandpaper or a small wire brush (for surface prep before epoxy)
- C-clamps or hose clamps in assorted sizes (for holding splints during cure)
- Hacksaw or pipe cutter if you need to trim a sleeve to length
Repair materials and replacement parts
- Sleeve/splint tubing: a short section of aluminum or stainless tubing slightly larger in diameter than your rib or arm (typically 3/4-inch to 1-inch OD for ribs; 1-inch to 1.5-inch OD for poles). Hardware stores sell this by the foot.
- Structural epoxy: J-B Weld Original or KwikWeld for metal-to-metal joins; West System 105/205 fiberglass repair kit for composite (fiberglass) ribs
- Pop/blind rivets: aluminum rivets for aluminum frames, stainless for coastal or high-humidity environments (3/32-inch or 1/8-inch diameter to match existing hole sizes)
- Replacement rib: order by rib count (common: 6, 8, 9), rib length (measure tip-to-hub in inches), and material (aluminum or fiberglass). OEM manuals like those for Treasure Garden UM80/UM81/UM92/UM800 series list part numbers directly.
- Replacement spreader arm/strut: match by pivot pin diameter, arm length, and the number of pre-drilled holes
- Replacement hub or runner: match by rib slot count (must be exact), pulley groove count if your umbrella is cord-lift, and pole diameter. Expect to pay $20 to $120 depending on model and whether you source OEM or aftermarket.
Measurements to take before you order
- Pole outer diameter at the hub (common: 1.5-inch or 2-inch; measure with calipers or a tape)
- Rib outer diameter at the hub end (typically 0.5-inch to 0.75-inch)
- Rib length from hub pin hole to tip (measure the undamaged ribs)
- Number of ribs
- Hub slot depth and pin hole diameter (needed when ordering a replacement hub)
Is the bend repairable? Cosmetic vs structural damage
Not every bend is worth fixing, and not every fix is safe to put back into structural service. Here is how I sort damage into three buckets before committing to a repair approach.
| Damage type | Description | Verdict |
|---|---|---|
| Cosmetic bend | Gentle curve in a rib or arm, no cracking, full range of motion still present | Straighten or leave as-is; structural integrity mostly intact |
| Moderate bend | Visible kink or 10–30 degree deviation, but tube wall is not cracked and pivot points still function | Straighten with sleeve splint or replace the single part; repair is worthwhile |
| Severe bend / kink | Sharp crease or kink where the tube wall has buckled inward (ovalized cross-section) | Replace the part; the wall is compromised even if no crack is visible |
| Through-crack | A crack that runs fully through the tube wall or through a hub casting | Replace only; do not repair and return to service |
| Multiple ribs bent | Three or more ribs damaged in the same incident | Evaluate whether the hub is also damaged; may be more economical to replace the entire frame or umbrella |
| Bent pole, runner still moves freely | Pole has a slight bow but runner slides and base mount is sound | Sleeve splint is a reasonable temporary fix; assess after install |
| Bent pole, runner jammed or base mount deformed | Bend is at a pivot or mount point, preventing operation | Replace the pole; a jammed runner is a safety issue and a sleeve will not fix the root cause |
Aluminum is the trickiest material here. Thin-walled extruded aluminum (like 6061-T6 tubing commonly used in mid-grade umbrella frames) loses ductility quickly when kinked and is very difficult to weld safely without specialist TIG equipment. If you try to heat-straighten it yourself, you risk cracking the temper and creating a weaker part than you started with. For aluminum parts with a real kink, mechanical sleeve splinting or outright replacement is the smarter call.
Repairing bent ribs
Diagnosing the rib problem
A drooping canopy panel almost always points to a bent or broken rib underneath it. With the umbrella open, walk around and look up at each rib from below. The bent one will sit lower than the others and may have a visible kink anywhere from the hub end to the tip. Run your gloved hand along the rib to feel for any sharp edge or deformity that your eye might miss. For step-by-step instructions specifically on how to fix patio umbrella ribs, see fix patio umbrella rib.
Temporary splint: buy yourself time
If you need the umbrella usable this weekend and your replacement part has not arrived yet, a sleeve splint works well on ribs with a moderate bend that has not cracked. Slide a 4 to 6-inch length of slightly larger-diameter aluminum tubing over the bent section, center it over the kink, and secure it with two small hose clamps or two pop rivets on each side of the kink. This is not a permanent fix, but it restores enough rigidity to use the umbrella in calm weather while you wait for the right part. For a step-by-step walkthrough and parts list to repair broken patio umbrella rib, see the linked repair guide.
Straightening a moderately bent rib
- Remove the canopy fabric from the rib tips (most canopies attach with Velcro tabs or fabric pockets at the tips — unclip or slide them off).
- If the rib is accessible without full removal, try gentle cold-bending by hand first. Support the rib on each side of the kink with your thumbs and apply slow, even pressure against the bend. Do this in small increments; do not force it past straight.
- For a more controlled straighten, remove the rib from the umbrella (see step-by-step removal below) and clamp the straight section of the rib in a padded vise. Use a rubber mallet to tap the bent section back toward straight, checking alignment after every two or three taps.
- Once straight, sight down the rib from tip to hub like a pool cue. It should be arrow-straight. If there is still a visible bow, apply the sleeve splint over the corrected area for added rigidity.
- Reinstall and test by opening the umbrella fully. The repaired rib should sit at the same height and angle as its neighbors.
Removing and replacing a rib (step-by-step)
Most push-button and tilt umbrella models from major brands (Treasure Garden UM80, UM81, UM92, UM800, and similar series) use a pinned or screwed rib attachment at the hub and a pivot pin at the runner. Treasure Garden UM970x / UM800 series, Rib replacement & assembly instructions (Manualzz mirror of OEM doc) documents that many ribs are designed to be field-replaceable, showing how to remove a broken rib from the runner and hub using Phillips screws and pinned connections and re-install a replacement without welding Treasure Garden UM970x / UM800 series — Rib replacement & assembly instructions (Manualzz mirror of OEM doc). Here is the general procedure based on OEM removal sequences.
- Close the umbrella fully so the runner slides down and the ribs relax.
- Remove the finial (the cap at the top of the umbrella) — usually a threaded cap. Turn counterclockwise to unscrew it.
- Locate the hub at the top. Each rib attaches to the hub with a pin or Phillips screw. Using your screwdriver, remove the screw or use needle-nose pliers to press and pull the pin out. Note which slot the damaged rib sits in.
- At the runner (the sliding collar partway down the pole), find the spreader arm that connects to the same rib. The spreader arm attaches to the runner with a pivot pin or rivet. Drill out the old rivet or remove the pin.
- With both ends free, slide the rib out of its hub slot and set the old rib aside. Keep the pivot pins and screws.
- Slide your replacement rib into the hub slot. The replacement must match the original in length and diameter. OEM part numbers are listed in the model's assembly manual — if you have the manual, use it.
- Reinstall the hub pin/screw at the top, then reattach the spreader arm pivot pin at the runner using a new rivet (same diameter as original, aluminum or stainless to match the frame material).
- Reinstall the finial, reattach the canopy fabric at that rib tip, and open the umbrella to check alignment.
- The whole job typically takes 20 to 40 minutes per rib once you have done it once. Replacement ribs from aftermarket suppliers typically cost $8 to $25 each depending on length and material.
For fiberglass composite ribs with a small crack rather than a full break, a fiberglass repair kit (West System 105/205 style) can restore structural integrity. Sand the damaged area back to clean material, bevel the edges, lay two or three layers of fiberglass cloth wetted with mixed epoxy, let it fully cure (24 hours minimum at 65 degrees F or above), then fair and paint to match. This is worth doing when the rib is an unusual size and a replacement is hard to source, but honestly for most ribs, replacement is faster and cleaner.
Repairing bent arms and spreaders
Spreader arms (also called struts) are the shorter, angled members that connect the runner on the pole to the mid-point of each rib. They are under more compressive and tensile stress than ribs, so a bent spreader arm is a more serious issue than a bent rib tip. On the upside, they are also usually the easiest part to replace because they attach at both ends with simple pivot pins or rivets. For step-by-step instructions on how to fix patio umbrella arm, see the linked guide for diagnosis, straightening, and replacement options.
Diagnosing a bent spreader arm
Open the umbrella and look at the geometry of the spreader arms. They should all be at the same angle relative to the pole. A bent arm will either sit at a flatter or steeper angle than its neighbors, or the rib it connects to will droop or cant sideways. Close and open the umbrella a few times: a bent or kinked spreader arm sometimes causes the runner to stick or the rib to not fully extend. While you are at it, check the pivot pins and connector holes at each end of the arm for elongation (oval holes instead of round) or cracked material around the hole, that is a separate problem from a bent arm but often happens at the same time.
Hinge and connector checks
- Wiggle each pivot pin by hand. More than 1-2mm of side play means the hole has wallowed out and the connector needs replacing even if the arm itself is straight.
- Look for cracks radiating from the pivot pin hole in the arm end — this is a stress fracture and the arm must be replaced, not splinted.
- Check the runner's pivot slots for the same wallowing. If the runner slots are worn or cracked, the runner itself needs replacement (match by pole diameter and rib count).
- Inspect any plastic connector blocks or nylon pivot bushings — these wear out and are often available as a $2 to $10 spare part direct from the manufacturer.
Straightening or replacing a bent spreader arm
- Close the umbrella and remove the canopy if it is in the way.
- Drill out or remove the rivet/pin at the runner end of the bent arm. Then remove the pin or rivet at the rib end. The arm will come free.
- Examine the arm off the umbrella. If it has a gradual bow with no kink or crack, clamp it in a padded vise and tap it straight with a rubber mallet, checking frequently. A gentle bow in an arm without cracking is usually safe to straighten and reinstall.
- If the arm has a sharp kink, replace it. Trying to straighten a kinked spreader arm leaves a stress riser exactly where the arm is under the most load when the umbrella is open in wind. It is not worth the risk.
- To install the replacement arm, slide the hub end into position first (usually a forked connector that slips over a pin). Secure with a new rivet or the original pin. Then connect the runner end and rivet in place.
- Use rivets that match the original diameter and material (typically 3/32-inch or 1/8-inch aluminum). A hand rivet gun from any hardware store handles this easily. A basic hand riveter kit costs $10 to $30 and comes with an assortment of rivet sizes.
- Open and close the umbrella three or four times. The repaired arm should move smoothly through its full range with no binding or popping sounds.
Replacement spreader arms are sold by OEM parts channels (Treasure Garden customer support, for example, stocks arms for current production models) and by aftermarket suppliers online. When ordering, give the supplier your rib count, arm length (tip-to-tip of the arm itself, not the full rib), and pivot pin diameter. Prices typically run $5 to $20 per arm for standard aluminum spreaders. If you need more detail on arm replacement procedures, the repair process overlaps with full arm replacements, which are covered in related guides on this site.
Repairing a bent central pole or hub
I will be straight with you here: a bent central pole is the most serious repair on this list, and it is also the one where I most often tell people to just replace the part rather than repair it. That said, there are real scenarios where a pole or hub repair is safe and practical, so let me walk through all the options.
Assessing the pole bend
Lay the pole on a flat surface and roll it slowly. A perfectly straight pole will roll smoothly. A bent pole will rock or lift off the surface at the bend point. Also squeeze the pole at the bend location to check for ovalization (an oval cross-section instead of round). An ovalized section means the tube wall has buckled inward, and that is a structural failure, not just a cosmetic bend. If the cross-section is still round and the bend is a gentle curve (say, 5 degrees or less from straight), you have repair options. If the pole is noticeably kinked or ovalized, replace it.
Temporary splint for a gently bent pole
- Source a short sleeve of slightly larger-diameter tubing (for a 1.5-inch OD aluminum pole, you want approximately 1.75-inch ID sleeve tubing, about 8 to 12 inches long). Aluminum or galvanized steel both work.
- Try to cold-straighten the pole first: clamp the straight sections in a padded vise and apply slow, even pressure against the bend using your hands or a rubber mallet. Check progress every few taps. Stop before you introduce a kink in the opposite direction.
- Once the pole is as straight as you can get it, slide the sleeve over the corrected area. Center the sleeve on the previous bend location.
- Apply a bead of structural epoxy (J-B Weld Original or equivalent) around the inner surface of the sleeve before sliding it on. Wipe away squeeze-out immediately.
- Secure the sleeve with two hose clamps, one at each end of the sleeve. Tighten firmly but not so hard that you deform the underlying pole.
- Let the epoxy cure fully (J-B Weld Original: 4 to 6 hours to handle, 15 to 24 hours for full cure) before re-installing the pole.
- Test: reinstall the pole in the base and verify the runner slides freely from bottom to top without binding. If it binds anywhere near the splice, the pole is still not straight enough for safe use.
This sleeve repair is a legitimate semi-permanent fix for a gently bent pole that is not at a base mount point or runner travel zone. It is not appropriate if the bend is directly at the hub, directly at the base mount, or if the runner has to travel over the repair area. In those cases, the sleeve will either prevent the runner from moving or put stress directly on the repair joint.
A note on welding: usually not worth it
I get asked about welding a bent aluminum pole back together fairly often. Here is the honest answer: thin-walled aluminum tubing (like the 6061-T6 alloy used in most quality umbrella poles) is difficult to TIG-weld without distorting the geometry and introducing porosity or heat-affected zone cracks. Even experienced welders find this tricky. Unless you know a specialist welder who has done this exact type of job before and can verify the repaired section meets structural requirements, you are better off replacing the pole. The cost of a replacement pole section ($30 to $80 for most standard sizes) is almost always less than a proper weld repair job.
Replacing the pole or hub assembly
If the hub itself is cracked, has deformed rib slots, or has broken pivot points, replace the hub rather than trying to patch it. Hub replacements are sold by OEM parts channels and by aftermarket suppliers on B2B marketplaces. A standard replacement alloy hub for an 8-rib umbrella runs about $30 to $60 from aftermarket suppliers, and $40 to $120 from OEM channels depending on the model. Always match rib slot count exactly (6, 8, or 9 slot), verify the pole diameter fit, and check that pulley groove count matches your cord-lift or crank mechanism if applicable.
For full pole replacement, most two-piece umbrella poles disassemble at a center joint. Measure pole outer diameter, total length of each section, and the base mount diameter before ordering. Bring the old pole to a hardware store if you can, as matching tubing diameter is faster in person than online. Reassembly is simply the reverse of disassembly: seat the hub on the new pole, pin or clamp it in place per the OEM diagram, reinstall the runner and ribs, and you are done.
Repair vs replace: a quick decision guide
| Situation | Recommended action | Estimated cost | Time |
|---|---|---|---|
| One rib with a moderate bend, no crack | Straighten and sleeve splint, or replace single rib | $0–$25 | 20–40 min |
| One rib cracked or broken through | Replace the single rib (OEM or aftermarket) | $8–$25 per rib | 30–45 min |
| One spreader arm bent or broken | Replace single arm | $5–$20 per arm | 20–30 min |
| Three or more ribs/arms damaged | Assess hub integrity; consider replacing full frame section or entire umbrella | $50–$150+ for parts | 1–2 hours |
| Pole gently bent, runner moves freely | Cold-straighten + sleeve splint | $10–$20 for materials | 30–60 min |
| Pole kinked, ovalized, or cracked | Replace pole section | $30–$80 | 45–90 min |
| Hub cracked or slots deformed | Replace hub assembly | $30–$120 | 60–90 min |
| Umbrella is 8+ years old with multiple failures | Replace the umbrella | Cost of new umbrella | N/A |
Preventing bent parts: maintenance, anchoring, and storage
Most bent umbrella frames I have seen were caused by one of three things: wind catching an open umbrella, a heavy object falling on it, or a frame that had been left outside through winter and developed unseen corrosion that made it brittle. All three are preventable.
- Close the umbrella whenever sustained winds exceed about 20 mph, or anytime you are not actively using it. Even a 'wind-resistant' frame can be bent by a sudden gust if the canopy is open and acts as a sail.
- Use a base weight of at least 50 pounds for a 9-foot umbrella, and 75 pounds or more for an 11-foot umbrella. An under-weighted base is the single most common reason umbrellas tip and bend.
- At the end of the season, clean all metal parts with a mild soap and water, dry them completely, and apply a light coat of automotive wax or silicone spray to bare aluminum and powder-coated surfaces. This prevents the micro-corrosion that weakens ribs and joints over winter.
- Store the umbrella either in its original bag or wrapped in a breathable cover, in a dry location. Do not store it compressed in the closed position for months without occasional inspection.
- Once a year at the start of the season, open the umbrella fully and check every pivot pin and rivet for looseness, every rib for straightness, and the runner for smooth travel. Tighten or replace any loose rivets before a small problem becomes a bent rib.
Keeping a small parts kit on hand, a handful of matching rivets, a short sleeve of spare tubing, and a tube of structural epoxy, means that when a rib takes a hit, you can fix it the same afternoon instead of losing your shade for two weeks while parts ship. It is a $20 investment that has saved me multiple umbrella replacement costs over the years.
FAQ
What is a quick diagnostic flow to identify which patio‑umbrella part is bent or broken?
1) Close umbrella and visually scan for obvious bends, kinks or missing pieces. 2) Open umbrella slowly and watch for binding or asymmetric canopy shape. 3) Inspect ribs (the thin curved pieces that hold fabric) for bends, cracks, or splits. 4) Check spreaders/arms (the linked arms between ribs and hub/runner) for bent pivots, elongated holes or broken rivets. 5) Examine the runner (slider), notch/finial area and pivot pins for wear or breakage. 6) Inspect the central pole and hub for straightness, ovalization, dents, cracks or loose fasteners. 7) If any through‑crack or metal tearing is present (especially at the hub/pole), mark as likely replacement. Record rib count and any stamped/model numbers for parts sourcing.
What basic tools, PPE and consumables should a homeowner have on hand before starting repairs?
Safety: gloves, safety glasses, dust mask if sanding/filing. Tools: adjustable wrench, sockets, Phillips/flat screwdrivers, utility knife, cordless drill with bits, hand rivet gun, rubber mallet, C‑clamps, hacksaw/pipe cutter (if cutting sleeves), files, sandpaper. Consumables/repair parts: spare rivets/pop rivets (aluminum/stainless), stainless hose clamps, short section of slightly larger sleeve tubing (aluminum or stainless), structural epoxy (JB‑Weld or equivalent), marine epoxy + fiberglass cloth (for composite ribs), replacement ribs/spreaders/hubs or aftermarket hub, masking tape, grease. Optional: heat gun (for fabric/stretching), shop vice.
How do you repair a bent metal rib (aluminum or steel) — temporary and permanent options?
Temporary: carefully open umbrella and support structure. Use a padded vise or two blocks and a soft mallet to gently reverse the bend; avoid over‑bending. Fit a short external sleeve (slightly larger tube) over the damaged area and secure with stainless hose clamps and structural epoxy to reduce flex. Permanent: replace rib with OEM or matching aftermarket rib. If replacement isn’t available and rib is thin‑walled aluminum, use a well‑fitted sleeve epoxied and riveted along length; however thin aluminum is prone to fatigue, so consider replacement as permanent fix. For steel ribs, cold bending back and a welded splice by a skilled welder is an option.
What are the correct steps to replace a rib using OEM replacement parts?
1) Obtain the umbrella model manual or exploded diagram (OEM site like Treasure Garden) and order the rib matching rib count and shape. 2) Close umbrella and remove finial/runner per manual (unscrew Phillips or remove pin). 3) Remove fabric if necessary to access rib slot. 4) Remove rivet/pin holding rib to runner or notch (drill out pop rivet if present). 5) Slide out broken rib and insert replacement into runner/hub notch in reverse order. 6) Refasten with correct rivet/pin per manual torque and material (stainless recommended). 7) Reinstall runner/finial and test open/close. Follow OEM instructions to avoid misalignment.
How to repair or replace bent spreader arms/links (the pivoting arms between ribs and hub)?
Diagnosis: look for bent link, elongated pivot hole, broken rivet or plastic/nylon spreader pocket failure. Temporary: replace rivet with an appropriately sized pop rivet and add a washer; if hole elongated, use a repair washer or oversize rivet. For slightly bent steel links, carefully straighten on a flat surface with clamps. Permanent: replace spreader arm with OEM or aftermarket part matching geometry; if pivot hole is cracked in hub or link, replace that component. Use stainless rivets to resist corrosion.
What are safe, practical methods to fix a bent central pole or hub?
Minor pole bend (non‑ovalized): sleeve reinforcement — slide an internal sleeve (ID slightly smaller than pole OD) into the pole, clamp and epoxy, or use an external split sleeve secured with clamps and epoxy. Major damage/ovalization, cracked hub or bent hub plate: replace the hub or central pole assembly. Avoid DIY welding on thin‑wall aluminum unless done by an experienced TIG welder; welding often weakens thin tubing. Temporary field fix: external metal sleeve + epoxy + hose clamps for low‑wind, limited use only; replace permanently as soon as possible.
Next Articles
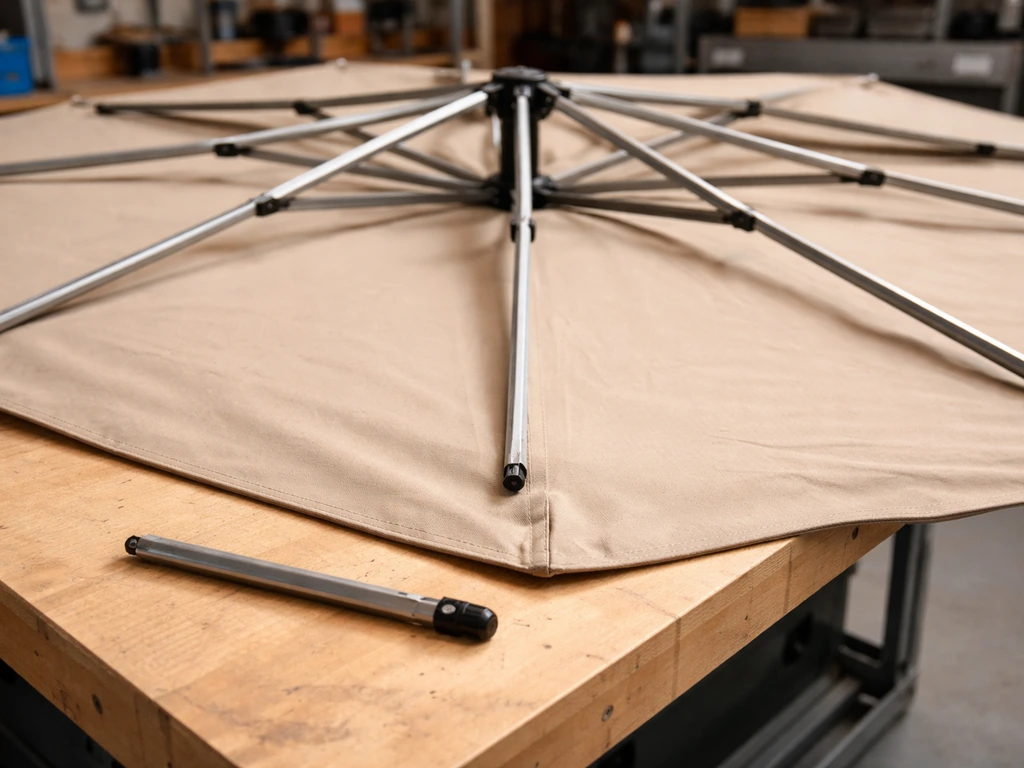
Repair Broken Patio Umbrella Rib: Step-by-Step Fix Guide
Step-by-step guide to repair a broken patio umbrella rib, inspect damage, replace parts, reassemble, test alignment, pre
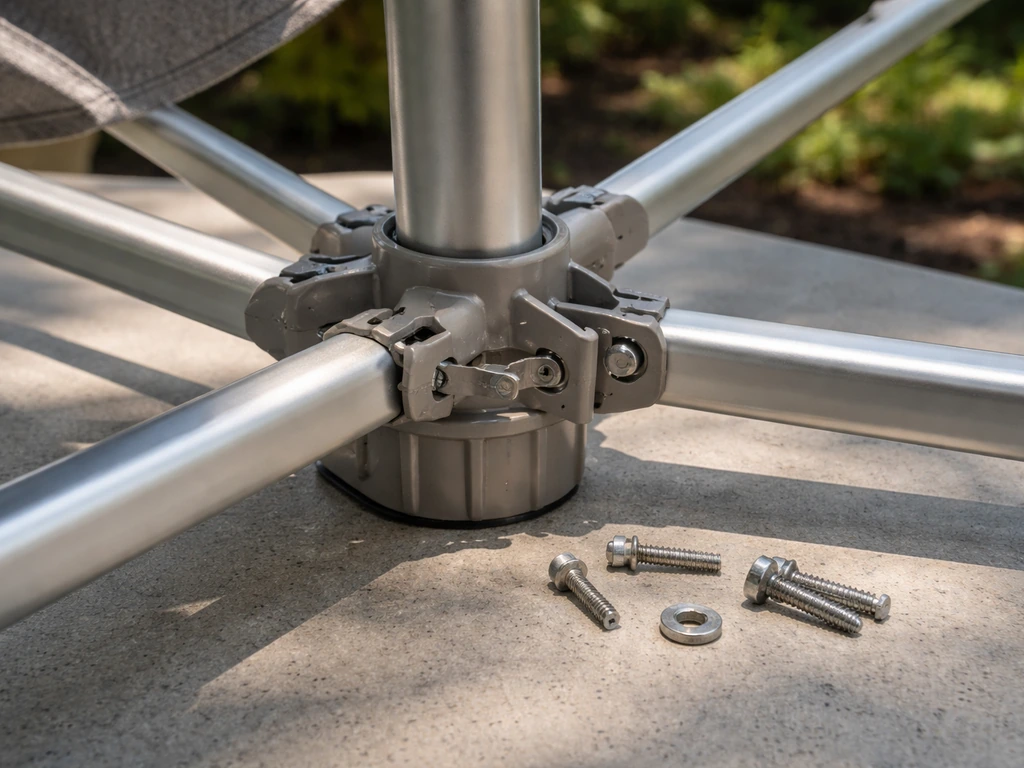
How to Fix a Patio Umbrella Arm: Repair or Replace
Step-by-step guide to fix a patio umbrella arm, pole, or spoke with diagnosis, repair, or how to replace parts.
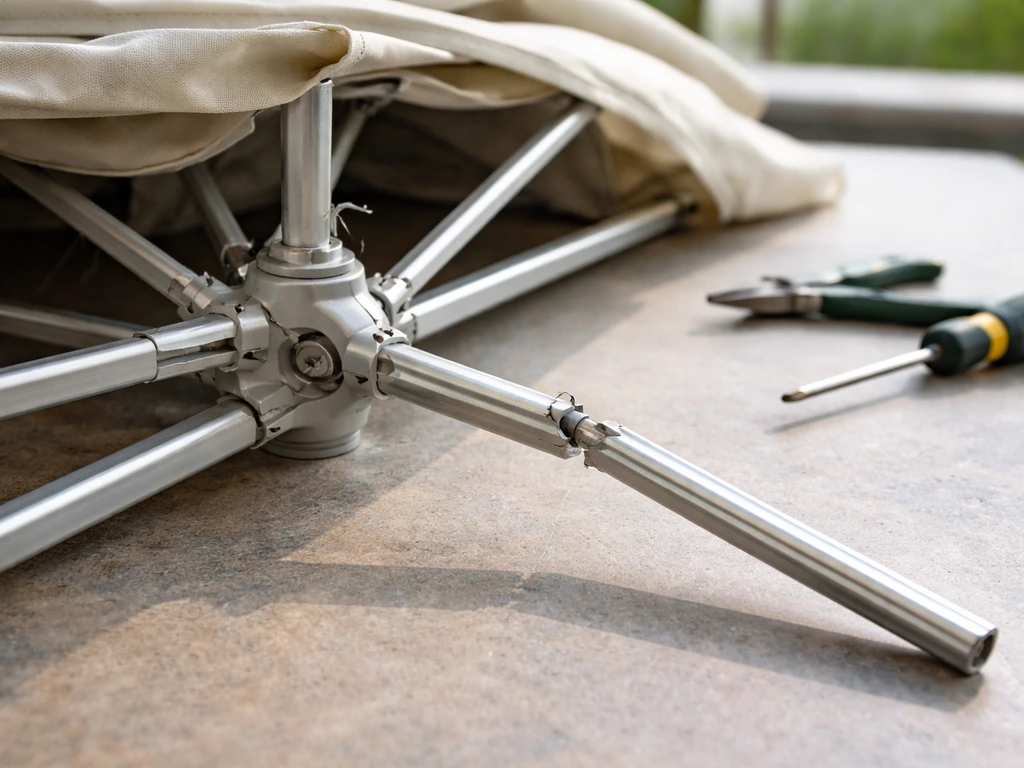
Fix Patio Umbrella Rib: Diagnose and Repair Step by Step
Step-by-step DIY guide to fix a broken or bent patio umbrella rib, aligning parts and restoring smooth opening