
Jearey patio umbrellas use a crank-lift system with a push-button tilt as standard across most models. To assemble one, you slip the lower pole into the base, stack the upper pole sections, feed the lift cord through the internal pulley path, attach the canopy to the ribs, and turn the crank handle clockwise to raise it. That whole process takes about 20 to 30 minutes the first time. If yours is already assembled and you just need to fix a stuck crank, jammed tilt button, or bent rib, jump straight to the troubleshooting section below.
Jearey Patio Umbrella Instructions: Assembly, Repair Guide

Luca Morrison
28 Jul 2026
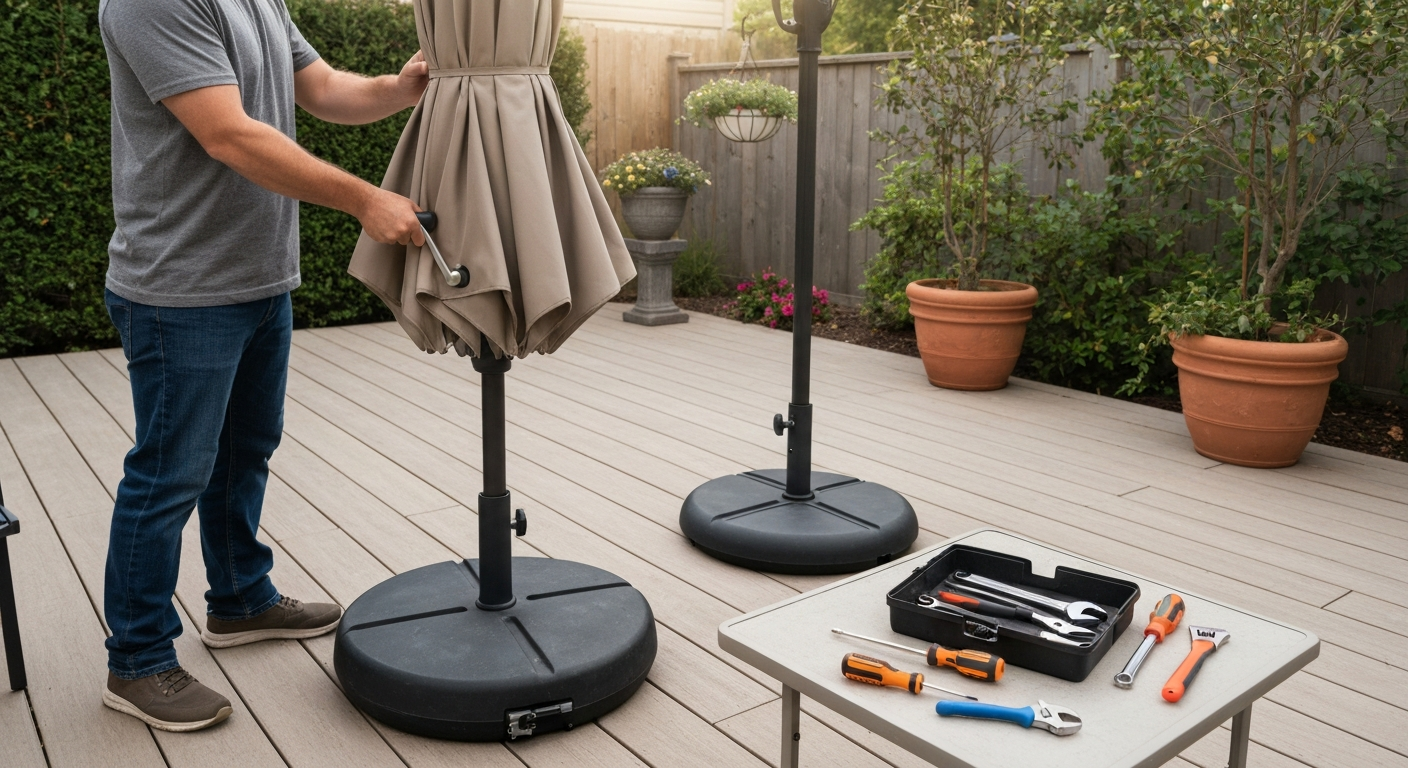
What this guide covers and who it's for
This guide is written for homeowners who own a Jearey patio umbrella and need to set it up correctly, fix something that broke, or keep it running through multiple seasons without replacing it. The instructions here apply directly to the 7.5 ft and 10 ft market umbrella models sold through Lowe's, Home Depot, and Jearey's direct store, which share the same crank-plus-push-button-tilt design. If you own a Grand Patio or Napoli-style umbrella, a large portion of this guide still applies because those models use nearly identical mechanical setups. Where procedures diverge, I'll call that out.
Jearey's assembly PDFs are available as downloadable documents on Lowe's product pages (hosted at pdf. The Lowe’s‑hosted PDF (JEAREY Instructions / Warranty (PDF hosted by Lowe's)) includes a parts list, step‑by‑step assembly diagrams, and a support email ([email protected]) for missing parts or claims. lowes.com) and on manuals.plus for specific SKUs. If you have the box or the original paperwork, pull that PDF now and use it alongside this guide. I'll reference the same part names those documents use so nothing gets confusing.
Quick-start: get it open in 5 minutes
If your umbrella is already assembled and you just need the fast version of how to operate it, here it is. Slide the pole into a weighted base (50 lbs minimum for a 9 ft canopy, 75 lbs or more for a 10 ft cantilever). Unlock the base clamp if there is one. Grip the crank handle on the side of the pole and turn it clockwise. The canopy will rise. Once it's fully open, press the push-button on the collar near the top of the pole and lean the canopy to your preferred angle, then release the button to lock the tilt. To close, press the button again to bring the canopy vertical, then turn the crank counterclockwise until the canopy is fully lowered and the fabric is relaxed.
That's the whole daily operation. The sections below go deeper on each step, cover assembly from the box, and walk through every repair scenario I've run into with these umbrellas.
Tools, replacement parts, and materials to have ready
Before you start assembly or any repair, gather what you need. Running back to the garage mid-job while the canopy is half-attached is annoying and risks dropping parts. Here's what covers 90 percent of Jearey umbrella work:
- Phillips and flathead screwdrivers (both sizes; the crank housing uses Phillips screws on most models)
- Needle-nose pliers (for fishing cord through the pulley path and gripping small pins)
- Adjustable wrench or 10mm wrench (for the base bolt and pole collar)
- Silicone spray lubricant or dry PTFE lubricant (not WD-40, which attracts grit)
- Replacement lift cord: 3mm braided polyester, cut to approximately 8 to 10 feet depending on your pole height
- Zip ties (8-inch, UV-resistant, useful for temporary rib fixes and cable management)
- Replacement push-button tilt pin or button housing (Jearey uses a spring-loaded plastic pin; replacements are available on Amazon and specialty sellers)
- Replacement crank handle or full crank assembly (search your model number on Amazon or SimplyUmbrellaParts)
- Rib repair kit or individual replacement rib (measure your rib length from hub to tip before ordering; common lengths are 28 to 34 inches for 9 ft canopies)
- Replacement canopy if needed (match rib count and rib length; Jearey 9 ft models typically use 8 ribs)
- Contact email for Jearey parts support: [email protected] (referenced in the Lowe's-hosted assembly PDF for missing or defective parts)
For specialty parts, The Patio Umbrella Store, OutdoorEtc, Formosa Covers (available through Lowe's marketplace), and SimplyUmbrellaParts carry universal and brand-compatible components. Amazon and eBay are fine for generic lift cords, pulleys, and rib ferrules. For a full replacement canopy, Home Depot carries 8-rib polyester replacement canopies for 9 ft frames from ITOPFOX and similar brands. Just confirm the rib count and tip-to-tip rib length before buying.
Key parts to know: a visual reference guide
If you're going to diagnose or repair your umbrella, you need to know what the parts are called. I recommend taking your phone out right now and photographing your umbrella from three angles: one full-height shot from the side, one close-up of the crank housing, and one close-up of the tilt collar near the top of the pole. Label these photos for reference during any repair. Here are the parts and what they do:
| Part name | Where it is | What it does |
|---|---|---|
| Mast / pole | Vertical center column, usually 2 to 3 sections | Structural spine; houses the lift cord and pulley |
| Upper hub | Top of the mast where ribs attach | Connects all ribs at the top; holds the canopy peak |
| Runner hub | Slides up and down the pole | Connects lower rib struts; rises when crank is turned to open canopy |
| Ribs | Radiating arms from upper hub | Support the canopy fabric; typically 8 ribs on a 9 ft model |
| Rib struts | Diagonal braces from runner hub to ribs | Push ribs outward when runner rises; collapse when lowered |
| Crank housing | On the pole, about waist height | Contains the crank gear or spool that winds the lift cord |
| Lift cord | Runs inside the pole from crank to runner hub | Pulls the runner hub upward when crank turns clockwise |
| Tilt mechanism / collar | On the pole, above the crank, below the upper hub | Allows the canopy to lean; push-button locks tilt angle |
| Push-button / tilt pin | Spring-loaded pin in the tilt collar | Engages notch to hold tilt angle; press to release |
| Canopy | Fabric cover attached to ribs and upper hub | Provides shade; attaches via velcro straps, ties, or pockets |
| Base | Ground-level support | Holds the pole vertical; must be weighted or anchored |
When you're photographing, focus especially on the crank housing and tilt collar. These are the two spots where 80 percent of Jearey failures happen based on user reviews across Lowe's, Home Depot, and Amazon. Knowing exactly what your versions look like before something breaks makes diagnosis much faster later.
Step-by-step assembly: unboxing to fully mounted
Plan for 20 to 30 minutes for first-time assembly. It helps to have one other person hold the pole sections while you attach the crank and feed the cord, but it's doable solo. Lay everything out on a clean surface before you start and compare parts against the parts list in your PDF manual.
- Unbox all components and lay them flat. Identify: lower pole section (with crank housing pre-attached on most models), upper pole section(s), upper hub assembly with ribs folded, runner hub, rib struts, canopy, base, hardware bag. Cross-check against the PDF parts diagram.
- Attach the base to your surface or fill it with sand or water if it's a fillable style. Place the base where you want the umbrella before inserting the pole. Moving a weighted base after the pole is in is awkward.
- Insert the lower pole section into the base and tighten the clamp bolt with your wrench. The pole should be plumb (vertically straight). Check from two angles.
- If your model has a mid-pole connector (most 9 ft and 10 ft models use a two-section pole), slide the upper pole section into the lower section. Align the pin hole or twist-lock fitting and engage the locking pin until it clicks. Do not force it if it feels off; rotate the upper section slightly until the pin seats.
- Thread the lift cord if it isn't pre-threaded. The cord exits the crank spool inside the housing, runs up through the hollow pole, exits through a small hole or pulley at the top of the pole near the upper hub, and loops down to attach to the runner hub. On most Jearey models, the cord comes pre-spooled. If yours is not, thread it from the crank housing upward using a stiff wire or cord guide. Tie a stopper knot at the runner hub end.
- Attach the upper hub assembly to the top of the pole. This usually involves sliding the hub cap over the pole tip and securing it with a cotter pin or bolt. Tighten finger-tight first, then snug with pliers. Do not overtighten plastic fittings.
- Extend each rib outward from the upper hub. Most fold down for shipping. Lift each rib to horizontal. They should click or stay in position once extended.
- Attach the lower rib struts. Each strut connects from the runner hub to the underside of a rib. Slide the runner hub up slightly by hand to make the connection easier, then clip or pin each strut. On Jearey models, struts usually have a small clevis pin or hook end.
- Slide the canopy over the ribs. Most Jearey canopies have rib pockets (sleeves) sewn into the underside. Feed each rib tip through its corresponding pocket. Start with opposite ribs to keep tension even. Once all tips are seated, secure any velcro straps at the upper hub.
- Turn the crank clockwise slowly. Watch the runner hub rise and the canopy open. If the canopy snags or a rib strut doesn't extend, stop, lower partially, and check the strut attachment before continuing.
- Test the tilt. Press the push-button and lean the pole cap/tilt collar gently. Release the button. The tilt should lock in place. If it doesn't, see the tilt section below.
One thing I've learned the hard way: if a part is missing from the box, use that support email from the assembly PDF ([email protected]) before you go buying replacements. Jearey has a 1-year limited warranty on frames and a 1-year (sometimes 3-year, depending on the specific listing) canopy warranty. Missing parts on arrival are a warranty claim, not a hardware store run.
Opening and closing: crank operation and safe technique
The crank on a Jearey umbrella drives an internal spool or gear that winds the lift cord and pulls the runner hub upward, which in turn pushes the ribs open through the struts. Turning clockwise opens; counterclockwise closes. That direction is consistent across virtually every crank-lift umbrella, including Grand Patio and Napoli-style models.
Here's the right technique: stand to the side of the umbrella, not underneath it. Hold the pole with your non-cranking hand to keep it stable. Crank smoothly and steadily. Don't crank hard and fast: the cord, ratchet teeth, and plastic spool are the parts that fail first when forced. If you feel resistance partway through opening, stop and look. A canopy panel snagged on a rib tip, a strut that didn't extend, or a tangled cord will all feel like resistance. Forcing it past that point is how ribs get bent.
To close safely, reverse the crank slowly and support the canopy fabric with your free hand if it's windy. On windy days, don't fight the wind to crank it closed. Lower the umbrella partway first to reduce sail area, then continue. Fully collapsed canopies should be either wrapped with the provided tie strap or covered if you're leaving the umbrella outside. Every official Jearey manual and retailer listing I've seen explicitly advises closing the umbrella in winds above roughly 20 mph. That's not just a liability disclaimer; plastic tilt housings and cord spools are genuinely not designed for wind loads.
Adjustments you can make during operation
- If the crank feels loose or spins without lifting: the ratchet or spool may need tightening. Open the crank housing (2 to 3 Phillips screws) and check that the cord is seated on the spool.
- If the canopy doesn't fully open: the cord may have slack. Crank fully, then manually push the runner hub upward to take up any remaining slack before recranking.
- If the crank handle wobbles: the handle pin may be loose. Push it fully in and, if needed, add a small zip tie as a temporary retainer while you source a replacement pin.
How the tilt mechanism works and how to operate it
Jearey's standard market umbrellas use a push-button tilt. There are three tilt types found across patio umbrellas broadly, so here's a quick comparison before I get into the Jearey-specific operation:
| Tilt type | How it works | Common on | Failure mode |
|---|---|---|---|
| Push-button tilt | Spring-loaded pin engages a notched collar; press button to release and reposition | Jearey, most budget and mid-range market umbrellas | Pin breaks, spring loses tension, housing cracks |
| Collar / auto-tilt | Rotating collar on the pole; turn the collar to tilt, release to lock | Mid-range market umbrellas, some Grand Patio models | Collar threads strip, collar slips under load |
| Crank tilt | Separate crank or integrated second-function crank controls tilt angle | Higher-end offset and cantilever umbrellas | Gear strip, cord jam inside tilt assembly |
For Jearey's push-button tilt, the operation is: open the canopy fully using the crank, then press and hold the button on the tilt collar (usually a round or oval button on the side of the pole collar, 12 to 18 inches below the upper hub). While holding the button, gently lean the top of the umbrella in the direction you want. You'll feel the mechanism step through tilt positions (most Jearey tilt collars allow 3 to 5 fixed angles). Release the button to lock. The canopy should hold its angle under normal wind conditions.
To return to vertical before closing: press the button again and lean the canopy back until it clicks into the upright position. You must be vertical before cranking closed. Trying to crank down a tilted canopy jams the struts and bends ribs.
Tilt not holding? Check these first
- Press the button all the way in before moving the canopy. A half-press won't release the pin fully.
- Check the locking pin for cracks. On Jearey models, the tilt pin is plastic and it's the first part to fail, especially after UV exposure. If it looks white or chalky around the stem, it's fatigued.
- Check the notch on the receiving collar. If the pin is fine but tilt still slips, the notch it seats into may be worn. Replacement collar assemblies are available through specialty parts sellers.
- Confirm the canopy is fully raised before testing tilt. Tilt mechanisms on these umbrellas are designed to operate only when the canopy is at or near full extension.
Troubleshooting checklist: triage your problem fast
Based on the most common complaints across Jearey reviews on Lowe's, Home Depot, and Amazon, here are the failure points in order of frequency, what causes them, and where to start. Work through this list top to bottom before taking anything apart. For step-by-step patio umbrella repair instructions, see the dedicated guide linked below for detailed diagrams and parts lists.
1. Crank spins but canopy doesn't rise
This is the most reported Jearey issue. It almost always means the lift cord has snapped, jumped off the spool, or the ratchet/spool teeth are stripped. Start by opening the crank housing (3 Phillips screws on most models). Look at the spool. If you see cord piled loosely or hanging free, the cord slipped. If the cord is still on the spool but the spool turns freely without resistance, the ratchet teeth are stripped and you need a replacement spool or full crank assembly. Vimeo – umbrella arm/hub replacement video (hosted reference linked in replacement docs) demonstrates removing the crank housing, inspecting the spool, and replacing the ratchet/spool. Estimated repair time: 20 to 60 minutes. Difficulty: moderate.
- Remove the 2 to 3 screws from the crank housing cover.
- Lift the cover off and inspect the spool and cord.
- If cord is off the spool: re-thread it into the spool channel, wind 3 to 4 turns clockwise, and feed the cord back up through the pole.
- If the cord is snapped: cut a new 3mm braided polyester cord to length (measure the old cord or use 8 to 10 feet as a starting point), thread it through the pole from the top down using a stiff wire guide, attach to the runner hub with a figure-eight knot, and spool the other end.
- If the ratchet teeth are stripped: replace the spool. Universal crank spool assemblies are available on Amazon and SimplyUmbrellaParts. Match the housing diameter before ordering.
- Reassemble the housing, test the crank before closing the cover.
2. Tilt button won't press in or won't stay locked
The plastic push-button and its housing are the second most common failure point on Jearey umbrellas. UV exposure and repeated pressing cracks the plastic stem. If the button presses in but pops back out and doesn't hold tilt, the spring may be stretched or the notch is worn. If the button won't press at all, check for debris in the button slot first, then inspect for a cracked housing. Estimated repair time: 15 to 30 minutes. Difficulty: easy to moderate.
- Lower the canopy fully to relieve tension on the tilt collar.
- Inspect the button for visible cracks. Press it and observe if the pin extends cleanly on the inside (you can see this with the canopy down and a flashlight).
- If the pin is cracked: source a replacement push-button tilt pin for your pole diameter (most Jearey poles are 38mm or 48mm OD). Order from Amazon, SimplyUmbrellaParts, or contact [email protected].
- To replace: remove the roll pin or cotter pin holding the tilt collar in place (use a punch and hammer or needle-nose pliers), slide the collar off, swap the pin and spring, reassemble.
- If the notch in the collar is worn: replace the full collar assembly.
3. Bent or broken rib
Bent ribs usually happen from forcing a stuck canopy open, wind events, or storing the umbrella improperly with weight on it. A single bent rib creates an asymmetric canopy sag. You can sometimes bend aluminum ribs back by hand if the bend is minor and near the tip. Cracked or severely bent ribs need replacement. Estimated repair time: 30 to 90 minutes. Difficulty: moderate.
- Lower the canopy fully and identify which rib is bent.
- Remove the canopy (slip the rib out of its fabric pocket).
- Locate the attachment pin at the upper hub end of the rib. Use needle-nose pliers to remove the cotter pin or roll pin.
- Slide the rib out of the hub socket.
- Take the damaged rib to a hardware store to match the diameter and length before ordering a replacement, or measure: outer diameter (usually 7mm to 10mm for Jearey models) and length from hub socket to tip.
- Order a replacement from The Patio Umbrella Store, OutdoorEtc, or a compatible seller. Confirm the hub socket size matches.
- Insert the new rib, reinstall the pin, reattach the canopy pocket.
4. Torn or damaged canopy
Small tears along seams can be repaired with UV-resistant fabric repair tape or a hand-sewn patch using a heavy-duty needle and outdoor thread. Larger tears or fraying along rib pockets usually mean it's time for a replacement canopy. Replacement canopies are widely available and are a legitimate DIY swap. Estimated repair time: 1 to 3 hours for full replacement. Difficulty: moderate.
- Lower and close the umbrella fully.
- Detach any velcro ties at the upper hub center, then slip each rib out of its canopy pocket.
- Take measurements: rib count (count them, usually 8 for a 9 ft Jearey), and rib length from hub attachment point to tip.
- Search for a replacement canopy using those two numbers. Sellers like ITOPFOX (available at Home Depot) and Formosa Covers (available through Lowe's marketplace) list rib count and rib length in their specs. Match both before buying.
- Install in reverse: feed each rib into the new canopy's pockets starting with opposite ribs to keep tension even, then secure velcro at the hub.
5. Loose or wobbly hub
If the upper hub wobbles or rotates on the pole, the retaining pin or bolt at the hub is loose or missing. Lower the canopy fully, inspect the hub for a cotter pin or bolt through the pole tip, tighten or replace it. The runner hub (the one that slides) can also develop play in the pole channel. A small amount of runner wobble is normal. If the runner is cracked, it needs replacement. Runner hubs are available from specialty parts sellers; bring your pole diameter measurement when ordering. Estimated repair time: 15 to 45 minutes. Difficulty: easy to moderate.
Maintenance, wind safety, and seasonal storage
Jearey's own documentation and every retailer listing I've reviewed gives the same wind caution: close and secure the umbrella when winds pick up. The official guidance is consistent with the general industry recommendation of closing at roughly 20 mph wind. I'd go further and say: if you can hear the canopy flapping loudly, that's your signal. Flapping canopy fabric puts cyclic stress on every rib joint, the runner hub, and the cord attachment point simultaneously.
Routine maintenance (do this twice a season)
- Apply silicone spray or dry PTFE lubricant to the crank mechanism, runner hub channel, and tilt pin. Do not use WD-40 as a long-term lubricant; it evaporates and leaves residue that attracts grit.
- Inspect the lift cord for fraying at the spool end and at the runner hub attachment knot. Replace the cord at the first sign of fraying.
- Wipe down the pole and hub with a damp cloth. Aluminum oxidation and grit in hub joints accelerates wear.
- Check all cotter pins, roll pins, and rib attachment points. Tighten any loose fasteners.
- Inspect the canopy fabric for early-stage tears along rib pockets and seams. Patch small tears now rather than letting them grow.
Winterizing and off-season storage
- Close and lower the canopy fully. Make sure the fabric is completely dry before storing to prevent mold.
- Remove the canopy from the ribs if you're storing in an area with rodents or extreme temperature swings. Canopy fabric stored folded in a bag lasts longer than canopy left on the frame in a cold garage.
- Remove the pole from the base and store the pole horizontally or vertically in a dry location. Leaving the pole in an outdoor base through winter causes water to collect inside the pole, which accelerates rust on steel poles and oxidation on aluminum.
- Store the base separately and drain any water-fill bases completely. Freezing water inside a base will crack plastic shells.
- Apply a light coat of silicone lubricant to all metal pivot points before storage.
- Cover or bag the crank housing to keep debris out of the gear mechanism.
When to repair vs. when to replace
Here's my honest take after working through these repairs. Cord replacement, tilt pin replacement, single rib replacement, and canopy swaps are all worth doing yourself. Parts are inexpensive (under $30 for most components) and the procedures are achievable in an afternoon. A full crank assembly replacement runs $15 to $40 and is still worth it for a frame that's otherwise intact.
Where I'd say stop and evaluate: if the upper hub cracks or the main pole bends, repair parts are harder to source and the structural integrity of the whole umbrella is compromised. If you're looking at a bent pole plus a torn canopy plus a broken crank on a $60 to $80 umbrella, replacement is probably the better financial decision. If the umbrella is newer and still under Jearey's 1-year frame warranty, contact [email protected] before spending money on parts. For cantilever models sold through Lowe's, Lowe's lists a 90-day fabric warranty separately from the 1-year frame warranty, so document the issue and contact date carefully.
If you need professional help, an outdoor furniture repair shop or awning company can usually replace a crank assembly or hub in a 30-minute service call. It's worth calling locally if you're not comfortable with the disassembly steps.
Cross-brand notes for Grand Patio and Napoli-style umbrellas
If you own a Grand Patio or Napoli-style umbrella and landed here looking for help, the good news is that the crank mechanism, lift cord path, push-button tilt, and rib attachment designs on those models are nearly identical to what's described above. The cord threading procedure, tilt pin replacement steps, and canopy swap process all transfer directly. For model-specific steps, see grand patio napoli umbrella instructions which cover cord threading and tilt details for those frames. The main differences to watch are pole diameter (Grand Patio poles sometimes run slightly larger at 48mm vs. Jearey's 38mm on smaller models) and rib length. Measure your specific model before ordering parts. The general patio umbrella repair procedures covered here apply broadly across market umbrella brands at this price point.
FAQ
What primary technical topics must the guide cover to be complete and homeowner-focused for JEAREY patio umbrellas?
Cover quick-start assembly and basic operation (crank lift + push-button tilt), opening/closing sequence, crank and tilt mechanics, prioritized troubleshooting checklist for common failures (broken crank, snapped lift cord, stripped ratchet, stuck tilt pin, bent ribs, torn canopy, loose hubs), step-by-step repair procedures for each failure mode, parts and tool lists, diagrams/photos for key steps (exploded hub, crank housing, rib ends, canopy attachment), sourcing/replacement-part guidance, maintenance and seasonal storage (wind securing and winterizing), safety cautions, difficulty and time estimates per repair, cross-brand overlap notes (Grand Patio/Napoli-style), warranty and professional-repair guidance (when to call pro or file claim).
Which authoritative sources should be referenced and used to verify JEAREY-specific facts (features, warranty, assembly steps)?
JEAREY official product pages (jeareyhome.com) for model features and contact info; retailer-hosted manuals and warranty PDFs (Lowe's product page and PDF links hosted on pdf.lowes.com) for assembly diagrams, parts lists, and warranty wording; manuals.plus or other hosted model-specific instruction manuals for SKU-level details. These retailer/manufacturer PDFs are primary verification for JEAREY specs, parts lists, and stated warranty terms.
What third-party and technical references are necessary to support repair procedures and common-failure diagnosis?
Use: 1) Repair guides and how-to sites (PatioUmbrellaRepairGuide, FixUpFirst) for standardized repair steps and time/difficulty ranges; 2) Patent/technical documents (umbrella crank/worm-gear patents like US9642421) to explain internal mechanisms (cord-spool, ratchet, worm gear); 3) OEM service examples (TUUCI hub replacement docs) as templates for disassembly/fastener guidance where JEAREY OEM docs lack detail; 4) Parts diagrams from suppliers (Galtech parts diagram) to map component names/locations; 5) teardown videos and hands-on walk-throughs (YouTube/Vimeo) to validate practical step order and visual cues.
Which specific JEAREY documents and retailer files should be linked or quoted for accuracy?
Link or quote the JEAREY product collection and specific SKU pages on jeareyhome.com for product features; Lowe’s product page and the exact instruction/warranty PDF hosted on pdf.lowes.com (include the PDF file name/URL) for assembly diagrams, parts list, and warranty contact info; any manuals.plus SKU PDFs for additional model assembly detail. These are authoritative and should be cited for JEAREY-specific procedures and claims.
What verification steps ensure repair instructions are accurate and safe for homeowners?
1) Cross-check each procedural step against at least two independent sources (JEAREY manual or retailer PDF + an independent teardown/video or repair guide). 2) Verify part names and counts against JEAREY parts lists or exploded diagrams (retailer PDF or manuals.plus). 3) Confirm torque/fastener notes and safety cautions from OEM service docs or comparable brand instructions (e.g., TUUCI) before recommending disassembly limits. 4) Test logical sequencing against visual media (video/photo). 5) Note any model-specific deviations and flag steps that require professional service or voiding warranty.
What prioritized troubleshooting checklist should homeowners follow before attempting repairs?
Start simple-to-complex: 1) Visual and quick checks (is umbrella closed? base secured? any obvious fabric tears or detached ribs?). 2) Operation checks (does crank turn? any grinding? tilt button engages?). 3) Crank diagnostics (listen for gear skip, inspect crank housing for cracked plastic, check lift cord visible path). 4) Tilt diagnosis (press/release tilt button, inspect tilt-pin/collar and housing for broken plastic). 5) Rib/hub inspection (look for bent/broken ribs, loose rivets or hub bolts). 6) Canopy inspection (seam tears, Velcro or clip failures). 7) If multiple failures or frame severely bent/chewed, stop and consider pro/warranty.
Next Articles
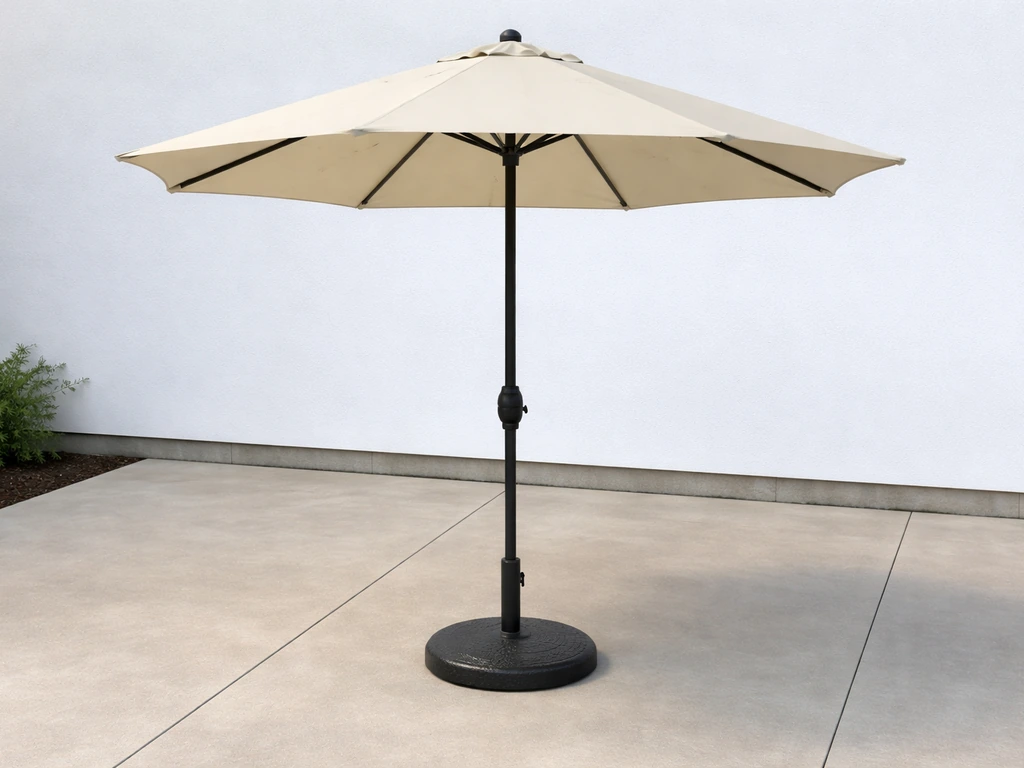
Patio Umbrella Instructions: Assembly, Offset Setup, and Fixes
Step-by-step patio umbrella instructions for center-pole and offset cantilever setups, plus fixes, safety tests, and sto
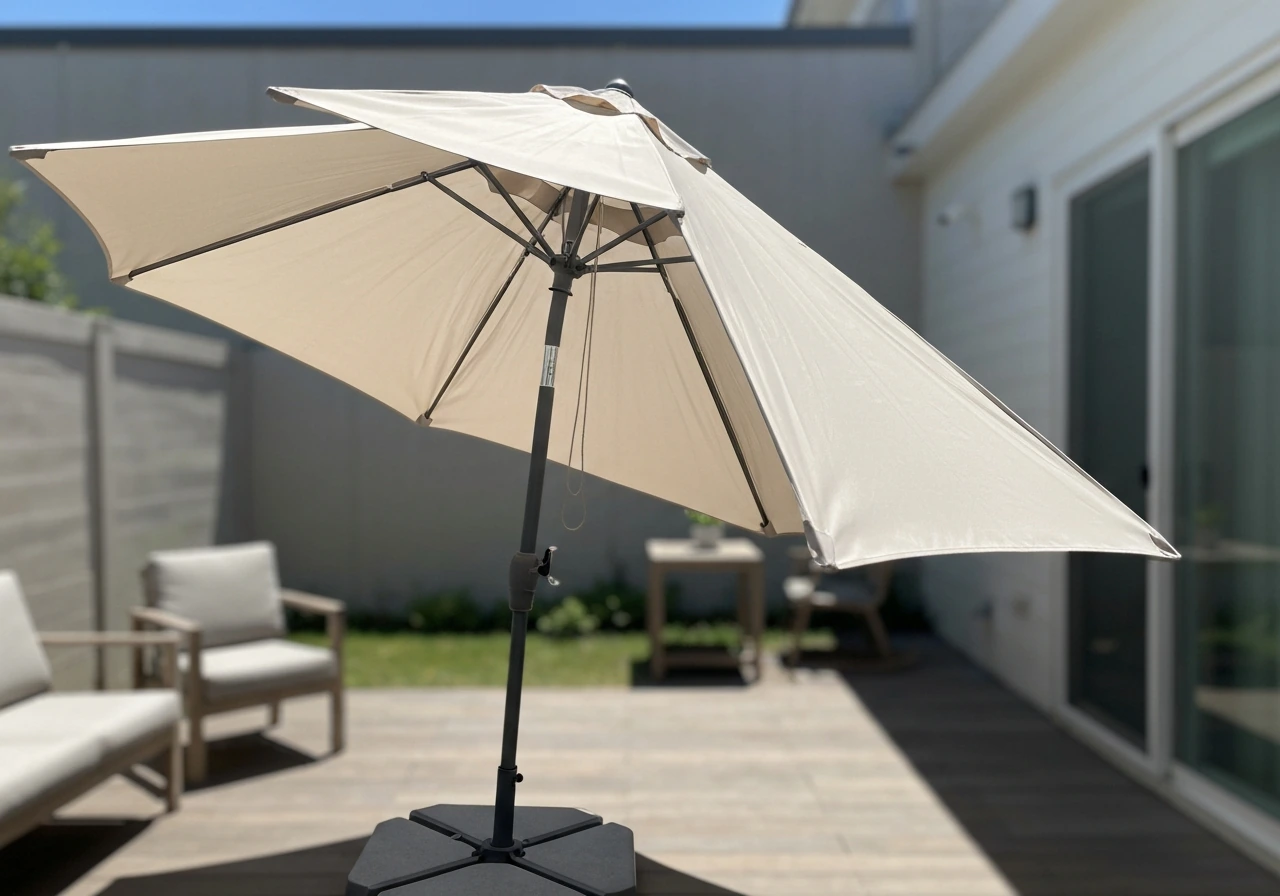
Grand Patio Napoli Umbrella Instructions: Setup to Repair
Grand Patio Napoli umbrella setup, open close, crank and tilt instructions plus troubleshooting and repair steps for com
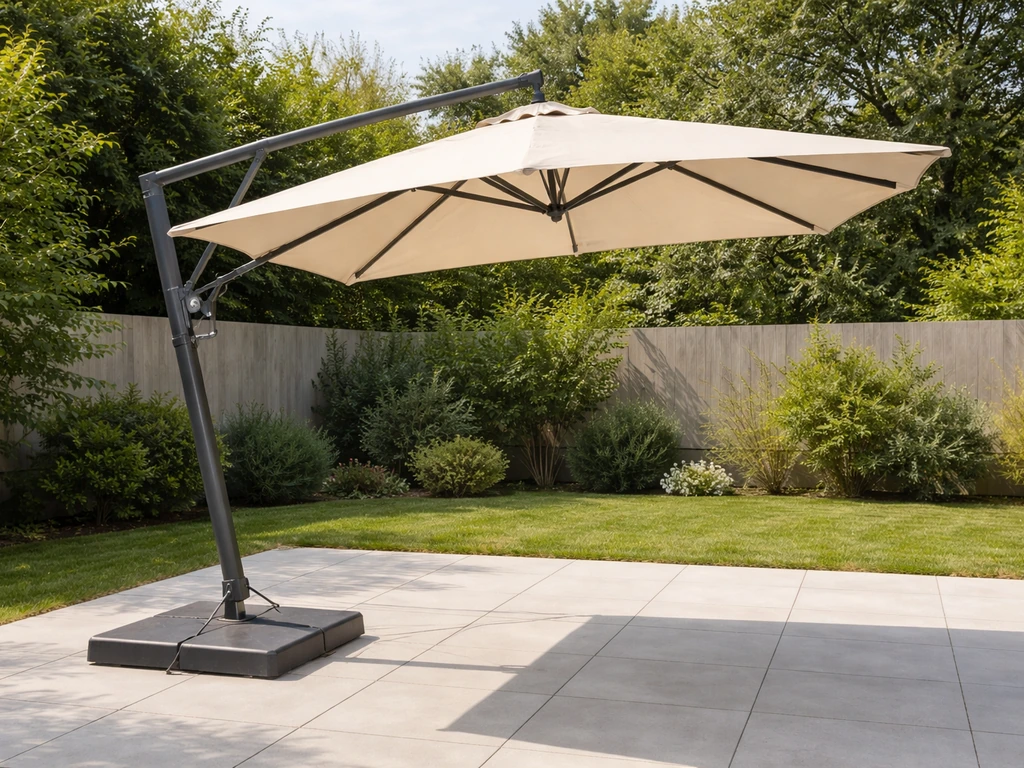
Grand Patio Umbrella Instructions: Cantilever Setup, Use, Fix
Step by step Grand patio umbrella instructions for cantilever setup, operation, fixes, and seasonal maintenance troubles