
Most Costco patio umbrellas tilt using one of three systems: a crank-to-tilt (auto-tilt) mechanism where you keep cranking past fully open, a push-button or spring-pin release on the pole, or a rotating collar just above the crank housing. Figuring out which one you have takes about 30 seconds, and once you know, tilting safely is straightforward. This guide walks you through all three (plus auto-tilt), troubleshoots the most common failures, stuck tilt, broken release button, corroded pins, and tells you exactly what parts to order and where to find them.
How to Tilt Patio Umbrella Costco: Tilt & Repair Tips

Luca Morrison
24 Jul 2026
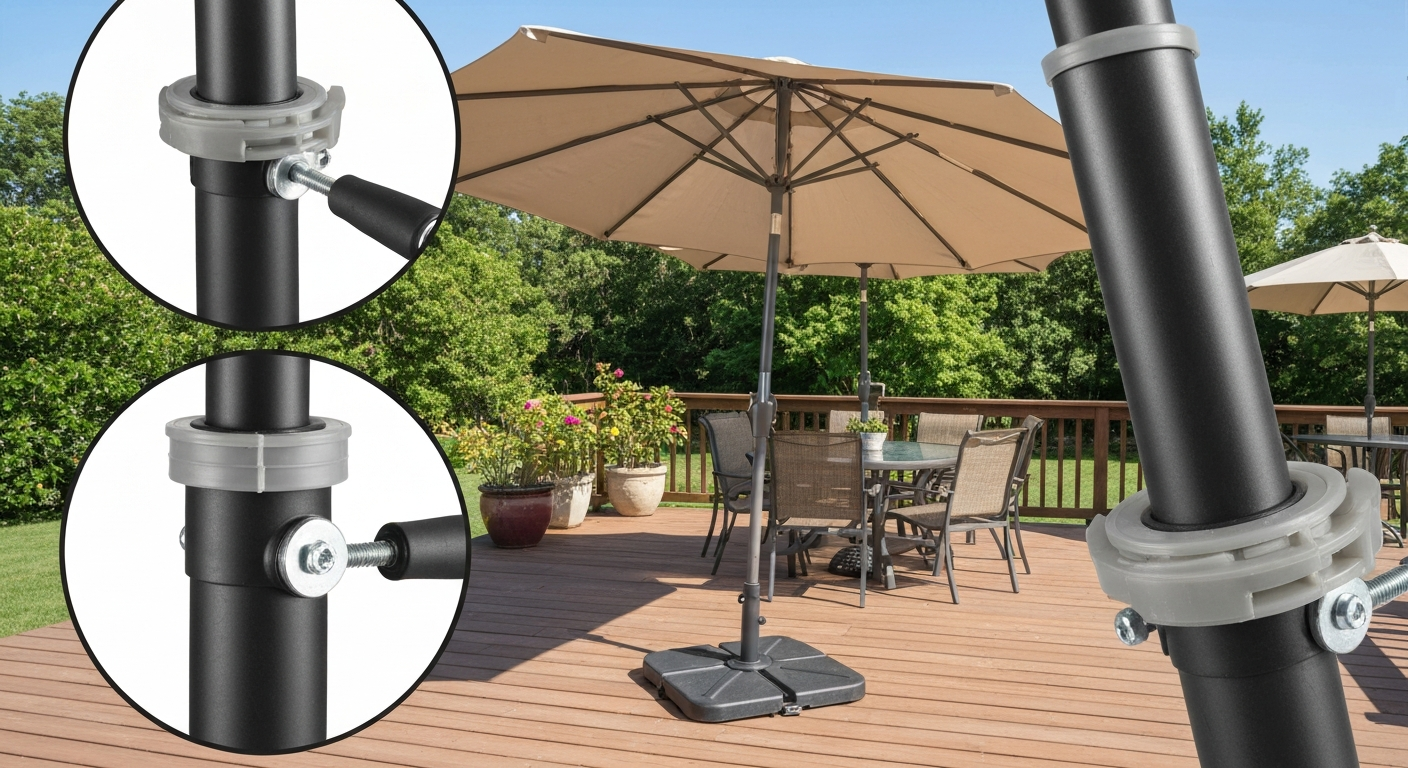
What this guide covers
This is a practical, soup-to-nuts reference for anyone who bought a Costco umbrella, SunVilla, ProShade, or a similar Costco-distributed brand, and needs to tilt it, fix it, or figure out whether it is worth repairing at all. You will find visual identification tips so you can name your tilt type before you touch anything, safe step-by-step instructions for each tilt system, a full troubleshooting section, a parts reference table, sourcing advice (including Hampton Bay-compatible cross-references), and a clear repair-vs-replace decision checklist.
Safety first, before you tilt or touch anything
A few quick checks before you start will save you from a face full of fabric or a bent pole. Costco's own ProShade and SunVilla manuals include safety warnings that most people skip, and the ones below are the ones that actually matter in the field.
- Check the wind. If you can feel steady gusts, close the umbrella and come back later. Operating or tilting an open umbrella in wind puts enormous lever stress on the pole and tilt joint.
- Confirm the base is anchored. The umbrella should be in a base filled with sand or water (or bolted down) before you open or tilt it. A tilted umbrella has a much higher wind profile.
- Look for the 2022 SunVilla Solar LED recall. If your umbrella has a solar charging puck near the center hub, check the CPSC recall list for your Costco item number — affected units had lithium-ion batteries that could overheat. Do not operate a recalled unit until you have completed the return or remedy.
- Inspect the pole and ribs visually. Look for cracks, splits, or bent ribs before opening. A structurally compromised canopy frame can collapse unexpectedly when tilted.
- Check that the crank handle is fully seated. A loose crank can slip mid-operation.
- Clear the area. Make sure no children or pets are standing directly beneath or beside the canopy during tilting.
- Have your phone or camera ready. If anything looks broken or unfamiliar, photograph it before attempting a fix — you will need those photos when ordering parts.
Identify your Costco umbrella before anything else
Costco has sold umbrellas under several labels over the years, SunVilla, ProShade, and occasionally unbranded house items, all distributed through Costco's buying programs. The tilt system used varies by year and model, so identifying yours takes priority over everything else in this guide.
Start by finding the item number. It is usually printed on a white sticker on the pole just above the base sleeve, or on the original box if you still have it. Common Costco item numbers for 10 ft auto-tilt aluminum umbrellas include ProShade item 2127274 and several SunVilla item numbers. Searching the number online will often pull up the original assembly PDF with a labeled diagram of your exact tilt mechanism.
If the sticker is gone, take three quick photos: one of the top section of the pole near where the canopy hub sits (looking for a button or collar), one of the crank housing at the bottom of the upper pole, and one of the full pole from base to hub. These photos will also be what parts suppliers ask for when you call in for a replacement part.
- Look for a push button on the pole about 18–24 inches below the hub — that is a push-button/pin-tilt model.
- Look for a rotating ring or collar just above the crank housing — that is a collar/slide-tilt model.
- If the pole looks completely smooth with no button or collar, and the crank is on the lower section, you almost certainly have a crank-to-tilt (auto-tilt) system.
- Measure the main pole diameter with a tape measure or calipers. Most residential Costco umbrellas use a 1.5 inch (38 mm) upper pole; some larger models use 48 mm or 53 mm sections. Write this down — you will need it for parts.
The four tilt systems found on Costco umbrellas
Here is a plain-language overview of each type. Knowing the name will help you find manuals, parts, and repair videos much faster.
| Tilt Type | How You Activate It | Common on These Costco Models | Key Component That Fails |
|---|---|---|---|
| Crank-to-tilt (auto-tilt) | Keep cranking the handle past fully open | SunVilla 10 ft, ProShade 2127274, most mid-range Costco 10 ft | Internal secondary gear or ratchet, lift cord |
| Push-button / pin-tilt | Press a spring-loaded button on the pole to release the tilt angle | Older Costco market umbrellas, some 9 ft models | Spring behind button, pin that seats into pole notch |
| Collar / slide-tilt | Rotate or slide a ring on the pole to tilt | Some 9–10 ft Costco models with collar above crank | Collar threads strip, collar cracks or seizes |
| Auto-tilt (spring-assisted) | Internal spring kicks tilt once canopy is fully open | Less common; some SunVilla variants | Spring tension loss, cable detachment |
General tilt and untilt best practices
Regardless of which system you have, these habits will keep your umbrella working longer and prevent the most common mechanical damage. Always open the canopy completely before attempting to engage any tilt, forcing a tilt on a half-open canopy strains the ribs and the hub. Tilt gradually and stop if you feel grinding or resistance. When untilting, reverse the motion slowly and make sure the canopy returns to vertical before you crank it closed. Never leave the umbrella tilted and unattended in any wind above a light breeze.
Step-by-step instructions for each tilt type
Crank-tilt umbrellas (auto-tilt / crank-to-tilt)
This is the most common system on Costco 10 ft models including the ProShade 2127274 and SunVilla auto-tilt series. The same crank that opens the canopy also drives the tilt once the canopy is fully deployed.
- Insert the crank handle into the socket on the lower pole section if it is not already attached.
- Turn the crank clockwise steadily to raise and open the canopy. You will feel moderate resistance as the ribs splay outward.
- Keep cranking past the point where the canopy feels fully open. After a few additional turns, you will feel or hear a slight click or engagement — the secondary gear is now driving the tilt mechanism.
- Continue cranking slowly. The canopy hub will begin to tilt forward (toward the direction you are facing if the crank is in front of you). Most models allow roughly 30–45 degrees of tilt.
- Stop cranking when you reach the desired angle. The internal ratchet holds position.
- To untilt, turn the crank counter-clockwise. The hub will return to vertical first, then the canopy will begin to lower. Some models require you to crank briefly clockwise past vertical before the lowering sequence begins — if the canopy does not start lowering after several counter-clockwise turns, try one or two clockwise turns first.
- Continue counter-clockwise to fully close the canopy and secure the velcro or tie wrap around the fabric.
Push-button / pin-tilt umbrellas
On these models, a spring-loaded button on the pole engages a pin that locks the umbrella pole's upper section at a tilted angle. You can usually set it at one or two preset tilt positions depending on how many notches the pole has.
- Open the canopy fully using the crank or by pulling the runner up the pole until the ribs lock open.
- Stand to the side of the umbrella, not directly beneath the hub.
- Locate the push-button on the pole — it is usually a round or oval plastic button, roughly 18–24 inches below the hub.
- Press and hold the button in with your thumb.
- While holding the button, gently tilt the upper pole section toward the desired direction. You will feel the pin release and the upper section pivot at the joint.
- Release the button when you reach a tilt notch. You should feel the pin seat with a click.
- Test lightly by pressing upward on the canopy rim to confirm the pin is fully engaged before leaving it tilted.
- To untilt, press the button again and pivot the upper section back to vertical, then release the button to lock it upright.
Collar / slide-tilt umbrellas
The collar is a rotating ring or sleeve on the pole just above the crank housing. Turning or sliding it moves an internal cam that tilts the hub assembly.
- Open the canopy fully first — always.
- Locate the collar ring on the pole above the crank housing. It may have a textured grip or ridged surface.
- Grip the collar with both hands and rotate it in the direction indicated by any arrow markings (usually clockwise to tilt).
- As you rotate, the upper pole section will tilt. Apply steady, even pressure — do not force it.
- Stop rotating when you reach the desired tilt angle. The collar position holds the angle through friction or an internal stop.
- To untilt, rotate the collar back in the opposite direction until the pole is vertical.
- Close the canopy using the crank after returning to vertical.
Auto-tilt (spring-assisted) umbrellas
Spring-assisted auto-tilt models are less common in the Costco lineup but do appear in some SunVilla variants. The mechanism uses internal spring tension to engage the tilt automatically once the canopy reaches full extension, rather than requiring you to keep cranking. Operation is similar to crank-to-tilt but the engagement is more abrupt.
- Open the canopy with the crank as normal.
- When the canopy reaches full extension, the spring mechanism will engage automatically — you may feel the crank resistance change or hear a soft click.
- At this point, continuing to turn the crank will drive the tilt rather than opening the ribs further.
- Crank slowly to tilt to the desired angle, then stop.
- To untilt, reverse the crank direction. The spring will assist in returning the canopy to vertical.
- If the tilt does not engage automatically at full extension, the spring may be worn or the internal cable may have slipped — see the troubleshooting section below.
Troubleshooting: figure out what you are dealing with
Before pulling anything apart, match your symptom to one of these categories. This narrows the repair path immediately and keeps you from chasing the wrong problem.
| Symptom | Most Likely Cause | Where to Look in This Guide |
|---|---|---|
| Crank turns but canopy does not open or tilt | Lift cord off pulley or broken cord inside pole | Stuck tilt section below |
| Canopy opens fine but will not tilt at all | Internal tilt gear disengaged, broken ratchet, or cord slipped | Stuck tilt section below |
| Button does not spring back or feels loose | Broken or weak spring behind button, or missing pin | Broken release button section below |
| Pin will not seat when tilting (no click) | Bent or missing tilt pin, worn notch in pole | Broken release button section below |
| Collar turns but nothing happens | Stripped collar threads or broken internal cam | Stuck tilt or corroded parts sections below |
| Tilt joint is stiff or barely moves | Corrosion or oxidation on pivot pin or collar assembly | Corroded parts section below |
| Grinding noise while cranking | Stripped crank gear teeth or grit in gear housing | Stuck tilt and quick fixes sections below |
Stuck tilt: diagnostic steps and fixes
A stuck tilt usually means either the canopy has not been cranked far enough (on auto-tilt models), the internal cord has slipped off its pulley, or a gear inside the crank housing has stripped. Start with the simplest check first.
- Confirm the canopy is fully open before calling the tilt stuck. On crank-to-tilt models, the tilt simply will not engage unless the canopy is at full extension. Crank an extra 4–6 turns past what feels like 'open' and see if the tilt engages.
- If still nothing, remove the crank handle and look at the crank housing for a small access cover or screws. On most Costco models, the crank housing has 2–4 Phillips screws holding it together.
- Open the housing and visually inspect the cord or strap. The lift cord should be looped around a pulley or drum. If it has jumped off, reseat it by hand, close the housing, and test.
- If the cord is broken, you will need to replace it — see the parts section for cord sizing. This is one of the more common internal failures on auto-tilt models.
- If the cord looks fine, inspect the gear teeth. Stripped plastic gears will show missing or rounded teeth. A stripped gear requires a crank housing replacement — a straightforward swap once you have the right part.
Broken release button or missing pin: diagnostic steps and repair
Push-button tilt failures almost always come down to one of three things: a broken spring inside the button assembly, a worn or bent pin that no longer seats in the pole notch, or a cracked button housing that allows the whole assembly to fall inward. The good news is the U-spring and button assembly is a small, inexpensive part that many specialty suppliers stock.
- Press the button and observe whether it springs back fully. If it stays depressed or feels mushy, the internal spring is likely broken.
- With the canopy closed and the pole vertical, press the button and look into the small hole on the opposite side of the pole — you should see the tip of the pin retract. If you see nothing, the pin may be missing.
- To access the assembly, most push-button tilts are held by two small screws on a rectangular plate on the pole. Remove these screws carefully to access the spring and pin.
- Note the orientation of the spring and button before removing them — photograph it.
- Order a replacement U-spring lock and button assembly. Confirm your pole diameter (usually 1.5 inch / 38 mm for standard Costco 9–10 ft models) before ordering, as these parts are not universal.
- Install the new assembly in the same orientation, replace the screws, and test the action before reassembling any covers.
Corroded or seized parts: safe freeing and repair
If your umbrella has sat outside through wet seasons without lubrication, aluminum oxide and surface corrosion can weld pivot pins and collar assemblies in place. Do not force them. Here is how to free them safely.
- Apply a penetrating lubricant (not WD-40 as a long-term fix, but WD-40 is acceptable as an initial penetrant to loosen corrosion). Spray around the pivot pin or collar joint and wait 15–20 minutes.
- Work the stuck component back and forth gently with your hands — even a millimeter of movement tells you the penetrant is working.
- Repeat applications and gentle movement over 30–60 minutes for badly seized pins.
- Once the part moves freely, clean off all penetrant residue with a cloth, then apply your actual maintenance lubricant: silicone spray or dry PTFE spray for plastic-on-metal pivot points, white lithium grease for metal gear teeth and crank threads. Avoid petroleum-based oils or WD-40 as long-term lubricants on plastic components — they attract grit and can degrade plastic over time.
- If the pivot pin itself is visibly pitted, bent, or corroded through, it needs to be replaced. Measure the diameter and length before ordering (see the parts table below).
- For a cracked or stripped collar, the entire collar assembly usually needs replacement. Photograph the collar, measure the pole diameter, and search for your model number plus 'replacement collar tilt' on specialty sites.
Quick fixes and routine maintenance checklist
Most tilt problems can be prevented or reversed with a short annual maintenance session. This takes about 20 minutes at the start of each season and will dramatically extend the life of any mechanical tilt system.
- Clean all metal pole joints with a soft brush and mild soap. Rinse and dry fully before lubricating.
- Apply silicone spray to pivot pins, tilt joints, and collar sliding surfaces at the start and end of each season.
- Apply a small amount of white lithium grease to crank gear teeth if you notice increasing resistance while cranking.
- Check the tilt pin and button spring action once a month during the season — a sticky button is the first sign of a failing spring.
- Inspect the lift cord for fraying each spring before first use. Replace it at the first sign of wear — a broken cord mid-season is a more involved repair than a proactive cord swap.
- Tighten all visible screws on crank housing, pole joint collars, and rib connectors at the start of each season.
- Free a minor jam by closing the umbrella fully, applying silicone spray to the affected joint, waiting 10 minutes, and slowly working the mechanism through its range of motion by hand before using the crank.
Parts reference table
| Part Name | Function | Common Cross-Reference Name | What to Measure / Photograph |
|---|---|---|---|
| Tilt pivot pin | Axle pin at the tilt joint; allows upper pole to angle | Hampton Bay-style tilt pin, rib pivot pin | Pin diameter and length; photograph the joint with pin removed |
| U-spring and button assembly | Spring-loaded push button that locks the tilt angle | Push-button tilt assembly, spring-pin kit | Pole outer diameter (usually 1.5 in / 38 mm); photograph button face and back plate |
| Tilt collar / rotating ring | Ring above crank that engages tilt on collar-tilt models | Slide-tilt collar, umbrella tilt ring | Pole diameter where collar sits; thread direction (CW/CCW); photograph collar removed |
| Crank housing assembly | Houses lift cord, pulley, and gears; drives open and tilt action | Umbrella crank mechanism, crank gear housing | Pole diameter; count gear teeth if visible; photograph all sides |
| Lift cord / rope | Internal cord that raises canopy when crank turns | Umbrella lift cord, replacement cord | Cord diameter (usually 3–4 mm) and length; photograph cord routing path |
| Crank handle | External handle attached to crank housing | Umbrella crank handle replacement | Handle socket size; photograph handle connection point |
| Rib end cap / tip | Caps rib ends; some models attach tilt cord here | Rib tip, umbrella rib cap | Rib end outer diameter; photograph tip and any cord attachment |
How to source replacement tilt parts and cross-reference
Costco does not maintain a public parts portal for discontinued umbrella models, so most owners need to source parts through alternative channels. The good news is that many Costco-distributed umbrellas use standard Chinese-manufactured frames with parts that cross-reference to other brands. Here is how to track down what you need. See a detailed replacement part guide for broken patio umbrella tilt mechanisms and compatible cross-references to find the correct component replacement parts for broken patio umbrella tilt mechanism.
Before contacting any supplier, gather these four things: your item number or model number from the pole sticker or original box, the pole outer diameter at the tilt joint (use a tape measure or calipers), photos of the broken part from multiple angles, and the overall umbrella size (9 ft, 10 ft, etc. Many retailers list residential market umbrellas with a 1.5 in (≈38 mm) main pole diameter, see 7.5ft Outdoor Patio Market Umbrella, product page (specifies pole diameter 1.5") 7.5ft Outdoor Patio Market Umbrella — product page (specifies pole diameter 1.5"). ). Suppliers including PatioUmbrellaStore and UmbrellaSpecialist will ask for all of this before quoting a part, they will tell you upfront if the part is not universal, which saves you from ordering the wrong thing.
- Start with Costco directly: call the Costco member service line with your item number. For recently sold models (within 2–3 years), they can sometimes route you to the OEM brand (SunVilla, ProShade) for parts.
- Try Hampton Bay-compatible parts: many Costco umbrella frames use the same dimensions as Hampton Bay (Home Depot's umbrella brand) because they share manufacturing sources. Search 'Hampton Bay tilt pin' or 'Hampton Bay crank housing' and compare your measurements.
- Specialty umbrella parts dealers (PatioUmbrellaStore, UmbrellaSpecialist, Galtech dealer sites) stock small service parts like U-spring button assemblies, replacement pins, and crank housings. These sites often include exploded parts diagrams you can use to confirm the part number.
- Amazon and eBay carry many of the same aftermarket parts — search by pole diameter and part name. Read seller descriptions carefully to confirm dimensional compatibility.
- Local hardware stores can supply generic replacement cords (paracord works as a substitute lift cord in a pinch), screws, and lubricants even if they do not stock umbrella-specific parts.
- If your pole is 1.5 inch (38 mm) diameter, you have the best chance of finding cross-compatible parts. If you measure 48 mm or 53 mm, you likely have a larger commercial-style frame and will need to focus on specialty dealers.
When to repair vs replace
Honest answer: most tilt mechanism failures on Costco umbrellas are worth repairing if the frame and fabric are in good shape and the umbrella is less than 4–5 years old. A worn spring or broken cord is a 20-dollar fix. But if several things are broken at once, or the frame is bent, it gets less clear.
| Situation | Repair or Replace? | Typical Effort / Cost |
|---|---|---|
| Broken or weak button spring | Repair | Low effort / under $20 for U-spring assembly |
| Lift cord off pulley | Repair | Low effort / free if cord intact, under $15 if cord needs replacing |
| Stripped crank gear (plastic) | Repair | Moderate effort / $15–$40 for crank housing replacement |
| Corroded pivot pin (still intact) | Repair | Low effort / under $10 for new pin plus lubricant |
| Cracked collar on collar-tilt model | Repair | Moderate effort / $20–$45 depending on model-specific availability |
| Bent or cracked main pole | Replace umbrella | Pole replacement rarely cost-effective; pole plus labor often exceeds umbrella cost |
| Multiple simultaneous failures (3+) | Replace umbrella | Cumulative parts cost and labor often exceeds a new umbrella at Costco pricing |
| Recalled SunVilla Solar LED unit | Return/replace via recall | CPSC recall — contact Costco; do not continue using |
| Fabric heavily UV-faded or torn while tilt works fine | Fabric replacement only | Moderate / replacement canopies available for standard pole sizes |
A useful rule of thumb: if parts cost more than 40% of what a replacement umbrella would cost at Costco (or a comparable retailer), buy new. If you are under that threshold and the repair is something you can do yourself in under an hour, fix it.
Wind, safety, and seasonal storage
The tilt mechanism puts the most stress on the umbrella frame when the canopy is tilted, because the tilted angle dramatically increases the wind sail area. Every Costco-distributed ProShade and SunVilla manual includes explicit warnings to close the umbrella in high winds, and this is one instruction that is worth following precisely.
- Close and untilt the umbrella whenever sustained wind exceeds about 15–20 mph or if gusts are forecasted. Do not leave it tilted overnight even if the forecast looks calm.
- Always return the canopy to vertical before cranking it closed. Closing a tilted canopy strains the tilt gear and the fabric.
- Use an umbrella base with sufficient ballast. The manufacturer's recommendation for most 9–10 ft market umbrellas is a base with 50–100 lbs of ballast (sand or water). A tilted umbrella in any wind requires the heavier end of that range.
- For winter or off-season storage, clean the canopy, apply lubricant to all tilt joints and the crank housing, close and tie the canopy, and store the umbrella horizontally or vertically in a protective cover in a dry location.
- Remove the crank handle and store it separately to prevent it from falling and damaging the crank socket.
- Inspect all hardware for tightness after storage and before first spring use — screws on crank housings and pole joints tend to loosen during temperature cycling.
Suggested images and diagrams for this guide
If you are using this guide as a reference while working on your umbrella, or if you are building out a visual version of these instructions, these are the images that make the biggest practical difference for readers.
- Labeled diagram of a 10 ft auto-tilt market umbrella showing the crank housing, tilt hub, lift cord path, and where the secondary tilt gear sits inside the housing.
- Side-by-side photo comparison of a push-button/pin-tilt pole section vs. a collar-tilt pole section vs. a plain auto-tilt pole, so readers can visually identify their type.
- Close-up of a push-button assembly with the button depressed, showing the pin retracting on the opposite side of the pole.
- Photo of a disassembled crank housing showing the cord on the drum/pulley, with an arrow pointing to the secondary tilt gear.
- Photo of a corroded pivot pin vs. a clean new pin for comparison.
- Measurement diagram showing where to measure pole outer diameter and how to measure pin diameter and length for ordering parts.
- Photo of the tilt joint at the hub from below, showing the pivot point and common corrosion location.
- Illustrated checklist of seasonal maintenance steps with photos at each step (spray lube application point, screw tightening locations, cord inspection point).
Related repairs and next steps
Tilt issues are the most common complaint, but they are rarely the only thing that eventually needs attention on a market umbrella. Depending on what you found while working through this guide, you may want to dig into some closely related topics.
If your tilt mechanism is damaged beyond a simple spring or pin replacement, the full replacement process for the tilt assembly is a logical next step, covering how to identify compatible replacement units and swap them in without replacing the entire umbrella. If you were not sure how auto-tilt systems work mechanically, there is a deeper explanation of the internal auto-tilt mechanism that clarifies the gear and ratchet arrangement, which is useful when diagnosing whether a repair is feasible. For readers who need to reverse the tilt after the canopy got stuck in a tilted position, the specific untilting procedure for stuck or jammed tilts covers that scenario in detail. And if you have a Hampton Bay umbrella at a different property or want to confirm part cross-compatibility, the Hampton Bay tilt guide covers the same tilt types with brand-specific callouts that mirror much of what is in this guide. For brand-specific instructions, see how to tilt Hampton Bay patio umbrella.
FAQ
How do I identify which tilt system my Costco patio umbrella uses?
Identification checklist: measure pole diameter (common sizes ~1.5 in/38 mm, 48 mm, 53 mm). Look for these visible cues: - Push-button / spring-pin: small round button on the upper pole section that you press to tilt. - Collar / slide: a rotating or sliding ring just above the crank or hub. - Auto-tilt (crank-to-tilt): a hand crank on the pole; instructions or a label may say “crank to tilt” or the crank continues after canopy opens. - Crank-only (no tilt): crank opens canopy but no secondary tilt action. Also check manuals, item tag or Costco model name (SunVilla / ProShade branding commonly uses auto-tilt on 9–10 ft models). Take photos of the pole, crank housing and any buttons/collars — suppliers often ask for these to confirm parts fit.
What are the safe general steps to tilt and untilt any Costco patio umbrella?
General safety checklist before tilting: ensure canopy is fully unfurled unless instructed otherwise, clear area of people and objects, lock base/weight, work from ground level only. General steps: 1) Identify tilt type (push-button, collar, auto-crank). 2) For push-button: press the button and gently angle the top section down until it clicks in the alternate hole. 3) For collar/slide: rotate or slide the collar upward/release and tilt canopy to desired angle; re-seat collar to lock. 4) For auto-tilt/crank-to-tilt: fully open canopy with crank; then continue turning the crank slowly to engage tilt ratchet until canopy tilts; reverse crank to untilt. 5) Confirm tilt is locked before leaving umbrella unattended. Always close and secure umbrella in wind or storms.
Step-by-step: How to tilt and untilt a push-button / spring-pin Costco umbrella
Steps to tilt: 1) Stand on stable ground beside umbrella. 2) If canopy is closed, open fully first if manufacturer requires. 3) Locate the push-button on the upper pole section (spring-loaded pin). 4) Press and hold the button; while holding, tilt the upper pole section down to the desired angle until you hear/feel the pin engage a detent. 5) Release the button and verify it’s seated. Steps to untilt: 1) Press and hold the button, return the upper section to vertical, release when pin seats. Tips: do not force if stuck; inspect for corrosion or debris in the hole.
Step-by-step: How to tilt and untilt a collar/slide Costco umbrella
Steps to tilt: 1) Open canopy if required by your model. 2) Locate the collar or sliding ring above the crank area. 3) Push or rotate the collar to the release position (follow arrow/mark if present). 4) While holding the collar, tilt the canopy to desired angle and re-seat the collar to lock. Steps to untilt: reverse process: push/rotate collar to release and bring canopy vertical, then re-seat collar. Tips: collars can seize from dirt; use silicone spray to lubricate slider channel and avoid petroleum products on plastic.
Step-by-step: How to tilt and untilt an auto-tilt / crank-to-tilt Costco umbrella
Steps to tilt (typical auto-tilt): 1) Crank open canopy fully using the handle. 2) After canopy is fully open, continue turning the crank slowly — a secondary gear/ratchet will engage and tilt the hub. 3) Stop cranking once desired tilt achieved. To untilt: continue cranking or reverse if your model supports direction change (consult your manual); often turning the crank the same direction until canopy returns vertical will untilt. Safety tip: if crank rotates freely without tilt action, stop and inspect — continued force can damage gears.
What troubleshooting steps should I follow if the tilt is stuck or won’t engage?
Quick diagnostic checklist: 1) Identify symptom: (a) button won’t depress, (b) collar won’t slide, (c) crank turns but no tilt, (d) canopy won’t open. 2) Visual inspection: check for rust, debris, broken pins, missing springs, or cracked plastic in the release mechanism. 3) Test moving parts by hand (don’t force). 4) For crank problems, open crank housing to inspect lift cord, pulley, and internal gears (common cause for crank turning but no motion is slipped/broken cord or stripped gear). 5) For push-button/collar, try silicone spray to free seized parts. 6) If a pin or spring is broken or missing, record measurements and take photos for parts ordering. 7) If internal gears are stripped or housing cracked, consider replacement of crank housing or umbrella.
Next Articles
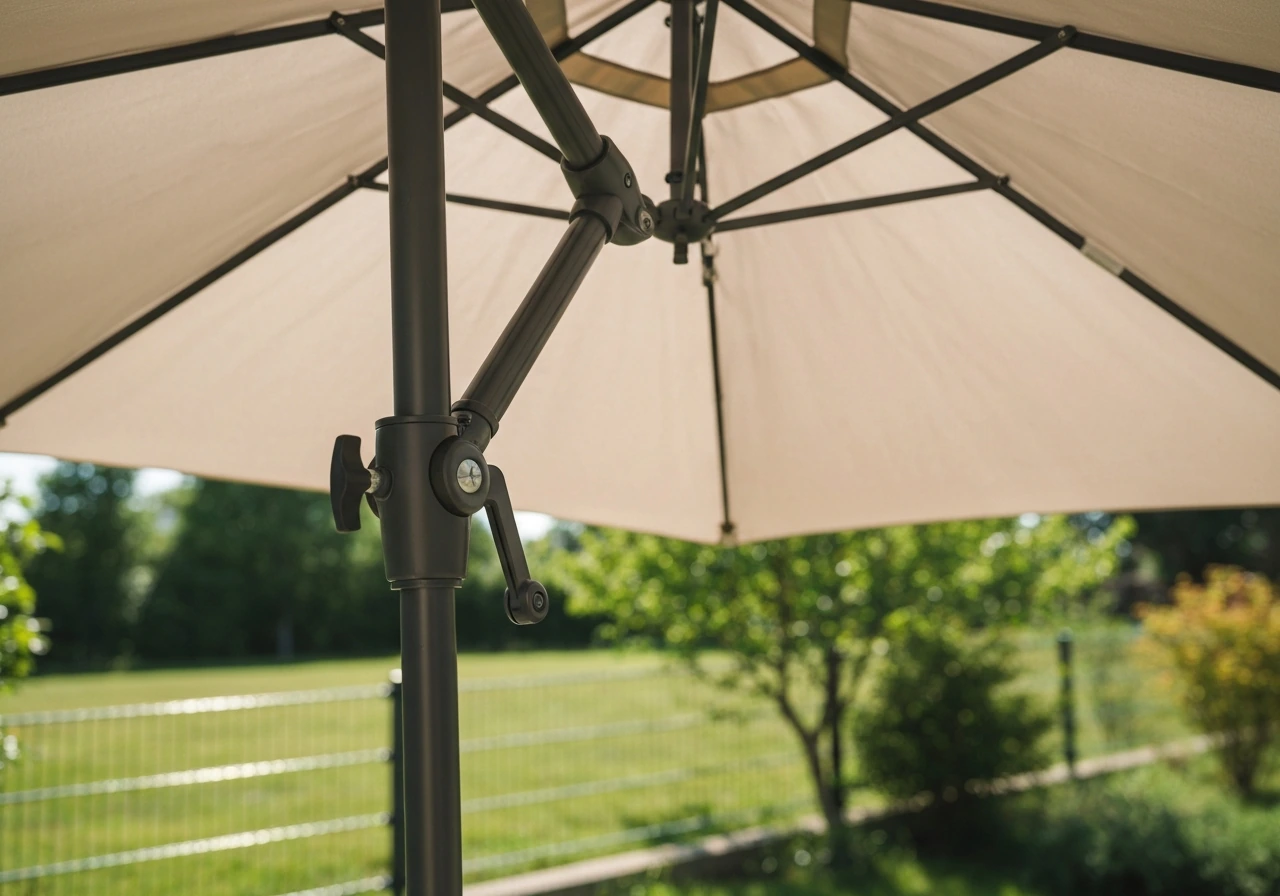
How to Auto Tilt Patio Umbrellas Work and Use Them
Learn how auto-tilt patio umbrellas work and how to use, troubleshoot, and maintain the tilt crank, cord, and joints.
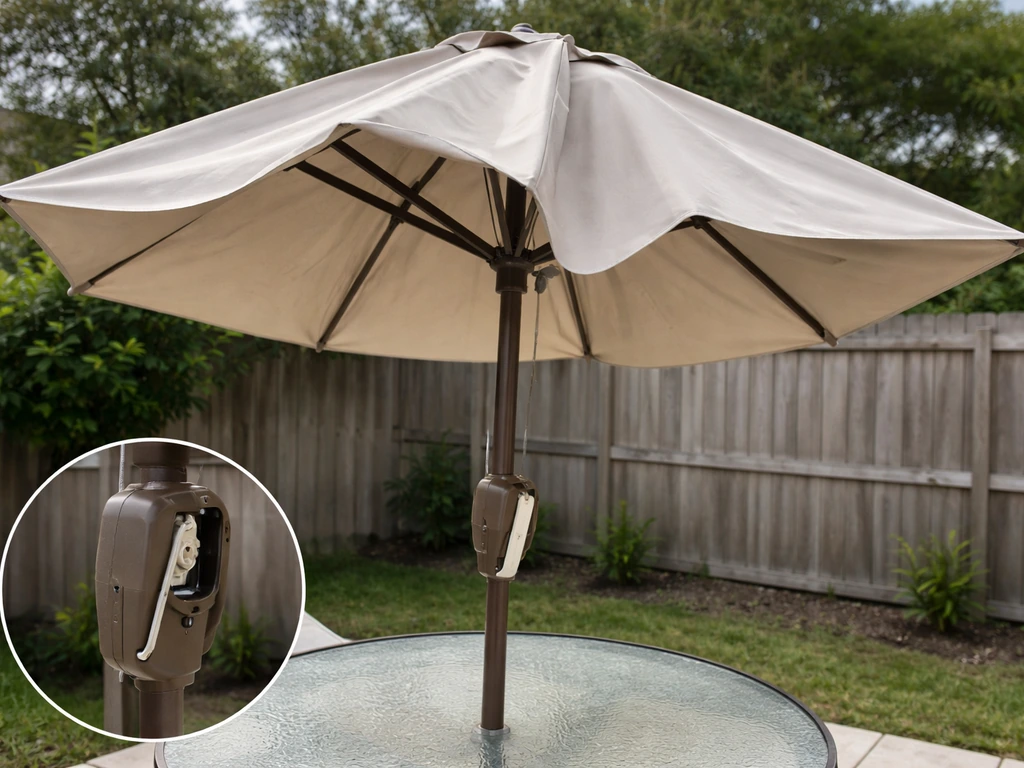
How to Fix a Patio Umbrella That Won't Open or Close
Step-by-step fixes for patio umbrellas that won’t open or close, with checks for jams, cords, latches, and lubricating t
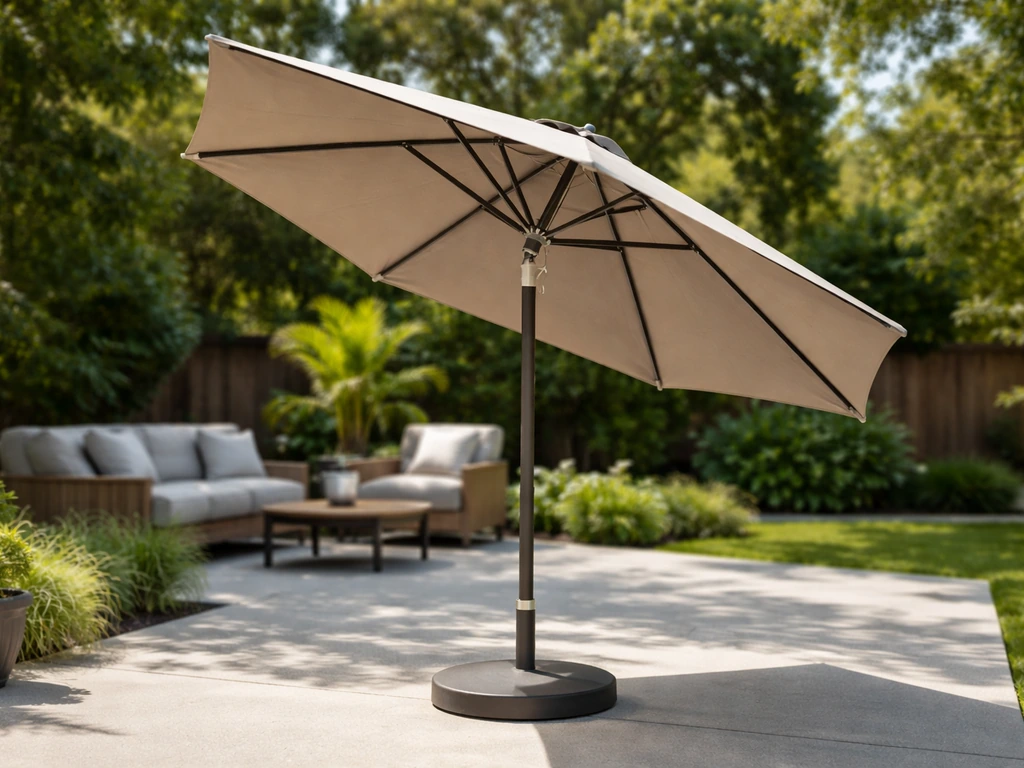
How Does a Patio Umbrella Work? Components, Use, and Fixes
Learn how patio umbrellas work: components, open close tilt, stability, and step by step troubleshooting common mechanic