
A patio umbrella leans for one of a handful of reasons: a bent or kinked pole, loose set screws or collar hardware, a cracked top hub, broken or bent ribs pulling the canopy asymmetrically, a tilt or crank mechanism that has failed, or a base that is too light, improperly sized, or sitting on uneven ground. None of those problems automatically mean you need a new umbrella. Most are fixable in under an hour with basic hand tools, and this guide walks you through diagnosing exactly which issue you have and then repairing it step by step.
Why Is My Patio Umbrella Leaning: Fix, Stabilize & Prevent

Luca Morrison
20 Jul 2026
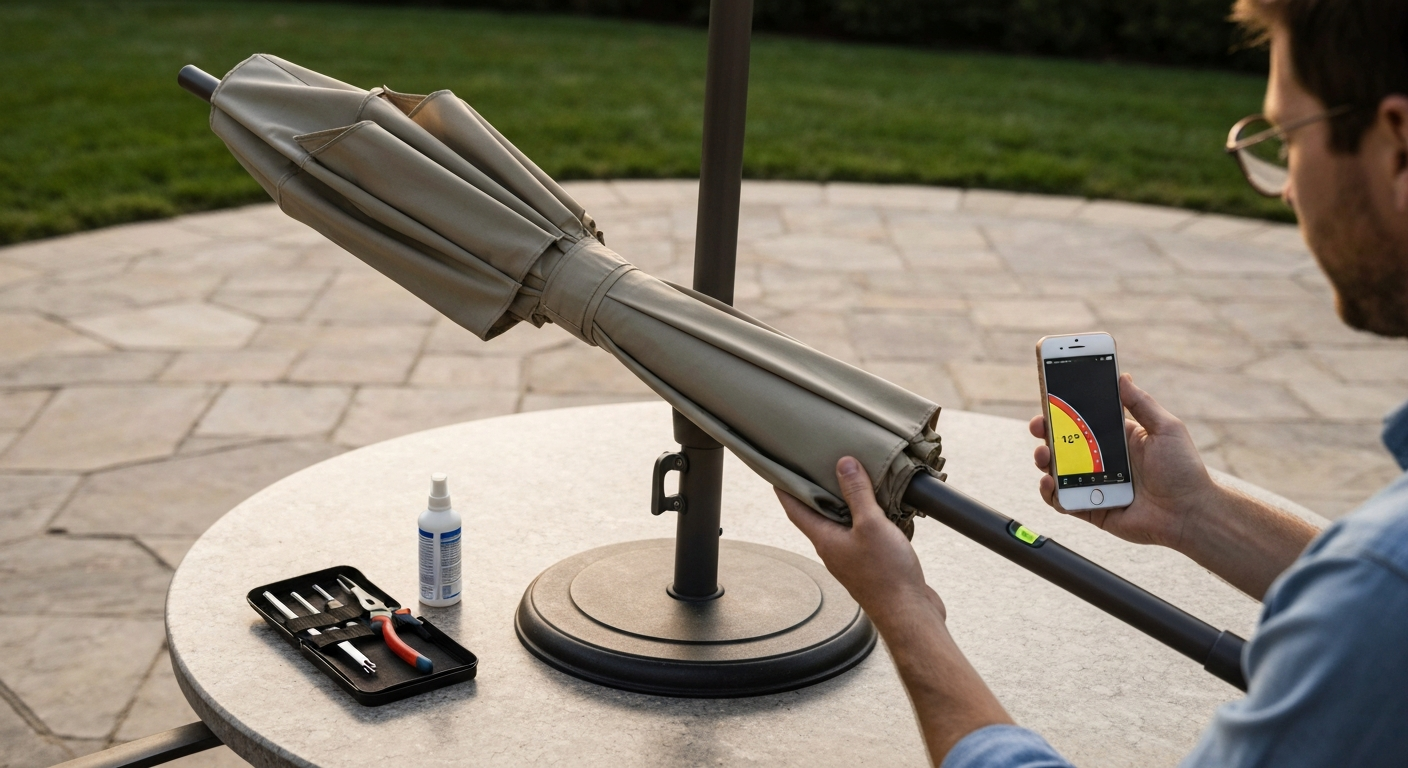
What's actually happening when your umbrella leans
Before you start tightening anything, it helps to understand the mechanical chain. The pole passes through a weighted base, a table-mount sleeve, or a stand, and is locked in place by set screws, a collar clamp, or both. Above that, a runner slides up the pole to push the ribs outward, and those ribs attach at a top hub. If anything in that chain is loose, bent, cracked, or undersized, the whole canopy shifts off-center. Wind, vibration, and seasonal temperature swings accelerate every one of those failure modes.
Quick diagnostic checklist
Start here before touching any hardware. Run through this checklist with the umbrella closed and secured so nothing can catch wind while you work. Take photos from all four sides and use a smartphone level app to measure the lean angle in degrees before you do anything else. That information will help you order the right replacement parts if needed.
| Symptom you see | Most likely cause | First check to do |
|---|---|---|
| Constant lean at rest, same direction every time | Bent pole section, uneven base, cracked hub | Run a straightedge along the pole and check base feet on a flat surface |
| Intermittent wobble that worsens in light wind | Loose set screw, loose collar, or under-weighted base | Wiggle test — grip mid-pole and push side to side to find the play |
| Lean plus creaking or metallic scraping noise | Bent rib(s) or cracked top hub | Open canopy fully and sight down from above to check rib symmetry |
| Crank handle spins freely, canopy doesn't move | Stripped crank gear or snapped internal cord | Remove crank cover and inspect gear teeth and cord |
| Runner gets stuck partway, umbrella opens crooked | Bent pole channel, debris in runner groove, seized runner | Move runner by hand with umbrella closed to feel for binding |
| Umbrella slowly drifts in wind even when locked | Base too light or soil movement under base | Weigh base and compare against manufacturer minimums for your canopy size |
The wiggle test is the fastest single thing you can do: with the umbrella closed and the pole seated in the base, grip the pole at mid-height and push it firmly left and right, then front and back. Movement at the pole-to-base joint points to base hardware. Movement that is stiff at the base but loose higher up points to a set screw or collar above the base. A pole that flex-bends rather than pivoting at a joint points to a bent section.
Tools and parts to have on hand
You do not need a workshop full of equipment to fix most umbrella lean problems. Here is what handles the vast majority of repairs. See How to Fix a Patio Umbrella That Won't Open or Close, PatioUmbrellaRepairGuide.com (tools list) for a concise tools list that includes hex/Allen key sets (2–8 mm), flat and Phillips screwdrivers, an adjustable wrench (to ~1"), torque options for small fasteners, needle‑nose pliers, a bench vise or straps, silicone spray lubricant, medium-strength threadlocker (Loctite 242/243), and common replacement parts (set screws, rib sections, hub assemblies) How to Fix a Patio Umbrella That Won't Open or Close — PatioUmbrellaRepairGuide.com (tools list).
- Hex (Allen) key set covering M2 through M8 (2–8 mm) — most set screws on umbrellas fall in the M4–M6 range
- Flat-head and Phillips screwdrivers
- Adjustable wrench rated to at least 1 inch jaw opening
- Needle-nose pliers for small fasteners and cord work
- Bench vise or ratchet straps (for holding the pole steady when straightening)
- Silicone spray lubricant — dry silicone is preferred over WD-40 because it does not attract grit
- Medium-strength blue threadlocker: Loctite 242 or 243 (Loctite 243 is oil-tolerant and works better on outdoor hardware that is not perfectly clean)
- Replacement stainless DIN/ISO set screws in M4, M5, and M6 sizes (cheap to keep a few of each)
- Spare rib connector sleeve or replacement rib section if you suspect rib damage
- Smartphone with a level app for measuring lean angle
For stripped screw holes in aluminum pole sections, a thread-insert repair kit is worth adding to your toolkit. HeliCoil kits restore standard thread form using a coiled insert and work well in shallow aluminum housings. Time-Sert kits use a solid metal bushing and are stronger under repeated load. Both come with the correct drill bit, tap, and installation tool for a specific thread size, so buy the kit matched to your set screw diameter.
Safety warnings and when to stop
I want to be direct about this section because it is easy to skip past safety notes. A patio umbrella at full open can catch wind like a sail, and most canopy panels present 10 to 15 square feet of drag surface. Work only when wind speed is below 10 mph. If you are checking the runner or hub and need to open the canopy partially, stake or tie the pole before you let go of it.
- Close and fully lower the canopy before any disassembly — do not work on an open umbrella
- Never work on an umbrella that is moving in gusts; even light wind can lever a partially disassembled pole unpredictably
- If the pole is set in a table-mount that passes through a glass table, support the pole from below with a second person or a prop before removing the base hardware — an unsupported pole can drop through the glass
- Wear safety glasses when striking any metal component or when working with thread-insert taps
- Stop the repair and replace the umbrella if the pole shows a spiral fracture, stress cracks, or if the base casting is cracked — cracked cast metal bases can fail catastrophically under load
- If a cantilever (offset) umbrella has lost its counterweight ballast or shows a bent boom arm, do not attempt to use it or straighten it at height — the offset geometry multiplies wind leverage substantially and the repair risk is higher
How to choose the right repair path
Work from the simplest fix to the most involved. Base issues and loose hardware take five minutes to confirm and fix. A bent pole or broken rib takes 20 to 45 minutes. Crank and tilt mechanism repairs are covered separately in the crank and tilt troubleshooting guides on this site and are worth consulting if the runner or handle is your problem.
- Check and fix the base first — confirm it is heavy enough for your canopy, sitting level, and fully tightened
- Next, run the wiggle test to isolate loose set screws or collar hardware (fast, free fix)
- Then inspect the pole visually and with a straightedge for bending
- Open the canopy and inspect the ribs and hub for damage
- Only move on to crank, cord, or tilt mechanism repairs after ruling out the structural causes above
The repair vs. replace decision is simpler than most people think. If the pole, hub, and at least five of the ribs are intact, repair is almost always cost-effective. If the pole has a spiral or stress fracture, the hub is shattered in more than one location, or the base casting is cracked, replacement makes more sense than trying to stabilize a compromised structure.
Fix: bent or twisted pole
How to diagnose a bent pole
Remove the umbrella from its base and lay the pole flat on a level surface (a driveway works fine). Roll it slowly and watch the gap between the pole and the surface, a bent section will rock or lift. Alternatively, sight straight down the long axis from one end, the way you would check a pool cue. A kink is easy to spot. Use your smartphone level held at multiple points along the pole length to confirm and measure the deviation.
Straightening a bent pole (step by step)
This works for minor bends, roughly less than 10 to 15 degrees. Severe bends, kinks at a joint, or any sign of cracking mean you should replace the section rather than straighten it. For a full walk-through on straightening a bent pole, see how to straighten a patio umbrella.
- Disassemble the pole from the umbrella completely and remove any set screws or collars near the bend
- Mark the apex of the bend with a piece of tape so you can see it clearly while working
- Secure the pole in a padded bench vise with the bend apex centered between the jaws — use rubber jaw covers or wrap the pole in rags to avoid crushing the aluminum
- Apply slow, steady hand pressure against the bend in the opposite direction; work in small increments and re-check with the level app after each correction
- If hand pressure is not enough, use two padded pipe clamps — one on each side of the bend — as levers; keep movements to 2–3 degrees at a time to avoid work-hardening the metal
- Once the pole reads within 1–2 degrees of straight, check for any surface cracking along the correction zone; even fine hairline cracks mean the pole is weakened and should be replaced
- Reinstall any set screws, lubricate the runner channel with dry silicone spray, and reassemble
If straightening gives a result that still shows a slight deviation, you can reinforce the corrected section with an internal sleeve: cut a piece of thin-wall steel or aluminum tubing to span 6 inches past the bend on each side, slip it inside the pole, and secure it with two set screws per end. This adds meaningful rigidity without requiring a full pole replacement.
| Repair option | Estimated time | Parts cost | Difficulty |
|---|---|---|---|
| Straighten minor bend (vise method) | 20–40 min | None or minimal ($0–$5 for jaw pads) | Moderate |
| Internal sleeve reinforcement | 30–45 min | $8–$20 for sleeve tubing + set screws | Moderate |
| Replace single pole section (OEM or compatible) | 30–60 min | $20–$60 depending on brand and pole diameter | Easy to moderate |
Fix: loose set screws, bolts, and connector hardware
This is the most common cause of an umbrella that wobbles or leans intermittently. Set screws back out from vibration, wind, lawn mowers, foot traffic near the base, and once they loosen even half a turn, the pole develops measurable play. The good news is this fix takes under 15 minutes.
Step by step: tighten and secure set screws
- Close the umbrella completely and remove it from the base
- Locate all set screws on the pole assembly — common locations are at the base collar (where the pole enters the base), at the runner collar, and at the tilt collar near the top of the pole; check the hub cap for any fasteners as well
- Inspect each screw for rounded hex socket (a sign the wrong key size was used) or corrosion; replace any damaged screws with stainless equivalents of the same thread spec
- Clean the threads and the tapped hole with a small brush or cotton swab dipped in isopropyl alcohol or brake cleaner; let dry for 2 minutes
- Apply a small drop of medium blue threadlocker (Loctite 242 or 243) to the first 2–3 threads of the screw only — do not flood the hole
- Thread the screw in by hand until it contacts the pole shaft, then tighten with the correct hex key to the recommended torque: M4 screws to approximately 2.5 Nm, M5 to approximately 4 Nm, M6 to approximately 7 Nm; if you have aluminum pole shafts, reduce those values by 30–40% to avoid stripping the tapped hole
- Repeat for every set screw on the assembly
- Allow at least 10–30 minutes fixture time before reassembling and a full 24 hours before putting the umbrella back in service in wind
If the tapped hole is already stripped and the screw spins without gripping, do not crank harder, that will only enlarge the damage. Instead, use a thread-insert repair kit. Match the kit to your set screw diameter (most umbrella set screws are M4, M5, or M6). Typical set‑screw sizes and suggested installation torque ranges (dry steel shafts, approximate): M3 ≈1.2 Nm, M4 ≈2.5 Nm, M5 ≈4 Nm, M6 ≈7 Nm, M8 ≈14 Nm, M10 ≈27 Nm, reduce torque ~30–40% for aluminum shafts and reduce 15–20% when using threadlocker; use a torque wrench or torque‑limited hex key for repeatable results (see Set Screw Point Types & Installation Torque Guide, Tonful (technical guide)) Set Screw Point Types & Installation Torque Guide — Tonful (technical guide). Drill out the stripped hole to the kit's specified drill diameter, tap the new thread using the kit tap, and install the insert. The insert gives you a fresh, stronger thread that takes standard set screws.
| Repair option | Estimated time | Parts cost | Difficulty |
|---|---|---|---|
| Re-tighten existing set screws with threadlocker | 10–15 min | $5–$8 for threadlocker if not on hand | Easy |
| Replace corroded/rounded set screws | 15–20 min | $3–$10 for a stainless assortment pack | Easy |
| Thread-insert repair (stripped hole) | 30–45 min | $15–$30 for kit | Moderate |
Fix: damaged ribs or fabric alignment
Inspecting the ribs and canopy
Open the umbrella fully on a calm day and walk around it looking straight up at the ribs from below. All ribs should radiate at equal angles and rise to approximately the same pitch. A bent or broken rib will sit visibly lower than its neighbors, and the fabric panel attached to it will sag or pucker. Sometimes a rib tip connector (the small plastic end cap where the fabric tie loops through) has broken off rather than the rib itself, that is a much easier fix.
While the canopy is open, gently press up on each rib from below with one hand. A healthy rib feels rigid. A cracked rib will flex noticeably, sometimes with an audible click. Also check the top hub where the ribs connect: look for visible cracks in the plastic molding, especially around the rib socket slots. A cracked hub allows ribs to pivot out of plane even if the ribs themselves are fine, and that produces an off-axis lean that looks similar to a bent pole.
Repairing or replacing a damaged rib (step by step)
- Close and lower the umbrella, then disconnect the fabric panel from the damaged rib by untying or unclipping the rib tip and the intermediate velcro or tie loops along that panel seam
- Locate the rib connector at the hub — most ribs slot into a molded hub pocket and are held by a small pivot pin or a pressed-fit tab; use needle-nose pliers to remove the pin or depress the tab and pull the rib free
- If the rib is only bent (not cracked), you can attempt to straighten it with padded pliers using the same incremental method as the pole; aluminum ribs are thin and work-harden quickly, so this only works reliably for bends under about 10 degrees
- For a cracked or broken rib, measure the rib length and outside diameter and order a replacement from the umbrella's OEM parts program or a compatible third-party supplier; bring the old rib if possible for direct comparison
- Fit the replacement rib into the hub socket and reinstall the pivot pin until it clicks flush
- Reattach the fabric panel, working from the hub end outward, and tie or clip all connection points
- Open the umbrella and verify the new rib sits at the same pitch as adjacent ribs; if it sits slightly low, the hub socket may be worn and a thin shim washer on the pivot pin can level it out
Cracked hub: temporary fix and replacement
A cracked hub is worth repairing temporarily if you are waiting on a replacement part. Wrap the hub firmly with two or three layers of self-amalgamating (self-fusing) silicone tape, pressing the crack closed as you wrap. This is not a permanent fix, but it will hold the rib geometry stable for several weeks of normal use while you source a replacement hub. Most name-brand umbrella manufacturers (Treasure Garden, California Umbrella, Abba Patio, and similar) sell replacement top hubs as individual parts. Verify the hub diameter and rib count before ordering.
| Repair option | Estimated time | Parts cost | Difficulty |
|---|---|---|---|
| Straighten a bent rib in place | 15–25 min | None or $0 | Easy to moderate |
| Replace a single rib (OEM or compatible) | 20–40 min | $8–$25 per rib section | Easy to moderate |
| Temporary hub repair (self-fusing tape) | 10–15 min | $5–$10 for tape | Easy |
| Replace the top hub assembly | 30–60 min | $15–$45 for hub, varies by brand | Moderate |
| Replace broken rib tip connector only | 5–10 min | $1–$5 for a pack of connectors | Easy |
Base weight, ground leveling, and stabilization
Even a perfectly straight pole will lean if the base is too light or sitting on an uneven surface. For step-by-step tips on increasing base stability and getting a patio umbrella to stand straight, see our guide on how to make patio umbrella stand straight how to make a patio umbrella stand straight. Manufacturers are specific about minimum base weights, and the numbers are higher than most people expect. Here are the broadly accepted industry minimums by canopy size, always check your umbrella maker's published spec and increase one weight increment for exposed or breezy sites.
| Canopy diameter | Minimum base weight (sheltered) | Minimum base weight (exposed/windy) |
|---|---|---|
| 7–9 ft market umbrella | 30 lb | 50–75 lb |
| 9–11 ft market umbrella | 50 lb | 75–100+ lb |
| 11–13 ft market umbrella | 75 lb | 100–125+ lb |
| Cantilever/offset (any size) | 100 lb | 150–175+ lb |
If your base is under-weight, you have a few options short of buying a new base: add weight by filling a hollow base with sand or water (most plastic fill-bases hold 40–50 lb of sand when full), or place additional weight plates designed for umbrella bases on top of the existing base. For umbrellas set in soil on a deck or patio perimeter, anchor stakes or ground anchors threaded into the soil under the base foot plate can significantly reduce drift and lean from ground movement. Cantilever umbrellas especially need a properly matched, often heavier base because the offset pole multiplies wind leverage at the base mount.
For uneven ground causing a tilt, shim the low side of the base with plastic leveling shims (sold in packs at hardware stores). Stack shims until a level placed on the base reads plumb, then confirm the pole is vertical. If the ground is soft soil, a wider base footprint or a patio paver placed under the base distributes the load and reduces sinking.
Maintenance habits that prevent leaning from coming back
Most umbrella lean problems are repeat offenders because the root cause was never addressed at storage time. Here is what actually makes a difference across seasons.
- Check and re-torque all set screws at the start of each season, not just when a problem appears; apply fresh threadlocker if you find any that have backed out
- Lubricate the runner channel and pivot pins with dry silicone spray at the start of spring and again mid-season; avoid oil-based lubricants that attract sand and grit
- Close and lower the canopy any time wind is forecast above 20–25 mph; most umbrellas are not designed to withstand sustained winds at full open, and every wind loading event stresses the pole, hub, and rib connectors
- Store the umbrella with the canopy fully closed and ideally in a protective cover; UV and moisture accelerate cracking in plastic hubs and rib connectors
- Inspect the top hub and rib pivot pins visually each spring before first use; catching a hairline hub crack before a rib fails is a 15-minute $20 fix versus a 90-minute repair after a rib snaps
- If you use a table-mount, verify that the table mount sleeve diameter matches the pole diameter snugly; a loose sleeve fit is a common overlooked lean source
When to repair vs. replace
Repair makes sense when the pole, hub, and majority of ribs are structurally sound, you are just dealing with hardware loosening, a single bent rib, or a light base. Replace when the pole has stress fractures, the hub is shattered at more than one socket, the base casting is cracked, or the cumulative repair cost would exceed 50–60% of a comparable new umbrella. If you are constantly chasing new problems each season on the same umbrella, that is a signal that the structure is fatigued and no individual repair will give you a reliable result.
Fixing a leaning umbrella and keeping it straight long-term are closely related goals. Once you have addressed the root cause here, the guides on keeping a patio umbrella straight and making an umbrella stand properly cover additional stabilization strategies including guy lines, cross-base weights, and anti-tilt collar upgrades that layer on top of what you have already fixed. For step‑by‑step instructions on stabilizing a leaning stand and stopping wobble, see how to fix wobbly patio umbrella (reference: 1a1ec380-3503-476f-b799-c7e40dab3fcf).
FAQ
Quick diagnostic checklist — what symptoms should I note and what do they likely mean?
Run these observations: 1) Constant lean at rest → likely bent pole, cracked hub, or uneven/under‑weighted base. 2) Intermittent wobble under load → loose set screws/collars or base looseness. 3) Lean plus creaks/metallic noise → bent ribs or cracked hub. 4) Handle spins freely / canopy doesn't move → stripped crank gear or snapped internal cable. 5) Runner sticks partway → seized channel, debris, or bent pole. Tip: photograph from four sides and measure lean angle with a phone level before disassembly.
What simple diagnostic tests can I run at home?
1) Wiggle test: with umbrella closed, grasp mid‑pole and apply lateral force to find movement location (base vs pole vs hub). 2) Rotate/crank test: open/close slowly and note if handle turns freely or binds. 3) Runner travel test: move the runner by hand to feel jams. 4) Visual inspection: look for bent ribs, cracked hub, missing set screws. 5) Base check: confirm base sits flat and check for loose mounting hardware.
Which tools and parts should I have on hand?
Essential tools: hex/Allen key set (2–8 mm), flat/Phillips screwdrivers, adjustable wrench, torque wrench or torque‑limiting hex keys, needle‑nose pliers, bench vise/straps, rubber mallet, silicone dry lubricant spray, medium blue threadlocker (Loctite 242/243), utility knife. Common parts: replacement set screws, rib sections, top hub assembly, crank/tilt repair kit or replacement handle, internal cable, small stainless hardware, thin‑wall sleeve tubing for pole reinforcement, thread repair kit (HeliCoil/Time‑Sert).
How do I fix loose set screws or collars (wobble at joints)? Time/cost/difficulty?
Step‑by‑step: 1) Locate loose screws at base, runner, hub or collar. 2) Remove old screw if corroded; clean mating threads with solvent and rag. 3) Apply medium blue threadlocker to new or cleaned screw. 4) Reinstall and torque to recommended value (approx M4 ≈2.5 Nm, M5 ≈4 Nm; reduce for aluminum). 5) Recheck after 24 hours and seasonally. Time: 15–45 min. Cost: $5–$15 for screws/threadlocker. Difficulty: Easy–Moderate (basic hand tools).
What if the pole is bent — how can I straighten it or reinforce it? Time/cost/difficulty?
Options: Minor bend — secure pole in padded vise or with straps to a pipe vise and slowly apply counter‑bend by hand or with a hydraulic press; avoid overworking the metal. Reinforce — slip a snug thin‑wall steel or aluminum sleeve inside the pole across the damaged area and secure with set screws or epoxy. Replace section — order OEM replacement pole section if available. Time: 1–3 hours for straightening/reinforcing. Cost: $0–$50 (DIY straighten/ sleeve) or $30–$150+ for replacement section. Difficulty: Moderate–Advanced (requires care to avoid weakening pole).
How do I repair damaged ribs or a cracked hub? Time/cost/difficulty?
If one rib is bent or broken: remove canopy fabric from ribs or access end fitting, unclip and replace the single rib section (match length/material). If hub cracked: inspect extent — small crack can be reinforced temporarily with epoxy and metal strap; best practice is replacement of the hub assembly. Time: 30–90 min for rib swap; 1–2 hours to replace hub. Cost: $10–$50 per rib; $25–$100+ for hub replacement. Difficulty: Moderate (requires small part ordering and careful reassembly).
Next Articles
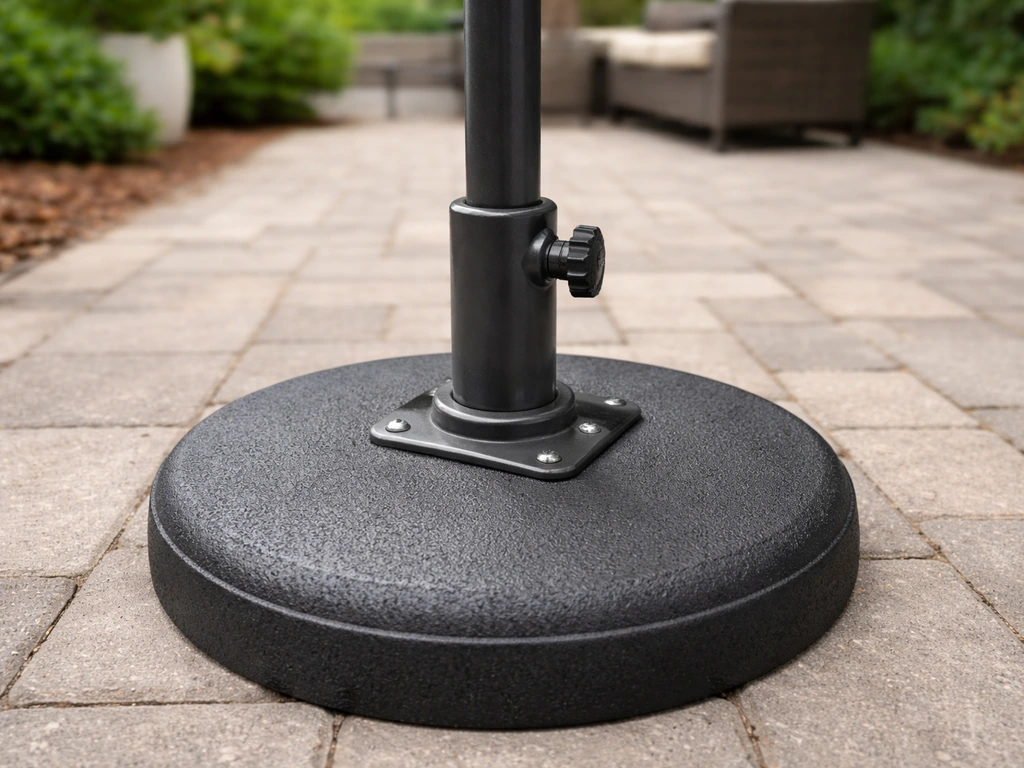
How to Fix Wobbly Patio Umbrella: Step-by-Step Repair
Fix a wobbly patio umbrella fast: tighten, align, repair tilt and crank joints, upgrade base weight, test, and prevent i
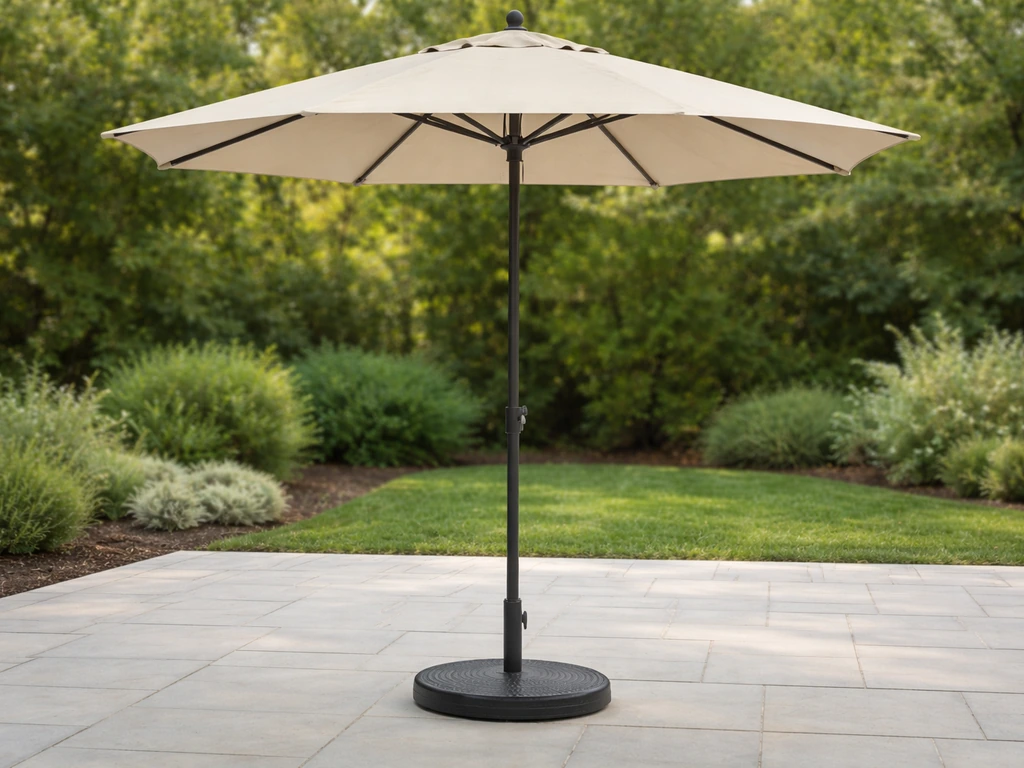
How to Make a Patio Umbrella Stand Straight
Step-by-step fixes for a tilting patio umbrella: check base weight, tighten parts, align crank tilt, level and anchor to
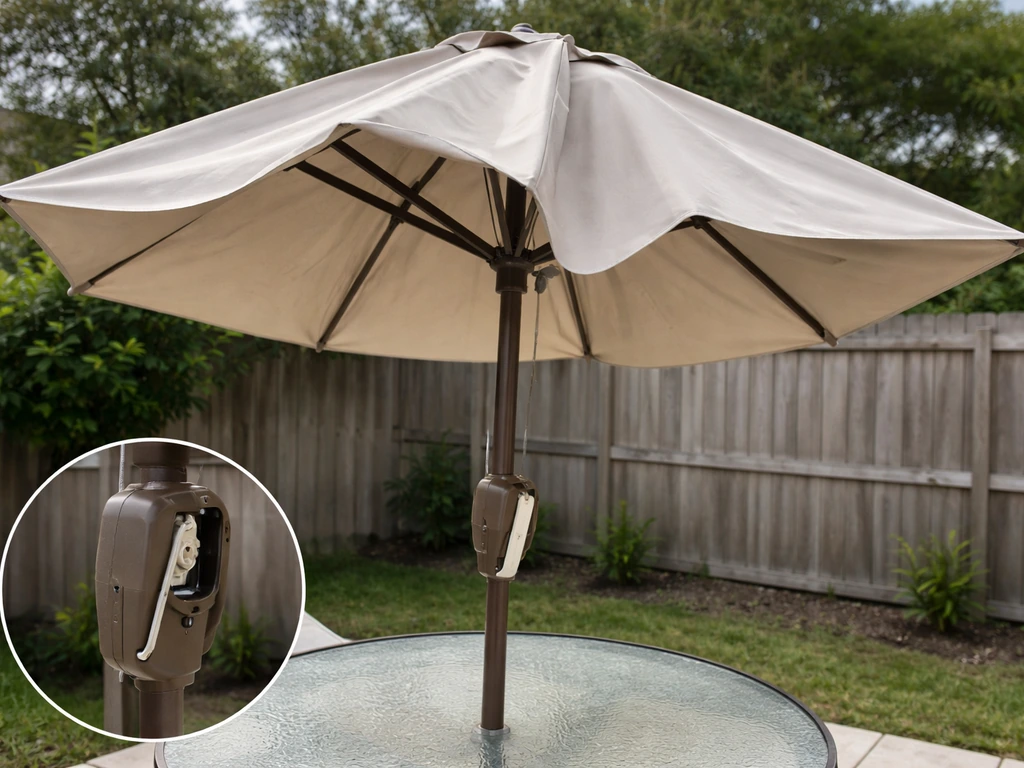
How to Fix a Patio Umbrella That Won't Open or Close
Step-by-step fixes for patio umbrellas that won’t open or close, with checks for jams, cords, latches, and lubricating t