
An old patio umbrella can be repaired, repurposed, sold, donated, or recycled depending on what shape it is actually in. Most homeowners throw theirs out too quickly. A broken crank, a torn canopy panel, or a bent rib are all fixable in under two hours with basic tools and parts that cost $15 to $60. If the pole is cracked or the frame is badly corroded, that changes the math, but there is still usually something worth salvaging. This guide walks you through every real option, starting with a quick inspection and a decision checklist, then moving into step-by-step repair instructions, repurpose projects, and responsible disposal. For detailed steps on responsible disposal, see our guide on how to dispose of a patio umbrella. For more ideas and step-by-step options, see our guide on what to do with old patio umbrellas. If you want targeted advice on what to do with an old patio umbrella frame, whether to repurpose it, salvage parts, or recycle the metal, see our guide on what to do with old patio umbrella frame. For creative project ideas, learn how to repurpose broken patio umbrellas.
What Can I Do With an Old Patio Umbrella: Repair or Repurpose

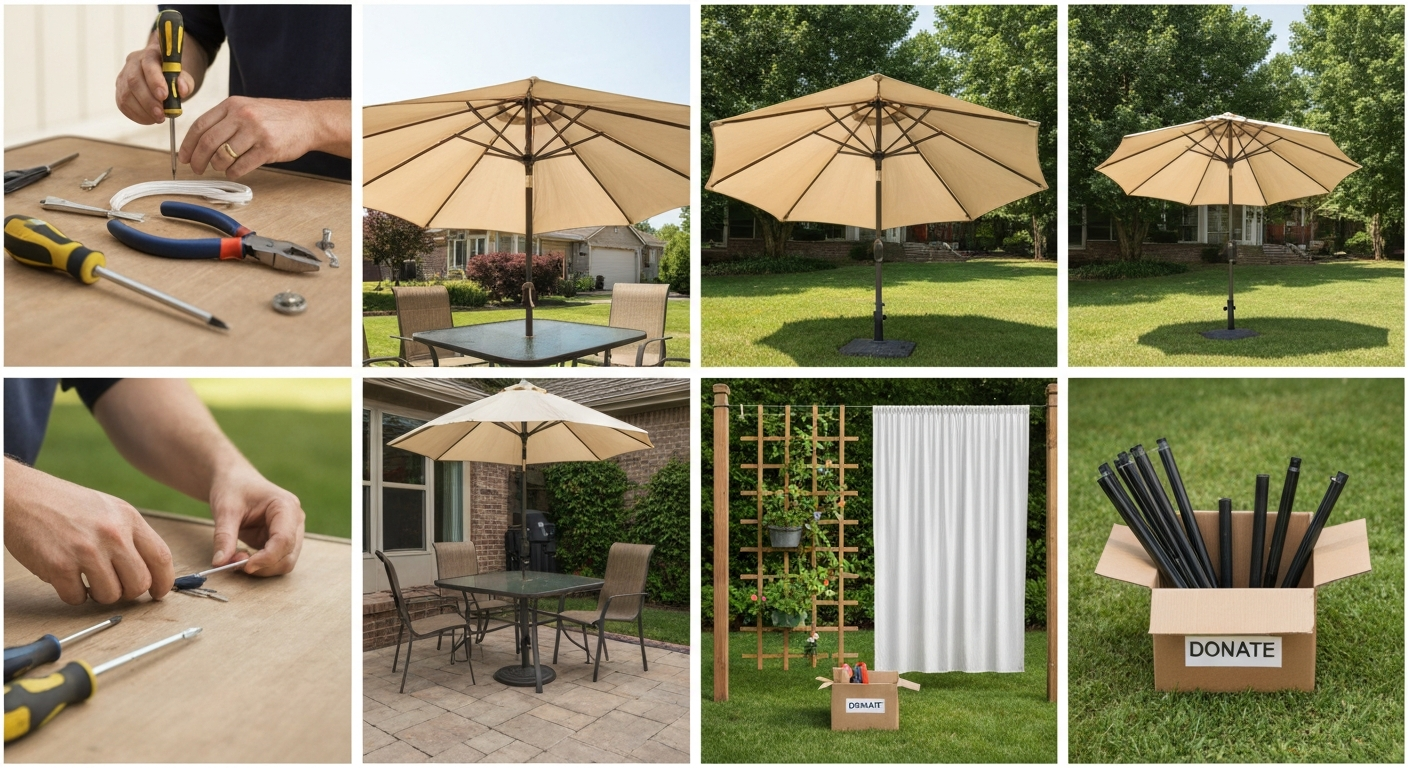
Safety and prep before you do anything
Before you start inspecting, repairing, or disassembling your umbrella, run through a few basic safety steps. These apply whether you are planning a full repair, pulling it apart for parts, or hauling it to the curb.
- Close and secure the canopy completely before handling the frame. An open umbrella can catch wind and swing the pole or ribs unpredictably, especially if the tilt mechanism is loose.
- Wear safety glasses when using screwdrivers, hex keys, or pliers near under-tension cords or springs. Snapped cord ends can whip back.
- Wear work gloves when handling bent or broken metal ribs. Broken fiberglass ribs splinter and can puncture skin.
- Remove any sharp protruding rib tips, broken fasteners, or cracked plastic end caps before carrying the umbrella or loading it into a vehicle.
- If you plan to leave the umbrella outside while you work on it over multiple days, stake the base securely or store it horizontally. Do not leave a damaged or partially disassembled umbrella upright in wind.
- Do not attempt to bend or straighten a cracked pole or a visibly corroded frame joint. Cracked or heavily corroded metal can fail suddenly under load and cause serious injury.
- If the umbrella has been in storage for a season or longer, check for mold, mildew, and insect nests in the canopy fabric and hollow pole before bringing it indoors or working near it.
Quick decision checklist: repair or replace?
Answer these yes/no questions honestly before spending any money. The goal is to decide in five minutes whether repair is worth pursuing, and if so, at what level.
- Is the center pole straight, uncorroded, and free of cracks? If no, repair costs rise sharply and a replacement frame or new umbrella usually makes more sense.
- Are the ribs (the arms that hold the canopy out) straight or only slightly bent, without snapped sections? If more than two ribs are snapped or badly bent, weigh the cost of replacement ribs against a new unit.
- Is the crank mechanism the main failure point? If yes, this is almost always worth repairing. Replacement cranks run $15 to $60 and the job takes under two hours.
- Is the canopy torn, faded, or rotten? A replacement canopy for a standard market umbrella runs $50 to $300 depending on size and fabric. If the frame is otherwise sound, a new Sunbrella-grade canopy can give the umbrella years of additional life.
- Can you still find replacement parts for this model? Check the manufacturer's parts list or manual. Mass-market brands like Abba Patio include parts lists in their manuals; brands like Treasure Garden sell replacement ribs, canopies, and crank assemblies through authorized dealers. If parts are unavailable, repurpose or recycle.
- Would a full repair (parts plus your time) cost more than 60 percent of a comparable new umbrella? If yes, you are probably better off replacing it unless the frame is a high-quality product worth saving.
- Is the frame structurally sound even if the canopy is wrecked? If yes, a repurpose project using only the frame is very viable.
The full decision flow: from assessment to final outcome
Think of this as a simple funnel. You start by assessing what you have, and each branch leads to the right action without second-guessing yourself.
- Assess: Lay the umbrella flat and inspect canopy, ribs, crank, tilt joint, and pole. Note every failure point before making any decisions.
- Repair first: If the pole is sound and only one or two components are broken, attempt the repair. Crank failures, cord failures, and single-rib breaks are the easiest wins and the most common problems.
- Repurpose second: If the frame is solid but the canopy is beyond saving, or if the canopy is good but the frame is damaged, split them up and use what works. The frame alone is useful for garden structures and shade supports. The canopy fabric works as ground cover, a plant cloche base, or outdoor curtain material.
- Sell or donate third: If the umbrella is functional or close to it, listing it locally or donating it extends its life without any effort on your part beyond a quick clean.
- Recycle or dispose last: Metal poles and ribs go to scrap metal recycling. Canopy fabric made from acrylic (like Sunbrella) or polyester can go to textile recycling programs where available. Plastic parts go in general waste unless your municipality accepts mixed plastics.
How to inspect your umbrella and figure out what is actually wrong
A good inspection takes about ten minutes and tells you exactly what you are dealing with. Work through the umbrella from top to bottom in a logical order.
Canopy
Open the umbrella fully and look for tears, holes, seam separations, and UV degradation. UV-degraded fabric feels brittle, fades unevenly, and may crumble at the edges. Small tears under about three inches can be sewn with UV-resistant upholstery thread. Larger tears or seam failures usually mean the fabric has reached the end of its life. Check that the canopy pockets at the rib tips are intact and that the tie-down tabs or velcro closures are still attached. A canopy in decent shape but with a broken frame is worth saving.
Ribs
Unclip or slide the canopy back from the rib tips and visually inspect each rib along its full length. Look for bends, kinks, stress fractures, and snapped sections. On fiberglass ribs, check for delamination or splitting. On aluminum ribs, look for sharp bends and white oxidation at the joints. Gently flex each rib by hand. A rib that flexes and springs back is fine. A rib that stays bent or crunches is compromised. Note how many are damaged because replacement ribs are sold individually and must match the model's diameter and length exactly.
Crank and lift cord
Turn the crank handle slowly and listen. A smooth, consistent resistance means the mechanism is working. Grinding, slipping, or no movement at all usually points to a stripped gear, a frayed cord, or a tangled cord inside the pole. Remove the crank housing cover (usually two or three Phillips screws) and look inside. Frayed or snapped cord is the most common and cheapest fix. Stripped plastic gears inside the crank housing mean the whole assembly needs replacing, which still costs only $15 to $60.
Tilt mechanism
If your umbrella tilts, test the tilt joint by hand with the umbrella open. It should lock at each tilt angle and release cleanly. A tilt joint that slips under load or will not release is usually seized from corrosion or has a worn locking collar. Silicone spray lubricant fixes the majority of seized tilt joints. If the collar is cracked or the button mechanism is broken, you need a replacement tilt assembly, which is a model-specific part.
Pole and frame
With the canopy removed, sight down the pole from the top. Any visible bow or kink is a concern. Check the base of the pole where it sits in the mount for corrosion, cracks, or deformation. On two-piece poles, check the middle joint for play or cracking. Wooden poles should be inspected for splits, rot, and loose joinery. A bent aluminum pole with no cracking can sometimes be straightened with gradual pressure over a solid edge, but any pole with a crack, heavy corrosion, or rotted wood section should be retired from structural use.
Repair, replace, or repurpose: which option actually makes sense
| Option | Best when | Typical cost | Typical time | Result |
|---|---|---|---|---|
| DIY repair (crank/cord) | Crank slips, grinds, or cord snaps; frame is sound | $15–$60 in parts | 30 min – 2 hrs | Fully functional umbrella |
| DIY repair (canopy replacement) | Canopy torn/faded but frame and ribs are solid | $50–$300 for canopy | 1–2 hrs | Like-new appearance, extended life |
| DIY repair (rib replacement) | One or two ribs broken, others fine, parts available | $20–$80 per rib set | 30–90 min per rib | Fully functional umbrella |
| Buy replacement unit | Pole cracked, multiple ribs broken, parts unavailable, repair cost exceeds 60% of new price | $80–$400+ for new umbrella | 1–2 hrs setup | New umbrella, warranty intact |
| Repurpose (frame only) | Frame sound, canopy beyond saving | $0–$30 for hardware | 1–3 hrs project | Garden structure, shade trellis, or decor |
| Repurpose (canopy only) | Canopy intact, frame unusable | $0–$20 for materials | 1–2 hrs project | Ground cover, curtain, cloche, or awning |
| Sell or donate | Umbrella works or needs only minor fixes | $0 | 30 min to prep and list | Cash or goodwill, zero waste |
| Recycle/dispose | Nothing salvageable, parts incompatible, structure unsafe | $0–$30 (bulky waste fees may apply) | 1–2 hrs disassembly | Responsible end-of-life disposal |
DIY repair basics: tools, parts, and honest time and cost estimates
You do not need a workshop to repair most patio umbrellas. Almost every common repair can be done on a patio table or the ground with tools most people already own.
Tools you will need
- Phillips head and flat head screwdrivers (for crank housing covers and hub fasteners)
- Hex key set or Allen wrenches (many hub and tilt fittings use metric hex bolts)
- Needle-nose pliers (for pulling cord through the pole and handling small fasteners)
- Adjustable wrench (for pole fittings and base hardware)
- Hose clamps or pipe repair clamps (for temporary rib splinting)
- Silicone spray lubricant or dry PTFE lubricant (for tilt joints, crank housings, and the pole runner)
- Needle and UV-resistant upholstery thread (for small canopy repairs)
- Safety glasses and work gloves
Replacement parts and where to get them
For branded umbrellas like Treasure Garden, replacement cranks, ribs, hubs, and Sunbrella canopies are available through authorized dealers and online parts vendors. Always use the model number from your umbrella's label or manual to confirm part compatibility. Abba Patio and similar mass-market brands include parts lists in their instruction manuals (available on sites like Manuals.plus) that list part numbers, rib diameters, and hub specs. Abba Patio 8ribs Center Pole Market Umbrella Instruction Manual, Manuals.plus (parts list / compatibility guidance) lists rib diameters, hub specs, and OEM part numbers to help verify compatibility before ordering replacements Abba Patio 8ribs Center Pole Market Umbrella Instruction Manual — Manuals.plus (parts list / compatibility guidance). Using mismatched ribs or non-OEM crank gears can cause fit and tension issues, so verifying dimensions before ordering is worth the extra five minutes.
Typical parts costs
- Replacement crank handle or crank assembly: $15–$60
- Replacement lift/drive cord (nylon, sold by the foot or as a kit): $5–$20
- Individual replacement rib (aluminum or fiberglass, OEM): $20–$50 each
- Replacement tilt collar or button assembly: $15–$45
- Replacement canopy (standard acrylic or polyester, 9 ft): $50–$150
- Replacement Sunbrella canopy (OEM, 9–11 ft): $150–$300
- Full replacement frame (pole, hub, ribs): $80–$200 for mid-range models
How to fix a broken crank: step-by-step
A broken or slipping crank is the single most common patio umbrella failure I see. The good news is that it is almost always fixable, and the parts are cheap. Here is how to diagnose it and fix it the right way.
What you need
- Phillips screwdriver (for crank housing cover screws)
- Needle-nose pliers
- Replacement nylon lift cord (typically 3 mm to 5 mm diameter, check your model's manual)
- Replacement crank assembly (if gears are stripped — confirm model compatibility before ordering)
- Silicone spray lubricant
- Safety glasses
Time and cost estimate
Cord replacement: 30 to 60 minutes, $5 to $20 in materials. Full crank assembly replacement: 60 to 90 minutes, $15 to $60 in parts. Both are beginner-friendly jobs.
Step-by-step fix
- Close the umbrella completely and lay it flat on a table or the ground so the crank housing is accessible.
- Locate the crank housing. It is the plastic or metal box on the pole where the handle inserts, usually about a third of the way up the pole.
- Remove the crank housing cover. Most covers are held by two or three Phillips screws on the face or underside of the housing. Set screws and cover aside where they will not roll away.
- With the cover off, look inside. You will see a gear wheel or spool that the lift cord wraps around, plus the cord itself running up through the pole toward the canopy hub.
- Diagnose the problem before touching anything: Is the cord frayed, snapped, or tangled? Is the gear wheel cracked or are the teeth visibly stripped? Is the cord just jumped off the spool groove?
- If the cord is intact but jumped off the spool, use needle-nose pliers to reseat it in the groove, then turn the crank slowly to confirm it tracks correctly. Spray a light coat of silicone lubricant on the gear wheel and cord path.
- If the cord is frayed or snapped, cut the old cord out completely. Thread the new cord through the bottom of the pole, up through the pole to the hub, and tie or clip it to the hub runner (the sliding collar that moves up and down the pole to open and close the ribs). Pull the cord back down through the pole so there is enough length to wrap several times around the crank spool. Secure the cord end to the spool per your model's original routing (check a photo of the original setup before removing the old cord).
- If the gear wheel is stripped or cracked, the entire crank assembly needs replacing. Order the OEM replacement by model number. Slide the old crank assembly off the pole (it is usually held by a retaining clip or set screw), slide the new one on, route the new cord as described above, and reassemble.
- Reattach the housing cover, turn the crank through its full range several times to confirm smooth operation, then open and close the umbrella two or three times to verify the cord is seated and tracking properly.
- Spray a light coat of silicone lubricant into the housing through the cord opening before closing the cover permanently.
Troubleshooting tips
- Crank turns but umbrella does not open: The cord has snapped inside the pole above the crank. Open the pole at the mid-section joint if it is a two-piece pole and retrieve the broken cord end with needle-nose pliers before rethreading.
- Crank turns smoothly but the umbrella closes under its own weight: The cord tension is insufficient or the cord is slipping on the spool. Check that the cord is tied or anchored securely at the spool end and that the full length is taut.
- Handle spins freely with no resistance at all: The gear teeth are stripped. You need a replacement crank assembly, not just a cord.
- Crank is stiff and hard to turn: Clean out debris and dried lubricant from the housing, then apply fresh silicone spray. If it is still stiff after lubrication, the cord may be kinked inside the pole or the hub runner is binding on the pole.
When to replace the crank assembly rather than just repair it
Replace the full crank assembly (not just the cord) when the gear teeth are visibly stripped, the housing is cracked, or the handle shaft is bent. A stripped gear will keep slipping no matter how many times you replace the cord. Replacement crank assemblies for brands like Treasure Garden are available as individual parts through authorized dealers, and for mass-market brands you can often find them on Amazon or from the manufacturer's website using your model number. If no OEM replacement exists and a universal crank does not fit cleanly, it is a strong signal to evaluate whether the whole umbrella is worth keeping.
FAQ
Quick decision checklist: repair vs replace vs repurpose — how do I decide what to do with my old patio umbrella?
Checklist (5 quick steps): 1) Inspect: open fully and check canopy fabric, ribs, crank/cord, tilt joint, and pole for cracks/corrosion. 2) Safety red flags (replace/dispose): cracked or split wooden pole, heavily corroded metal with holes, multiple fractured ribs, or bent poles with visible metal fatigue. 3) Repairable signs: stripped crank gears, frayed/lift cord, jammed tilt, single broken rib, small canopy tear, or slightly bent pole. 4) Repurpose candidates: canopy fabric intact but frame compromised, frame intact but fabric trashed, or if you want a new project. 5) Economics: estimate repair parts $15–$150 vs replacement umbrella $50–$500+ (see comparison table). If repairs are under ~30–40% of replacement cost and frame is sound, repair is usually sensible; if >50% or multiple structural failures, consider replace/repurpose.
Comparison table: repair cost vs replace vs repurpose — quick overview
Repair: typical parts $15–$300; time 0.5–4 hours; outcome restores function; safety depends on structural integrity. Replace: cost $50–$500+ depending on size/brand; time to swap 0.5–2 hours; best for modern features/warranty. Repurpose: materials cost $0–$100; time 1–6 hours; creative reuse, avoids landfill. Recommendation: repair for single mechanical/fabric issues and sound frames; replace when pole/frame compromised or repair cost nears replacement; repurpose when sentimental or parts only are usable.
What tools and parts should I have on hand before attempting common repairs?
Basic tools: Phillips and flat screwdrivers, hex/Allen keys, adjustable wrench, needle‑nose pliers, wire cutters, tape measure, utility knife, hammer. Repair supplies: replacement crank/handle, replacement lift cord (nylon), silicone spray/dry lubricant, hose clamps/pipe clamp, rivets/bolts or self‑tapping screws, replacement ribs (OEM or matching diameter), needle and UV‑resistant upholstery thread, sewing awl or heavy needle, epoxy or metal repair putty. PPE: safety glasses, work gloves. Typical part price ranges: small parts $15–$60; replacement canopy $50–$300; full frame/pole $100–$500+.
How do I fix a broken or stripped crank (step‑by‑step)? Time, tools, cost estimates.
Steps: 1) Safety: close umbrella and secure it; wear gloves and eye protection. 2) Inspect: open housing cover (usually Phillips screws), look for stripped gears, frayed cord, or loose fasteners. 3) Minor fix: if cord tangled/frayed, remove and replace with nylon cord (cost $5–$15). 4) Replace crank assembly: remove housing screws, detach old crank, fit OEM replacement (match model), re‑assemble. 5) Lubricate moving parts with silicone spray, test operation. Tools/time/cost: screwdriver, pliers, replacement crank $15–$60; 30–90 minutes. Notes: if gears are worn inside hub, replace whole housing — OEM parts recommended for fit.
How to repair a jammed or slipping tilt mechanism?
Steps: 1) Close and secure umbrella. 2) Access tilt joint (remove cover/pivot fastener). 3) Clean corrosion/debris, spray silicone lubricant, and move joint to free position. 4) Tighten or replace retaining bolt/washer if loose. 5) If internal pawl/gears are stripped, replace the tilt assembly (model-specific). Tools/time/cost: screwdrivers/Allen keys, lubricant, replacement tilt parts $20–$120 depending on brand; 30–120 minutes. Safety: do not operate with seized tilt under load—risk of sudden release.
How to repair a ripped canopy (step‑by‑step) and where to buy replacements?
Steps: 1) Remove canopy: open umbrella, unfasten canopy at rib tips (pull ribs out of fabric pockets) and slide canopy off. 2) Small tear repair: patch from underside with UV‑resistant fabric glue or hand‑sew with UV thread; waterproof seam seal recommended. 3) Full replacement: measure diameter and rib count, order OEM canopy (Sunbrella or manufacturer panel) or compatible aftermarket. 4) Install new canopy: slide onto pole, align ribs into pockets/slots, secure finial/fasteners, test tension. Tools/time/cost: utility knife, needle/strong thread or fabric glue; small patch $5–$20, full canopy $50–$300; 1–2 hours. Care: hand wash mild soap, air dry only.
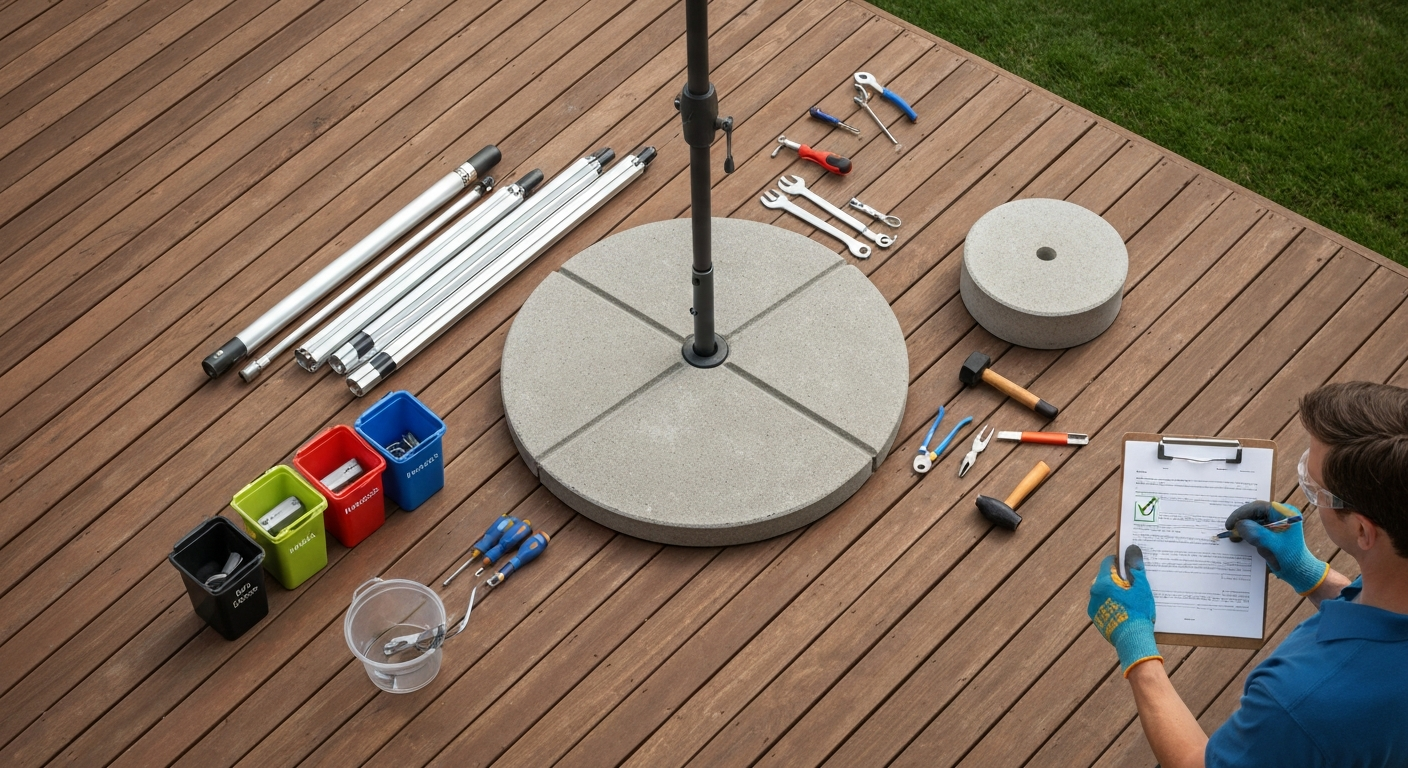
Learn repair-first steps to fix, repurpose, or responsibly dispose of a patio umbrella, disassembly, recycling, donation,
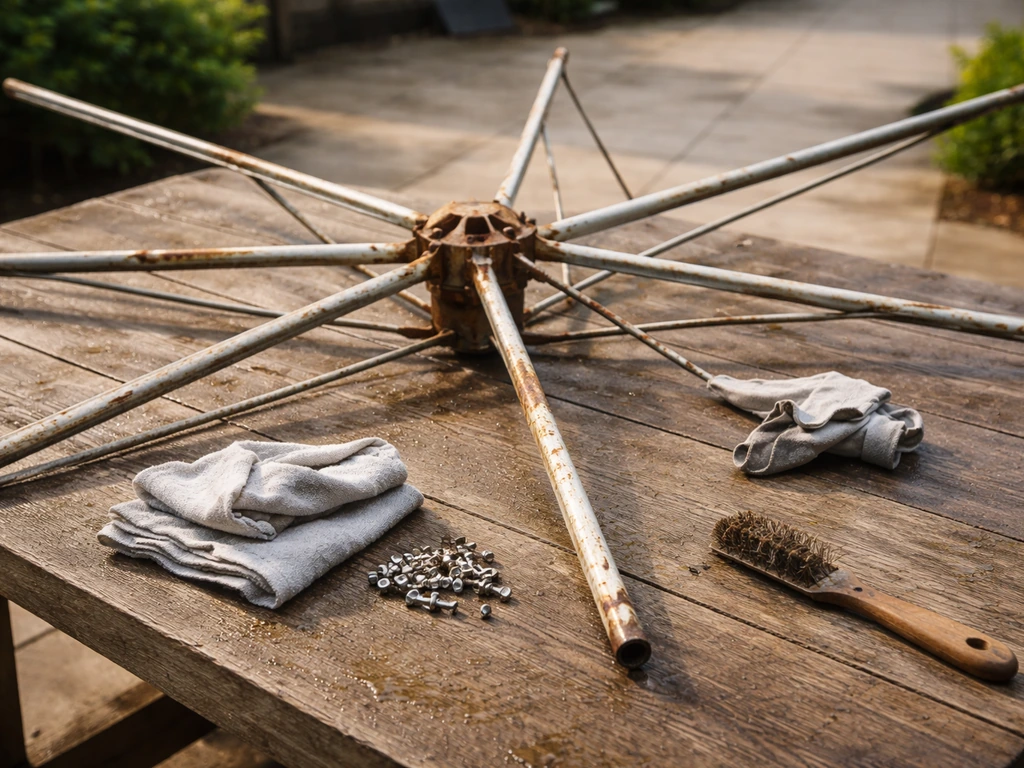
Triage, clean, repair rust and joints, replace tilt or crank parts, then decide restore, repurpose, or recycle.
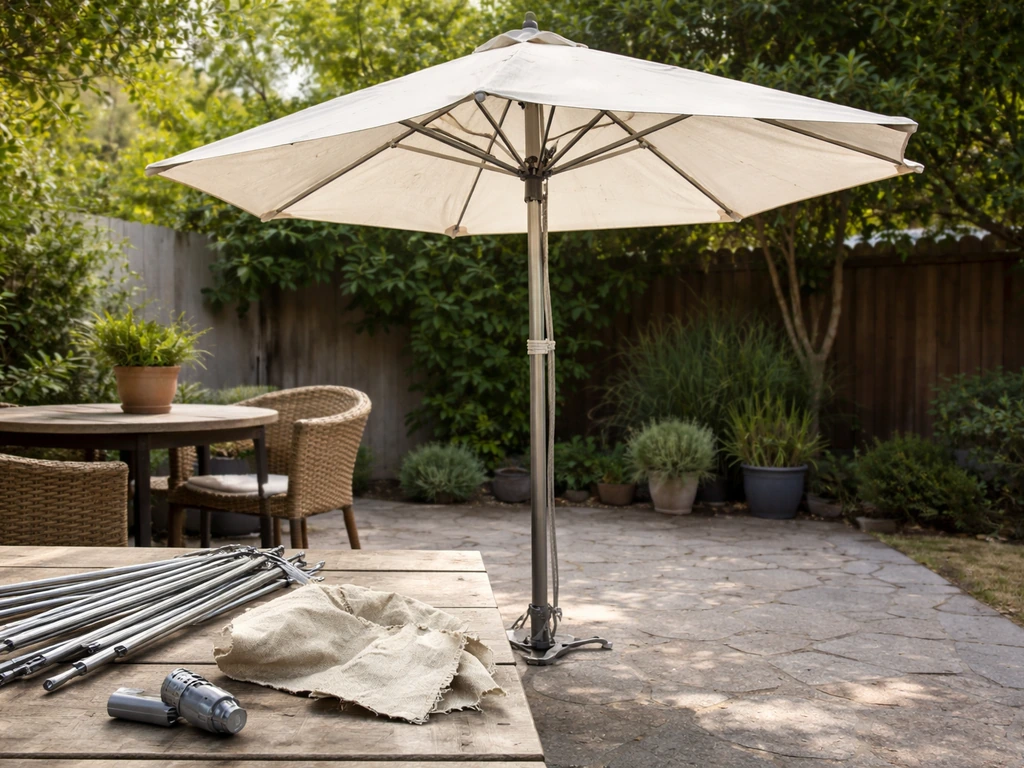
DIY guide to repurpose a broken patio umbrella: diagnose failures, salvage frame and hardware, rebuild a sturdy shade, w