
To take down a patio umbrella, close the canopy fully using the crank, cord, or push-up mechanism, secure it with the tie strap, then lift the pole straight out of a weighted base or unscrew the set screw from an in-ground sleeve. That covers the quick job. For a short step-by-step guide, see how to fold a patio umbrella. If you need to go further, remove the canopy, split the pole sections, pack everything for winter storage, or muscle a cantilever arm off its mount, the steps below walk you through each umbrella type in order. For complete, step-by-step instructions on how to take apart a patio umbrella, see our detailed teardown guide.
How to Take Down a Patio Umbrella: Safe Folding & Storage

Luca Morrison
12 Jul 2026
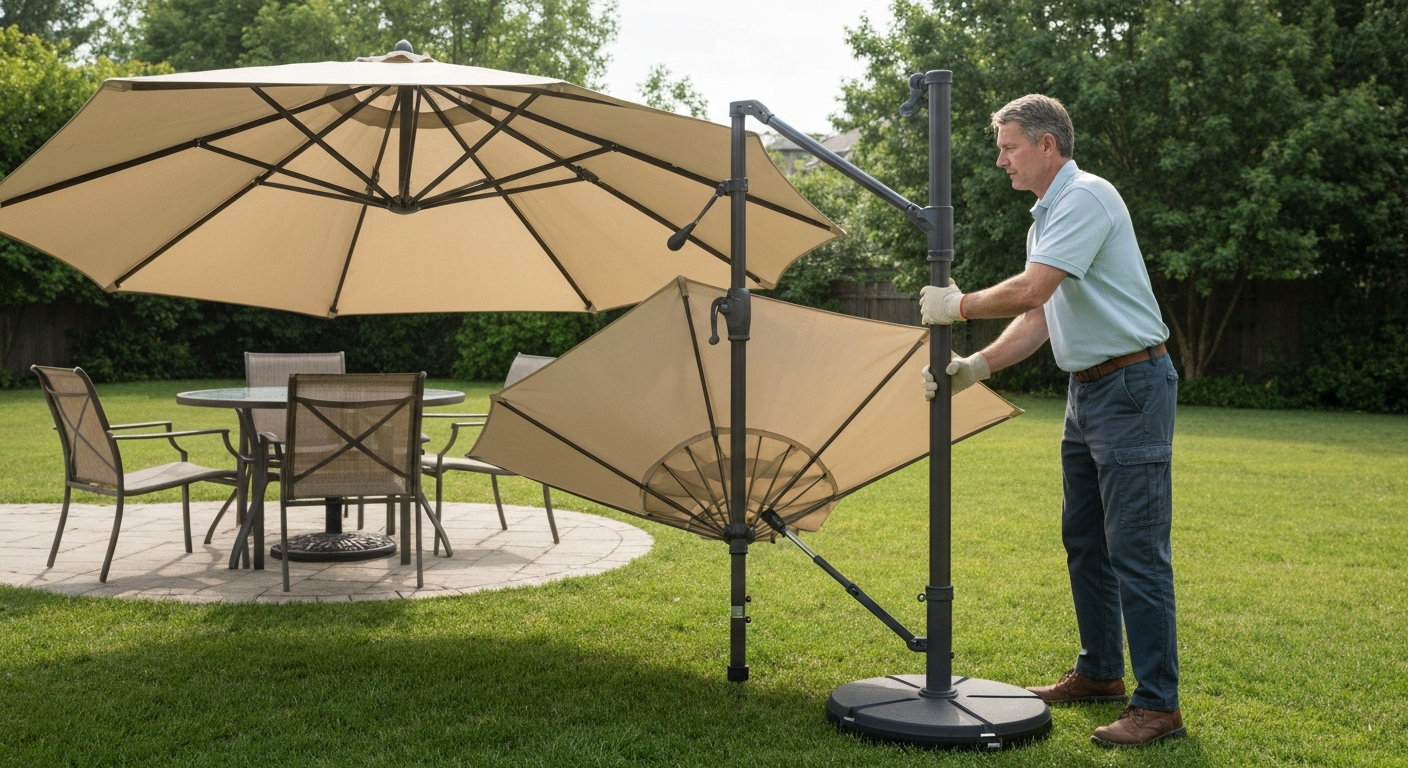
What this guide covers
This guide is for homeowners and patio owners who want to lower, fold, and fully dismantle a patio umbrella without breaking anything or throwing out their back. For a quick step-by-step, see how to lower patio umbrella. Whether you are stashing a small market umbrella in the garage for winter, prepping a cantilever rig for a storm, or just trying to figure out why your crank stopped halfway, you are in the right place. I have worked through every type covered here, so each section tells you what to expect before you touch anything, not after something goes wrong.
The guide covers four umbrella types: center-pole crank, center-pole pulley and push-up, tilting center-pole, and cantilever/offset. For each type I give a complete lowering-and-folding procedure, plus notes on canopy removal, pole detachment, and full teardown for storage. I also cover the most common failure points, stuck cranks, jammed ribs, frayed cords, seized tilt collars, with troubleshooting steps from simplest fix to most involved.
Tools, materials, and safety before you start
What you will need
- Phillips head screwdriver (most common runner screws on consumer models)
- Flat-head screwdriver (collar screws and set screws in sleeves)
- Hex/Allen key set (bolted arm pivots on cantilever models; usually 4 mm, 5 mm, or 6 mm)
- Adjustable wrench or socket set (base anchor bolts)
- Silicone-based lubricant spray (for crank worm gears, collar joints, and runner pins — avoid WD-40 on fabric-adjacent parts)
- Soft rope or bungee cords (to secure a folded canopy while you work)
- Padded ground mat or moving blanket (set poles and arms on these, not bare concrete)
- Clean dry towel and mild soap (wipe hardware before storage)
- Zip-lock bags and masking tape (bag small fasteners and label them immediately)
- Your model's OEM manual or PDF — download it before you start
Safety: the stuff worth reading
Wind is the biggest hazard. Never try to fold or remove a patio umbrella when wind is above about 15 mph. Even a closed canopy acts as a sail. If a gust catches a partially folded umbrella, the pole can whip sideways faster than you can react. Check the forecast and work on a calm day or first thing in the morning before afternoon winds pick up.
- Wear work gloves: metal rib tips, pole edges, and crank housing corners are sharp, especially on older units
- Wear eye protection when working under an open canopy — debris, bugs, and bird deposits are common
- Never stand directly under a cantilever arm while releasing its lock; stand to the side and support the arm before releasing any fastener
- Have a second person for any umbrella with a pole over 10 feet or any cantilever/offset model — these are genuinely two-person jobs
- Lay the pole on a padded surface, not against a fence or wall where it can roll and fall
- Empty water and sand from a fillable base before trying to move the base itself — a fully filled base can weigh over 100 lbs
Know your umbrella: types and how they mount
Before doing anything, identify which lift system and which base mount you have. Getting this wrong is the most common reason people force something that was never meant to move that way and end up with a stripped crank or a snapped rib.
| Type | How it opens/closes | Common brands | Key identifier |
|---|---|---|---|
| Center-pole crank | Turn a crank handle on the pole; internal worm gear or cord spool raises and lowers a runner/hub | Treasure Garden, California Umbrella, Hampton Bay | Crank handle protruding from mid-pole |
| Push-up / pulley (cord) | Pull a hanging cord or push the runner up by hand; a cleat or locking pin holds position | PatioWell, Abba Patio, many entry-level brands | Hanging cord with a cleat on the pole, or a visible push-up runner ring |
| Tilting center-pole (manual tilt) | Opens like crank or push-up, then tilts via push-button, collar/cam, or a second crank action | Treasure Garden, FiberBuilt, Galtech | Push-button or twisting collar near the top of the pole; or a secondary crank stop |
| Cantilever / offset | Side pole with an articulated boom arm; crank or ratchet raises and pivots the canopy to one side | TUUCI, Treasure Garden, Poggesi, Abba Patio | Pole is off to the side; large counterweight at the base; arm extends overhead |
Base and mount types
| Base type | How the pole attaches | How to remove the pole |
|---|---|---|
| Weighted freestanding (concrete, steel, water/sand fill) | Pole slides into a central tube; may have a set screw | Loosen set screw if present, lift pole straight up; empty fill weight before moving the base |
| In-ground sleeve (PVC or stainless steel) | Pole drops into a fixed sleeve embedded in concrete or paving | Lift pole straight out; some sleeves have a set screw on the collar that must be loosened first |
| Plate anchor / bolted mount | Pole base plate is bolted to a deck or concrete pad | Unbolt the base plate (usually 4 bolts); two people needed for poles over 9 feet |
Decide what you actually need to do
Not every situation calls for a full teardown. Here is a quick decision guide so you do the minimum necessary work and avoid unnecessary disassembly.
| Situation | What to do | Effort level |
|---|---|---|
| Incoming storm, coming back tomorrow | Lower and fold the canopy, secure with strap, leave pole in base | 5 minutes, one person |
| End of the day, leaving it outside | Lower and fold the canopy, secure strap, tilt to close if applicable | 5 minutes, one person |
| Storing for a few weeks (mild weather) | Lower and fold canopy, remove pole from base if base is light, cover with a breathable umbrella cover | 15 minutes, one person |
| Winter storage or extended off-season | Full fold, canopy removal, pole removal from base, wipe and dry all parts, store in a bag or box indoors | 30–60 minutes, one or two people |
| Transport or move to a new location | Full fold, canopy off, pole sections separated if multi-piece, base emptied and moved separately | 45–90 minutes, two people for large units |
| Repair (replace rib, cord, or crank) | Partial disassembly to the affected component only; follow the specific repair section | Varies by part |
| Mechanism is seized, pole is bent, or structure is damaged | Stop and call a pro or evaluate replacement — forcing a jammed mechanism causes more damage | Call a pro |
How to lower and fold a center-pole crank umbrella
This is the most common type in residential patios. See the related guide on how to raise patio umbrella for step-by-step opening and setup tips. The crank is usually on a housing about two to three feet up from the base of the pole. Turning it clockwise typically opens the canopy, counterclockwise closes it, but check your manual because a handful of models reverse that. Treasure Garden manual shows the crank rotation direction and the final runner/finial removal step for canopy removal. The key rule: crank slowly and stop the moment you feel resistance. Forcing past the stop strips the worm gear.
- Clear the table or furniture under the canopy so you have room to walk around the pole.
- If the umbrella is tilted, return it to vertical first. Push-button: press the button and tilt the pole back to upright, then release. Collar tilt: twist or lift the collar until the joint locks vertical.
- Stand to the side of the pole (not directly under the canopy) and turn the crank handle slowly in the closing direction — usually counterclockwise when facing the crank.
- As the runner (the sliding ring on the pole that the ribs connect to) descends, use your free hand to gently guide the canopy fabric inward. This keeps the fabric from snagging on a rib tip.
- Stop cranking the moment you feel increased resistance or hear a click. That is the closed stop. Do not crank past it.
- Gather the canopy fabric around the pole, wrap the hook-and-loop (Velcro) strap or tie cord around the bundle, and secure it snugly but not so tight it creases the fabric.
- If you are done for the night, you can leave the pole in the base. If you need to remove the pole, see the base removal steps below.
Removing the canopy from a crank umbrella
With the canopy folded and secured, removing it for washing or storage is straightforward. Most consumer models use a finial (the decorative cap at the top of the pole) that either screws off or pops off to release the canopy fabric. See our guide on how to remove patio umbrella canopy for step-by-step instructions on detaching and reattaching the fabric safely.
- Unscrew or unclip the finial from the top of the pole and set it aside. Some finials have a small set screw — look for a flat-head slot on the base of the finial and loosen it before trying to pull the cap off.
- Slide the canopy fabric upward and off the pole tip. On models with rib tip pockets, you may need to work each rib tip out of its fabric pocket individually while a helper holds the runner steady.
- Untie or unsnap any Velcro straps or tie cords attaching the canopy to the ribs.
- Pull the canopy clear of the rib structure and lay it flat on a clean surface.
- Clean the canopy before storing (see the storage section below), then replace the finial on the pole to protect the top opening from dirt and insects.
Removing the pole from the base
With the canopy folded (or removed), grasp the pole firmly near the base. For a weighted freestanding base, check for a set screw on the base collar, loosen it with a flat-head or hex key, then lift the pole straight up. For an in-ground sleeve, the same applies, loosen the collar set screw and lift. For a bolted plate anchor, you will need to unbolt four bolts from the deck before the pole lifts free. For detailed, step-by-step guidance on how to remove a patio umbrella from its base for each anchor type, see how to remove a patio umbrella from base (internal reference: ea9a40a5-324e-45aa-b6b8-703b66b5f900). Have a helper steady the pole as you remove the last bolt.
Stuck crank? Troubleshoot before you force it
If the crank turns but nothing moves, or it turns freely with no resistance at all, the internal cord spool or worm gear has likely failed. Do not keep cranking. Remove the crank handle and housing cover (usually two screws) to inspect the worm gear and spool. A slipped cord on the spool can sometimes be re-tensioned and re-seated. A stripped worm gear needs a replacement crank assembly, OEM parts are available for most Treasure Garden and California Umbrella models by part number. If the crank turns with increasing resistance and then locks up, something is obstructing the runner: look for a rib pin that has popped out of its seat on the runner and is now jamming the mechanism.
How to lower and fold a center-pole pulley or push-up umbrella
Push-up and pulley/cord umbrellas are common on entry-level and mid-range models. They are simpler mechanically than crank models, but they require more hands-on control during closing because there is no gear holding the runner in place, gravity will do the work faster than you want if you let go.
- If the cord is tied off to a cleat on the pole, untie or unwind it now. If there is a locking pin through the runner, pull the pin out and hold the runner in place with your other hand before releasing the pin.
- With one hand supporting the runner (the ring on the pole that the ribs connect to), use your other hand to ease the cord downward slowly. Do not let the runner drop. A sudden drop can bend a rib or snap the cord at the pulley.
- Guide the canopy fabric inward with your forearm as the runner descends, so the ribs fold against the pole neatly.
- Once the runner reaches its lowest stop, wind any excess cord back onto the cleat or tie it off. Never leave a loose dangling cord — it will whip in the breeze and fray faster.
- For a pure push-up model without a cord: grasp the runner ring with both hands and lower it gently, keeping the ribs gathered inward with your forearms as you go.
- Secure the folded canopy with the tie strap.
When the cord is frayed or snapped
A frayed cord is the most common repair on pulley umbrellas and it is absolutely worth fixing rather than replacing the whole umbrella. Replace with the same cord diameter and material as the OEM spec (check your manual or measure the existing cord). Feed the new cord through the exact same pulley path, secure the knots at the grommets and spool, and test a full open-close cycle under no load before trusting it with the full canopy weight. If the internal spool is also damaged, replace the crank assembly per OEM instructions rather than trying to improvise a fix.
How to lower and fold a tilting center-pole umbrella
Tilt umbrellas add one more step to the crank or push-up process: you must return the canopy to vertical before closing it. Trying to fold a tilted canopy is how people crack rib connectors and jam runners. There are three common tilt mechanisms and each releases differently.
Push-button tilt
There is a spring-loaded button on the pole, usually about a foot below the canopy hub. Press and hold the button with one hand while using your other hand (or your body) to gently push the canopy back to vertical. You will feel the pin re-engage with a click when the pole is straight. Release the button. Now close the canopy using the crank or cord as described above.
Collar or cam tilt
A collar or cam tilt has a rotating or lifting collar just below the canopy that locks the angle. To release: grip the collar firmly and twist or lift it (direction varies by brand, some collars lift up to release, others twist counterclockwise). Once released, push the upper pole section back to vertical and let the collar re-seat. Do not force the collar if it feels seized; spray silicone lubricant into the joint, wait 60 seconds, and try again. Forcing a seized collar strips the cam groove and turns a simple fix into a parts order.
Crank-to-tilt (secondary crank tilt)
Some Treasure Garden and Galtech models engage the tilt only after the canopy is fully open, via a hub stop that redirects crank force into a tilt movement. To reverse this: crank in the opening direction briefly until the hub releases from the tilt stop (you will feel a slight give), then crank in the closing direction to retract the tilt back to vertical. If you skip this step and just start closing, the runner will try to descend while the canopy is still angled and you will jam the mechanism. Once vertical, continue closing normally.
Full lowering and folding sequence for a tilt umbrella
- Return canopy to vertical using the appropriate tilt release method above.
- Confirm the tilt joint has re-locked in the vertical position before touching the crank or cord.
- Lower and fold the canopy using the crank or cord method exactly as described in the relevant section above.
- Once folded, secure the strap and, if storing for more than a day, consider removing the pole from the base so the tilt joint is not bearing load in storage.
How to lower, fold, and secure a cantilever or offset umbrella
Cantilever umbrellas are the most complex to take down correctly, and the most dangerous to rush. The boom arm extends out from a side pole and the canopy hangs overhead with significant leverage. Even a moderate gust can torque the arm enough to tip the base or knock a person over. I strongly recommend two people for any cantilever unit. That said, I will give you the single-person approach for smaller models where a helper is not available.
Before you touch anything
Download the exploded parts diagram for your exact model. For example, the TUUCI, Ocean Master M1 Installation/Service Manual provides exploded diagrams, removal order, and OEM replacement part numbers for that model TUUCI — Ocean Master M1 Installation/Service Manual (example of OEM manual and diagrams). Treasure Garden, TUUCI, and Poggesi all publish model-specific PDFs. The arm pivot bolt locations, lock collar positions, and counterweight attachment points vary between models and you do not want to guess. With the diagram in hand, identify the tilt lock collar on the arm, the main pivot point where the arm meets the pole, and the counterweight attachment.
Lowering and folding the canopy (two-person method)
- Person 1 stands beside the side pole and controls the crank or ratchet mechanism. Person 2 stands to the side of the canopy (never directly under the arm) and is ready to guide the canopy.
- If the canopy is tilted, release the tilt lock collar on the boom arm first. Twist or lift the collar per your model's instructions, push the canopy back to horizontal (level with the ground), and re-seat the collar.
- Person 1 operates the crank to lower the canopy. Person 2 uses both hands to guide and gather the canopy fabric inward as the ribs fold, keeping the weight centered over the arm.
- Lower slowly. The counterweight at the base should stay planted; if you notice the base rocking, stop immediately and redistribute the counterweight plates before continuing.
- Once the canopy is fully closed, secure it with the tie strap. Now lock the boom arm in its lowest/storage position using the lock collar or locking pin — your manual will show the storage lock position.
- Person 2 can now step away. The umbrella is safe to leave as-is for a short time.
Single-person method for smaller cantilever models
For smaller offset models (7 to 9 foot canopy, lighter arms), you can manage solo with some preparation. First, run a soft rope from the tip of the boom arm down to a fixed point at ground level, this acts as a safety tether so the arm cannot swing freely if you need both hands. Then proceed with the crank, using your free arm to guide the canopy in. Secure the strap before releasing the tether. This is a workaround, not a preferred method. On large or commercial-grade units, the two-person method is not optional.
Removing the canopy from a cantilever umbrella
- With the canopy folded and the arm locked in storage position, locate the canopy clamps or finial at the top of the canopy hub. These are usually two to four screws or bolt clamps.
- Have your helper hold the folded canopy from below while you remove the clamps or finial at the top.
- Slide the canopy fabric up and off the rib structure, working each rib tip free from its fabric pocket. Lay the canopy flat immediately.
- Clean and dry the canopy thoroughly before storing.
Disassembling the arm and pole for transport or seasonal storage
- With the canopy removed and the arm locked, locate the arm pivot bolts where the boom connects to the main pole. These are typically hex-head bolts (4 mm to 6 mm Allen key).
- Support the arm by hand or rest it on a padded surface before removing the pivot bolts. Remove all bolts and ease the arm down — do not let it drop.
- Remove the counterweight plates from the base and set them aside (they are heavy; do them one at a time).
- If the main side pole is in an in-ground sleeve, loosen the sleeve collar set screw and lift the pole straight out. For a bolted base plate, unbolt and lower the pole with your helper.
- Bag all fasteners in labeled zip-lock bags immediately. One missing bolt means a trip to the hardware store in spring.
- Pad and wrap each arm section and the pole before stacking or storing them.
Troubleshooting common failures during takedown
| Problem | Likely cause | First fix | If that does not work |
|---|---|---|---|
| Crank turns but canopy does not move | Slipped or broken internal cord spool | Remove crank housing, inspect spool, re-tension cord if possible | Replace crank assembly with OEM part |
| Crank turns freely with no resistance | Stripped worm gear | Inspect worm gear through housing; if stripped, no field fix | Order OEM crank assembly by part number |
| Runner moves but canopy will not fold flat | Bent rib or displaced rib pin | Open canopy, locate the stiff rib, check if pin has popped out of runner seat | Follow OEM rib replacement procedure (Phillips screwdriver; see Treasure Garden rib replacement manual) |
| Pulley cord is frayed or snapped | Age and UV degradation | Replace with same-diameter OEM cord; re-thread through same pulley path | If spool is also damaged, replace full crank or pulley assembly |
| Tilt collar is seized and will not release | Corrosion or dirt in collar joint | Apply silicone spray, wait 60 seconds, try again | Disassemble collar per OEM diagram, clean, replace if stripped |
| Pole will not lift out of in-ground sleeve | Set screw is still engaged or sleeve has corroded | Check for and loosen all set screws on the sleeve collar; spray penetrating lubricant and wait | Have a pro drill out corroded set screw or replace sleeve |
| Cantilever base rocks during lowering | Insufficient counterweight for canopy load and wind | Stop, add counterweight plates, or lower on a calmer day | Check OEM spec for minimum counterweight requirement for your canopy size |
Canopy care before you store it
Storing a damp or dirty canopy is the single fastest way to end up with a mildew-stained fabric that will not come clean. Before you fold anything away for more than a few days, wipe or wash the canopy.
For Sunbrella and other solution-dyed acrylic fabrics, Glen Raven recommends routine cleaning with mild soap and lukewarm water, rinsed thoroughly and air-dried. For mildew, they specify a solution of 1 cup household bleach plus 1/4 cup mild detergent per gallon of water, apply, let sit for 15 minutes, scrub lightly, and rinse thoroughly. After any bleach treatment, re-treat the fabric with 303 Fabric Guard once it is completely dry. For other fabric types, check the label; polyester canopies often cannot handle bleach and need an enzyme-based cleaner instead.
The critical rule regardless of fabric type: the canopy must be completely dry before you store it. Fold a damp canopy into a bag and you will find mildew within a week. If you cannot air-dry it outdoors, lay it flat on a clean floor indoors with a fan running until no moisture remains at the seam lines and pocket hems (these dry slowest).
Storage best practices for the whole umbrella
Once the canopy is clean and dry, fold it loosely. Tight sharp creases in the same spot every year will eventually crack solution-dyed acrylic fibers and cause premature fading lines. Store the canopy in a breathable storage bag (not an airtight plastic bin) in a cool, dry location off the ground. A canvas or polypropylene storage bag allows some airflow and prevents the condensation buildup that causes mildew in sealed containers.
For the hardware (pole, ribs, runner, crank, arm), wipe everything down with a dry cloth. Apply a light coat of silicone spray to the crank mechanism, runner track, and any pivot joints. Store pole sections horizontally on a shelf or padded rack, standing them upright against a wall invites them to tip and dent. Keep all bagged fasteners with the hardware, not in a separate drawer where they will go missing.
Pre-storage parts check
- All ribs are straight and rib tips are intact (bent or cracked rib tips tear canopy fabric in storage)
- Runner slides freely on the pole with no grinding or sticking
- Crank handle turns without skipping (if it skips, service the worm gear before next season)
- Tilt joint moves and locks cleanly in all positions
- Canopy tie straps and Velcro closures are intact and secure
- Finial is present and threads on cleanly
- All bolts and set screws are bagged and labeled
- Base drain plug (if applicable) is removed to prevent water freeze damage in cold climates
Putting it back up: what to check before reassembly
When you bring the umbrella back out, do the parts check again before installing anything. Inspect the canopy for mildew or fabric tears while it is still flat and easy to examine. Check the pole for any rust or corrosion at the runner track, a little surface oxidation can be sanded lightly and retreated, but deep pitting in an aluminum pole is a structural concern. Lubricate the crank and runner before the first use of the season, not after the first jam. Reassembly is simply the teardown steps in reverse; for cantilever models, refer to your exploded parts diagram and tighten all pivot bolts to the OEM torque spec before putting weight on the arm.
Taking a patio umbrella down correctly takes an extra ten minutes the first time you learn the sequence, and then it becomes a five-minute job. The damage happens when people rush, cranking past the stop, letting a runner drop, or muscling a stuck collar. Work slowly, follow the type-specific steps for your mechanism, and your umbrella will be in the same good shape next season as it is right now.
FAQ
What tools and materials do I need to take down a patio umbrella safely?
Basic tools: Phillips and flathead screwdrivers, hex/Allen keys (common sizes: 4–6 mm or 5/32–1/4"), adjustable wrench, needle‑nose pliers, utility knife, replacement cord (polyester or nylon of same diameter), soft cloths, mild soap, bucket, lubricant (silicone spray or marine grease), zip bags and labels for fasteners, and a breathable storage bag or tarp. Optional: rubber mallet, cordless drill with driver bits, two helpers (recommended for large or cantilever umbrellas).
What general safety steps should I follow before starting?
Park steps: close and secure the umbrella to reduce wind load; work on a calm day; wear gloves and eye protection; remove furniture or obstacles around the umbrella; disengage any locking cleats or pins before moving parts; support the canopy/runner and boom when lowering to avoid slamming; stop if you feel excessive resistance and inspect rather than forcing movement; have a second person available for large or cantilever units.
How do I lower and fold a center‑pole crank (standard crank‑lift) umbrella — step by step?
1) Clear area and remove hanging lights/ornaments. 2) Turn crank slowly in the closing direction until the runner reaches its closed stop and you feel resistance. 3) Support the runner/hub with one hand while finishing the last turns to avoid sudden drops. 4) Stop if you feel grinding or slippage. 5) Secure the canopy with built‑in straps, Velcro or a canopy tie. 6) If removing the canopy, remove finial/top cap per model instructions, loosen ties/snaps, and slide fabric off ribs.
How do I close a push‑up (pulley/cord) umbrella safely?
1) Untie or release the cleat/locking pin and support the runner. 2) Slowly feed the cord while lowering the runner by hand—never let the runner slam. 3) Once fully closed, tie the cord to the cleat or tie a secure knot to hold tension. 4) Secure the canopy with straps. 5) For canopy removal, remove finial/top and loosen ties/snaps before sliding fabric off ribs.
How do I handle tilt mechanisms (push‑button, collar/cam, friction) when lowering or removing the canopy?
Identify the tilt type first. For push‑button tilts: press and hold the button while lowering/supporting the canopy. For collar/cam tilt: lift or twist the collar to release and control the tilt. For friction collars: loosen the collar until the canopy moves freely, then support and lower. Never force a tilt while the canopy is under full load—open canopy slightly if needed to relieve pressure per manufacturer instructions.
How do I take down a cantilever/offset umbrella (crank + boom) for transport or storage?
1) Fully close and secure the canopy. 2) Lock the boom and tilt mechanisms in the closed position. 3) With a helper, support the boom and release tilt/lock collars. 4) Remove finial and canopy if desired. 5) Unbolt arm pivot fasteners in the sequence shown in the model’s manual and lower sections slowly. 6) Detach the pole from the base (empty base if filled) and label/bag fasteners. Follow the OEM exploded diagram; two people are strongly recommended for large units.
Next Articles
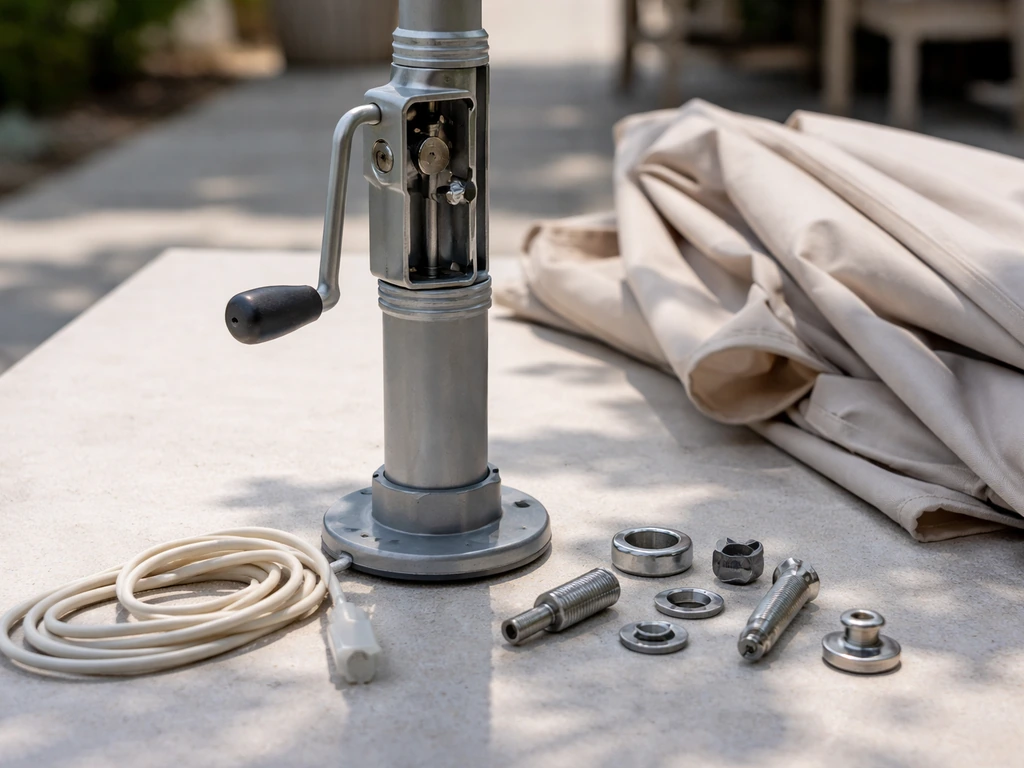
How to Take Apart a Patio Umbrella Step by Step
Step-by-step guide to safely disassemble a patio umbrella, including crank, tilt, cord troubleshooting and reassembly ti
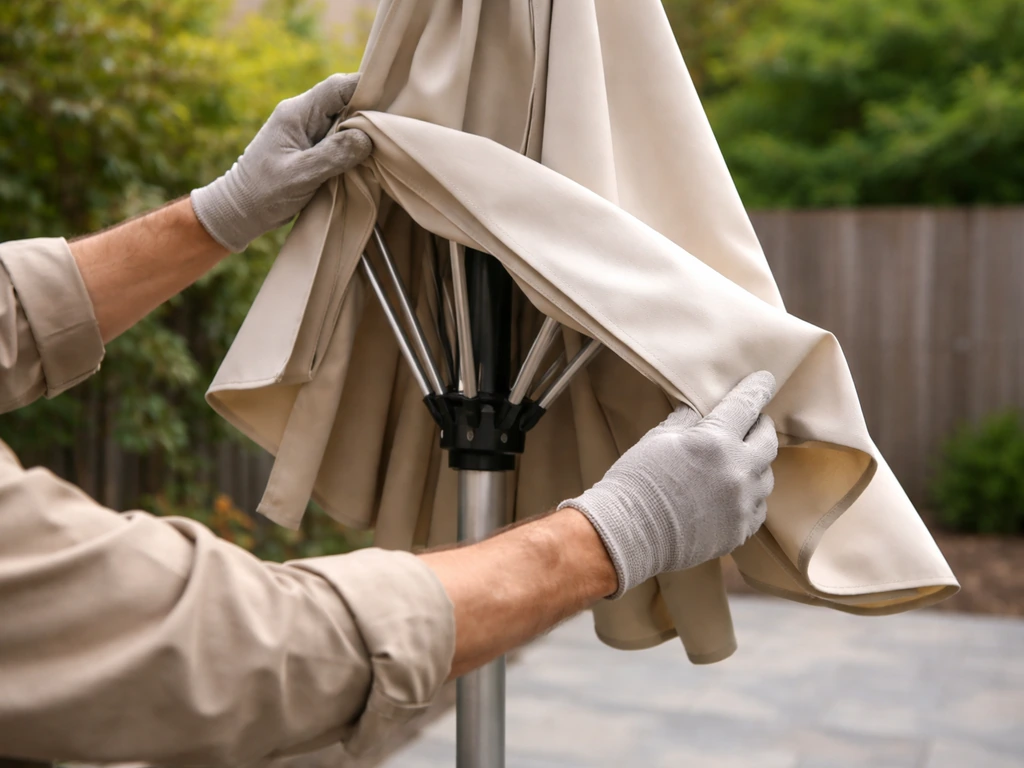
How to Remove a Patio Umbrella Canopy Safely Today
Learn how to remove a patio umbrella canopy safely: identify your type, detach ribs and tilt parts, then clean, store, r
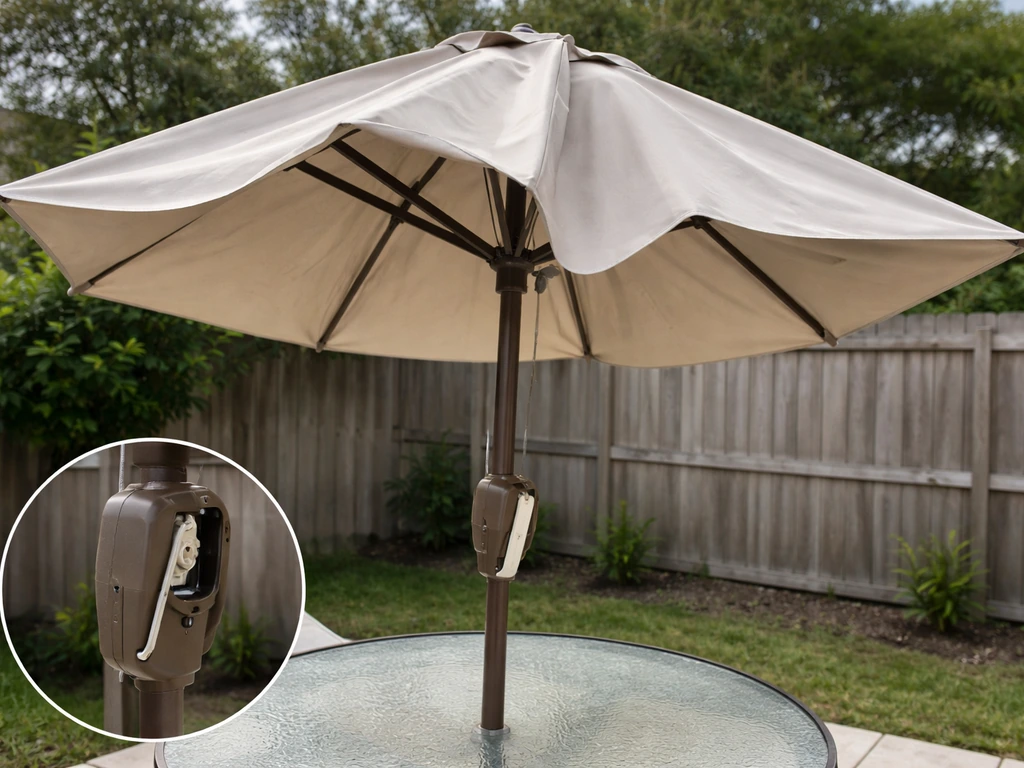
How to Fix a Patio Umbrella That Won't Open or Close
Step-by-step fixes for patio umbrellas that won’t open or close, with checks for jams, cords, latches, and lubricating t