
To lower a patio umbrella safely, stop what you are doing, check for wind, clear the area around the pole, and then use the mechanism your umbrella was built with: turn the crank handle counterclockwise for crank models, press the push-pin or twist the collar for friction-lock models, release tension on the pull cord for pulley models, squeeze the slide-lock button for telescoping poles, or disengage the tilt arm and rotation lock before easing down the canopy on a cantilever. Each type takes about 60 seconds once you know the steps, and skipping even one (like forgetting to confirm the base is locked before lowering a cantilever) is how umbrellas tip, ribs crack, or fingers get pinched.
How to Lower Patio Umbrella: Safe Steps, Fixes & Storage

Luca Morrison
8 Aug 2026
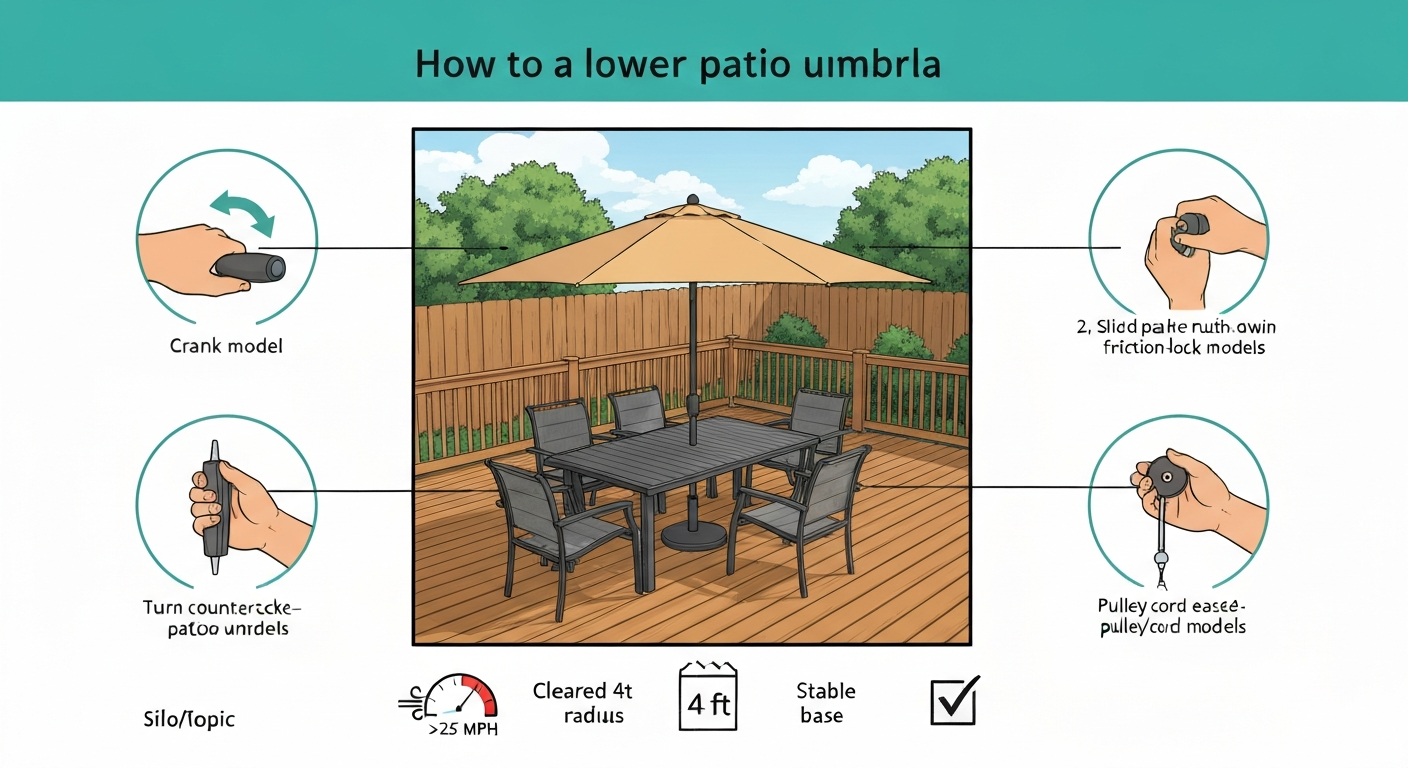
Safety first: do these things before you touch the mechanism
Wind is the biggest hazard. Tuuci's care guidelines and most manufacturer manuals explicitly state you should close any collapsible shade structure when gusts exceed 25 MPH. That number is not arbitrary: at that speed, even a partially open 9-foot canopy acts like a sail and can drag a 50-pound filled base across a deck. Before you lower any umbrella, check those three things first.
- Check wind conditions. If you feel steady gusts or see the canopy flexing and pulling, lower immediately. Do not wait.
- Stand upwind of the umbrella so the canopy falls away from you if a rib releases unexpectedly.
- Clear the area. Move chairs, pets, children, and drinks at least four feet from the canopy radius.
- Confirm the base is stable. Kick the base lightly; it should not rock. A loose base on a cantilever is a tip-over waiting to happen.
- If you are on a balcony or elevated deck, close the umbrella before going inside for the night. CPSC recalls, including the Shadescapes offset umbrella recall in 2019, document real tipping and arm-break injuries from unattended umbrellas.
- For umbrellas larger than 10 feet or any cantilever/offset model, have a second person present.
Tools and parts to have on hand before you start
Most lowering operations need nothing more than your hands. But if the umbrella is sticky, jammed, or overdue for maintenance, having these items nearby will save you a second trip to the garage.
- Silicone-based dry spray lubricant or PTFE spray (not WD-40, which attracts dirt and accelerates gear wear)
- Clean rag or microfiber cloth
- Phillips head and flathead screwdrivers (for crank housing access)
- Needle-nose pliers (for cord knots or stuck push-pins)
- Replacement lift cord: 3/16-inch braided nylon or polyester, or Type III 550 paracord, cut to your umbrella's pole height plus about 24 inches of slack
- Replacement crank assembly if the current one is stripped (generic plastic kits run about $12; OEM units for cantilever models can run $60 or more depending on brand)
- A second person for any umbrella over 10 feet or any offset/cantilever model
- Gloves (optional but useful for pulling cords or handling metal ribs in cold weather)
Pre-lowering checklist: inspect, clear, and prepare
Running a quick visual check before every lowering prevents 90 percent of the mechanical surprises. It takes under two minutes and will alert you to problems you can fix before they become urgent.
- Look at the canopy. If any rib is bent outward at an odd angle, lower slowly and inspect the runner before trying again.
- Check the crank handle or cord for fraying, cracking, or resistance. A cord that feels rough or shows white fraying strands is close to snapping.
- Inspect the base for wobble, cracks in a plastic fillable base, or loose hardware on a cantilever cross-base.
- Confirm the tilt (if engaged) is locked flat before lowering. Trying to collapse ribs while the canopy is still tilted sideways puts uneven stress on the runner and ribs.
- If it rained recently, expect the canopy to feel heavier and the fabric to be tighter. Lower slowly.
- For cantilever umbrellas, verify the counterweights are in place and confirm both rotation and tilt locks are engaged before lowering the arm.
How to lower a crank umbrella
Crank umbrellas are the most common residential type. An internal spool winds a lift cord that raises the runner and spreads the ribs. Turning the handle counterclockwise lets the cord unwind and the runner slide down the pole, which folds the ribs. The mechanism is simple but can jam if the cord is frayed, the plastic gears are stripped, or the runner is dry and sticking.
- If the umbrella has a tilt, push the tilt button or twist the collar back to center so the canopy is level. Trying to close a tilted canopy binds the runner.
- Grip the crank handle firmly. Turn it counterclockwise (lefty-loosey is the memory trick). You should feel consistent light resistance as the cord unwinds.
- Lower slowly and steadily. Do not let the handle spin freely; that snaps cords. Keep light tension on the handle the whole way down.
- As the ribs fold in, use your free hand to gently guide the canopy fabric inward. On windy days, have a helper hold the folding ribs from the opposite side.
- Stop turning when the runner rests on the lower hub and the ribs are fully collapsed against the pole.
- Slide the Velcro canopy wrap or tie-down around the folded ribs to keep the canopy from flapping.
- If the crank handle spins freely with no resistance or clicks but nothing moves, the lift cord is broken or the plastic gears are stripped. See the troubleshooting section below.
Crank troubleshooting: stripped gears and broken cords
A crank that spins but does not move the runner almost always has one of two problems: a broken lift cord inside the pole, or stripped teeth on the plastic crank gearbox. To diagnose, unscrew the crank housing cover (usually two Phillips screws), lift off the cover, and look at the gear teeth. For step‑by‑step instructions on accessing the crank, see how to take apart a patio umbrella. If they are rounded or missing, replace the crank assembly. Generic crank kits from parts suppliers run about $12 and fit most 1-inch poles. OEM replacements for brands like Treasure Garden or Tuuci cost more but fit perfectly. If the gears look intact but the cord is snapped, you will re-string using 3/16-inch braided nylon cord: thread it from the top of the pole down through the pulleys, tie one end to the runner, and wrap the other end around the crank drum three times before tying off. Dry silicone spray on the gear teeth and cord drum before reassembling will prevent the same problem from recurring in another season.
How to lower a push-pin or collar (friction-lock) umbrella
Push-pin and collar umbrellas have no crank. Instead, the pole has a spring-loaded pin that locks the runner at a set height, or a friction collar (a ring you twist to tighten or loosen) that holds the canopy at any position. They are popular on smaller market umbrellas and many entry-level patio sets. Treasure Garden's UM80, UM81, and UM92 series use a collar-tilt design that fits into this category. The lowering process is straightforward but requires two hands.
- If the umbrella has a tilt, return it to center before lowering. On collar-tilt models like the Treasure Garden UM80 series, twist the collar back to its flat position first.
- Stand to the side of the umbrella and hold the canopy hub or upper pole with one hand to stabilize the weight.
- For push-pin models: press and hold the spring button on the pole with your thumb. With your other hand, slide the runner downward along the pole until the ribs begin to fold.
- For collar/friction-lock models: twist the collar counterclockwise to loosen the grip, then slide the runner downward with steady, even pressure.
- Keep your stabilizing hand on the pole or hub the whole time. If you release, the runner can drop suddenly and pinch fingers or crack a rib.
- Lower the runner all the way until the ribs lie flat against the pole.
- Re-engage the push-pin into the lowest hole or retighten the collar snugly to secure the runner in the down position.
When the push-pin will not press or the collar will not budge
If the push-pin is stuck, it is usually caked with dirt or mildew in the pin channel. A spray of silicone lubricant directly into the button hole, followed by a few presses, almost always frees it. If the collar is seized, check whether the friction ring has cracked or deformed (common on cheaper aluminum models after a few seasons). Treasure Garden publishes rib and collar replacement PDFs for its UM-series models on its support site, and the procedure is straightforward: remove the set screw on the runner, slide off the old collar, install the new one, and replace the screw. Use needle-nose pliers to hold the push-pin spring in place during reassembly, or you will spend 20 minutes looking for it on the deck.
How to lower a pulley or corded umbrella
Pulley umbrellas use an external rope or cord that runs through one or more pulleys mounted at the top of the pole. You pull the cord to raise the canopy and release it (or pull the opposite side) to lower. These are common on beach-style, commercial, and some high-end market umbrellas. They look simple but the cord routing matters, and a frayed cord in this type is a genuine safety issue.
- Locate both sides of the lift cord. One side raises, one side lowers, or the cord loops through a cleat or cam cleat at the pole base.
- If the cord is secured to a cam cleat or cleat hook at the base of the pole, press down on the cam cleat to release the cord. Do not yank.
- Hold both sides of the cord, one in each hand. Ease tension on the raising side while maintaining light holding tension on the lowering side. The runner will descend smoothly.
- If there is only one pull cord (single-pull design), maintain steady hand tension as you release. Let the cord run through your fingers rather than letting it drop free.
- Lower the runner until the ribs fully collapse, then secure the cord to the cleat or tie it off with a simple half-hitch around the pole.
- Check the cord where it contacts each pulley wheel for fraying. Any cord that shows more than a few broken outer fibers should be replaced before next use.
Replacing a frayed pulley cord
Replacing the lift cord on a pulley umbrella is genuinely easy and one of the best repairs you can do yourself. Buy 3/16-inch braided nylon or polyester cord, or Type III 550 paracord, and cut it to your pole height plus about 24 extra inches. Tie the old cord to the new cord end-to-end, then pull the old cord through the system, which threads the new cord automatically. Untie, then tie off the new cord ends at the hub and base. The whole job takes 15 minutes. Silicone-spray the pulley wheels before threading so the new cord runs freely.
How to lower a telescoping (slide-lock) umbrella
Telescoping umbrellas have a two-section pole. The upper section slides inside the lower and locks at height via a spring-loaded button or a twist-lock collar. They are popular for small bistro tables and apartment balconies because the pole collapses to a compact length for storage. Lowering one is fast but the push-button can catch if the sections are dirty or the pole is slightly misaligned.
- Collapse the canopy first using whatever mechanism your umbrella uses (crank, push-pin, or collar) before lowering the pole. Trying to telescope a fully open canopy strains the rib joints.
- With the canopy fully folded, hold the upper pole section with one hand.
- Locate the spring-loaded button on the upper pole section. It is usually a small oval or round button that protrudes through a hole in the lower section.
- Press and hold the button inward with your thumb while pushing the upper section downward into the lower section with your other hand.
- If using a twist-lock collar instead: twist counterclockwise to loosen, then slide the upper section down.
- Lower until the desired height is reached, or until the upper section is fully inserted. Release the button or retighten the collar.
- If the button will not depress: the sections are likely dirty or slightly torqued. Wipe the outside of the pole with a damp rag to clear grit, then try again with the pole held perfectly vertical.
How to lower a cantilever or offset umbrella
Cantilever (offset) umbrellas are the trickiest to lower safely because the canopy hangs off the end of a horizontal arm, the whole assembly is top-heavy, and the counterweights that balance it are doing real work. Rushing this process is how umbrellas tip onto people or furniture. Always have a second person for any cantilever umbrella. Manufacturer assembly manuals for models like the Belavi 10-foot offset explicitly require two people for assembly and major position changes. Treasure Garden recommends counterweights from 100 pounds for a 9-foot round up to 400 pounds for a 10 by 13-foot rectangular cantilever like the AKZPLUS.
- Person one stands at the base and holds the vertical pole steady throughout the entire process. Do not release the pole.
- Person two disengages the canopy tilt: locate the tilt lever or knob at the canopy junction and return the canopy to a flat, level position. On most cantilevers, this is a push-button or a lockable knob at the top of the arm.
- Person two then releases the rotation lock at the base of the arm (usually a tightening knob or lever) so the arm can swing to a safe lowering position if needed.
- Locate the crank or lowering mechanism on the main vertical pole. Most cantilevers use a side-mounted hand crank to lower the horizontal arm. Turn it slowly counterclockwise while person one keeps the base steady.
- Lower the arm in small increments, pausing to confirm the base is not lifting or tipping. If one side of the cross-base starts to lift, stop and redistribute or add counterweight before continuing.
- Once the arm is at its lowest position or fully folded, engage the locking mechanism (most designs have a pin or bolt that locks the arm in the stored position).
- Do not remove counterweights until the arm is fully locked down. The counterweights are what prevent the base from tipping while the arm is extended.
- If you need to move the umbrella after lowering, lock the arm, keep the counterweights on, and walk the whole unit as one piece on level ground. For significant moves, see guidance on moving the umbrella safely.
Cantilever-specific cautions
Wind damage is not covered under most cantilever warranties, including Treasure Garden's catalog warranty. The reason is simple: a cantilever open in high wind is a lever with a massive sail on one end. Tuuci's manuals note that warranty eligibility requires following care guidelines, which include closing the umbrella when wind exceeds 25 MPH. If your cantilever is stuck in the up position during a windstorm, do not try to muscle it down alone. Have a second person stabilize the base while you crank, and if the crank is jammed, do not force it. A jammed crank gear on a cantilever can snap under load and suddenly release the arm.
What to do after lowering: fold, secure, and store
Lowering the canopy is only step one if you are heading into bad weather, the off-season, or just putting the umbrella away overnight. For a step-by-step checklist on how to take down a patio umbrella, see our detailed guide. If you need to remove the umbrella from its base for storage or repairs, follow these steps on how to remove patio umbrella from base. For the reverse process and safe lifting techniques, see how to raise patio umbrella. A properly secured, folded umbrella lasts years longer than one left loose.
- Wrap the canopy tie or Velcro strap snugly around the folded ribs. This keeps the canopy from catching wind even in the down position.
- If removing the canopy for cleaning or storage: most canopies unzip at the rib tips or unlace at the hub. Sunbrella-brand fabrics can be hand-washed with mild soap and rinsed thoroughly; allow to fully air-dry before folding for storage to prevent mildew.
- For seasonal storage, remove the canopy entirely, store it in a breathable bag (not an airtight plastic bin), and store the pole assembly horizontally or in an umbrella stand sleeve indoors.
- Leave counterweights on cantilever bases until the arm is fully secured and you are confident the unit will not be disturbed.
- Cover the base with a UV-resistant base cover if leaving outdoors in winter. Fillable plastic bases crack in freeze-thaw cycles if left filled with water.
Common problems and how to fix them
Here is a quick reference for the failures I see most often. The 'Try first' column is the simplest fix; move to the next step only if that does not work.
| Problem | Most likely cause | Try first | Next step |
|---|---|---|---|
| Crank spins freely, nothing moves | Broken lift cord or stripped crank gears | Open crank housing, inspect cord and gears | Replace crank assembly (~$12 generic, $60+ OEM) or re-string cord with 3/16" braided nylon |
| Push-pin will not press | Dirt/grit in pin channel | Spray silicone lubricant into pin hole, press repeatedly | Disassemble runner, clean pin channel, inspect spring |
| Collar will not twist | Cracked or seized friction ring | Silicone spray on collar ring, try again | Replace collar ring (Treasure Garden UM-series has published replacement PDF) |
| Canopy folds unevenly or one rib stays up | Bent rib or broken rib connector | Inspect runner clips; re-seat any disconnected rib tip | Replace bent rib or broken connector (model-specific rib sets available from parts suppliers) |
| Cantilever arm crank is stiff or jammed | Dry or corroded crank gearbox | Silicone spray at crank housing joints; try gentle pressure | Disassemble crank housing; if gears are stripped, replace crank assembly |
| Pulley cord is frayed or broken | UV/age degradation of cord | Tie a temporary knot past the frayed section to get it down | Re-string with 3/16" braided nylon or 550 paracord |
| Telescoping pole button stuck | Dirt or torque misalignment between sections | Wipe pole clean, hold perfectly vertical, try again | Disassemble pole sections, clean button channel, lubricate with silicone |
| Umbrella tips toward one side when lowering | Inadequate counterweight or loose base hardware | Stop lowering; add counterweight or tighten base hardware | Consult manufacturer minimum base weight (Treasure Garden: 50 lbs for 9', 80 lbs for 11', 100–400 lbs for cantilevers) |
Repair versus replace: an honest breakdown
Most mechanical failures on a patio umbrella are worth repairing if the pole, ribs, and base are structurally sound. A broken cord is a $5 fix. A stripped crank gearbox runs $12 to $60 depending on whether you buy generic or OEM. A cracked rib on a mid-range Treasure Garden or similar umbrella is a $20 to $40 parts job if you follow the manufacturer's replacement instructions. The math changes quickly when the pole is bent, the main rib arm on a cantilever is cracked, or the base casting is broken, because those are structural issues where continued use carries real risk.
- Repair: broken or frayed lift cord, stripped crank gears, seized collar, stuck push-pin, broken rib tip clip, surface fabric mildew.
- Replace the part, not the whole umbrella: crank assembly, canopy fabric (most brands sell replacement canopies), counterweight base.
- Consider full replacement: bent or cracked main pole, cracked cantilever arm, broken hub casting, base cracked through a structural joint, or any part subject to a CPSC recall.
- Call a pro or contact the manufacturer: cantilever arm failures on premium brands like Tuuci (where OEM parts and specific tolerances matter), any umbrella used in a commercial setting, or a unit that has already been involved in a tip-over incident.
Securing, moving, and winterizing after you lower
Once the umbrella is down, your job is not quite done if a storm is coming or winter is near. Treasure Garden's catalog and Tuuci's care guidelines both stress that wind damage is not a warranty item, which is their way of saying: putting the umbrella away is on you, and the cost of not doing it correctly is a full replacement.
For storm prep: lower and tie the canopy, then either bring the whole umbrella indoors or use a pole anchor strap to secure the lower pole to a solid deck post. A closed umbrella in a 50-pound base can still tip in sustained 40 MPH winds if it is not anchored. For cantilevers, lock the arm in stored position and verify all counterweights are in place before leaving it unattended. Manufacturer guidance for large offset umbrellas recommends heavy ballast; for example, the AKZ PLUS 10'x13' Rectangular Cantilever, Treasure Garden (product page) lists a 400 lb minimum counterweight for the 10'×13' model blank" rel="noopener noreferrer">AKZ PLUS 10'x13' Rectangular Cantilever — Treasure Garden (product page).
For winter storage: remove the canopy and wash it per the fabric maker's instructions (Sunbrella fabrics handle mild soap and a garden hose rinse well; let them dry completely before bagging). Store the canopy in a breathable fabric storage bag, not a sealed plastic bin. Drain any fillable base completely before the first freeze. Store the pole assembly horizontally in a garage or shed if possible, or invest in a tall cylindrical storage bag for a market umbrella pole. Lightly coat any exposed metal hardware with a silicone-based protectant before storage to prevent oxidation.
Brand-specific notes worth knowing
Most of the steps above apply across brands, but a few manufacturers have quirks worth calling out.
- Treasure Garden UM80 / UM81 / UM92 collar-tilt series: the collar must be twisted to center before lowering or the runner binds. Replacement parts (ribs, collars, screws) are documented in the brand's technical PDF, available on its customer support site. Their catalog lists minimum base weights clearly: 50 lbs for 9-foot market umbrellas, 80 lbs for 11-foot, and 100 to 400 lbs for cantilever models depending on size.
- Treasure Garden AKZPLUS 10x13 cantilever: this model requires 400 lbs of counterweight. Do not attempt to lower the arm with fewer than the specified counterweights in place.
- Tuuci Equinox and market parasols: Tuuci's manuals require weekly hardware inspections and a freshwater rinse after salt-air or pool-chemical exposure. Warranty requires following these care steps, so document your maintenance if you ever need to make a claim.
- Belavi and similar big-box offset umbrellas: assembly and lowering manuals explicitly require two people. The fillable cross-base on these models takes significant water or sand weight to be stable, and under-filling is the most common cause of tip-overs.
- Sunbrella-canopied umbrellas: the fabric itself is not the problem; most issues are at the rib tips or lacing. When removing the canopy for washing, note which lacing holes correspond to which ribs before you pull it off so reassembly is straightforward.
Quick comparison: lowering methods by umbrella type
| Umbrella type | Lowering mechanism | Two people needed? | Most common failure | Average repair cost |
|---|---|---|---|---|
| Crank market umbrella | Turn handle counterclockwise | No (unless 11'+ or windy) | Stripped crank gears or broken cord | $12–$60 |
| Push-pin / collar | Press pin or twist collar, slide runner down | No | Stuck pin, seized collar ring | $5–$25 |
| Pulley / corded | Release cord tension at cleat | No | Frayed or broken lift cord | $5–$15 |
| Telescoping / slide-lock | Press button, slide upper section down | No | Stuck spring button | $0–$10 (cleaning) |
| Cantilever / offset | Crank the arm down after locking tilt and rotation | Yes, always | Jammed arm crank, inadequate counterweight | $20–$100+ |
Preventive maintenance: stop problems before they start
Everything in this guide gets easier if you spend about 10 minutes at the start and end of each season doing basic maintenance. Dry silicone spray on the crank gears, runner track, pulley wheels, and push-pin channel keeps everything moving freely. A visual inspection of the lift cord for fraying, the rib tips for cracked connectors, and the base hardware for loose bolts catches problems when they are cheap to fix rather than when they become a safety issue. Tuuci's guidelines call for weekly hardware checks during the season, which is probably more than most homeowners will do, but once a month is genuinely worth the habit. Close the umbrella anytime you leave the area for more than a few minutes if there is any chance of wind. That single habit prevents more damage than all the repairs combined.
FAQ
Quick safety-first answer: What are the top safety rules before lowering or servicing any patio umbrella?
Stop and assess conditions: close umbrellas in wind or gusts and never operate in high winds. Always work with a partner for heavy or cantilever/offset umbrellas. Park on level ground and remove jewelry/gloves that can snag. Keep hands clear of ribs, runners and tilt joints; use protective gloves and eye protection when doing repairs. If hardware is corroded, put safety stands or support blocks under the canopy before disassembly. Follow manufacturer warnings and recalls (check model serial number against CPSC recalls). If in doubt about structural damage or overloaded bases, call a professional.
How do I lower a crank (gear) umbrella — step-by-step?
1) Confirm area is clear and stable; have a partner standby for taller umbrellas. 2) Turn the crank handle slowly clockwise (or as marked) until the canopy begins to descend. 3) Continue cranking until the runner rests on the hub or the pole collar contact point. 4) Engage any locking collar or pin if present. 5) Close fabric panels so ribs align; secure with tie or Velcro strap. 6) If crank binds or skips, stop immediately and inspect (see troubleshooting). For storage, remove canopy if recommended by the manufacturer (see canopy removal steps). Do not force the crank if it grinds — inspect gears/cord inside housing.
How do I lower a push-pin / collar (auto-tilt) umbrella?
1) Stand to the side, not under the canopy. 2) Press the push pin or twist the collar to release the runner/tilt mechanism. 3) Gently slide the runner down along the pole until the ribs fold together. 4) Lock the collar back or reinsert the pin in the closed position if the model uses a secondary safety catch. 5) Secure canopy with tie. If the runner is stuck, try a silicone spray on the pole seam and work the collar up and down slightly; don’t hammer the pin out without supporting the hub.
How do I lower a pulley / cord umbrella safely?
1) Check the cord routing and pulleys for frays or damage from below. 2) Slowly pull the lift cord to lower the runner; keep a firm grip and guide the runner with the other hand. 3) When runner reaches the hub, lock by tying off the cord to the cleat (if provided) or by wrapping and fastening as intended. 4) If the cord slips or the pulley jams, stop and inspect pulleys and anchor nodes; replace frayed cord before continued use.
How do I lower a telescoping pole umbrella?
answer_text: "1) If telescoping sections have a locking collar or twist-lock, unlock it (usually counterclockwise). 2) Support the canopy to prevent sudden drop, then slide the inner section down slowly until fully collapsed. 3) Re-lock the collar. 4) If sections are stiff, apply dry silicone/PTFE spray to the pole seam and work gradually; avoid pounding or heating sections. 5) Secure canopy with ties for storage."
How do I lower a cantilever (offset) umbrella step-by-step?
1) Cantilevers are heavy and have leverage — always use two people. 2) Retract or engage the tilt mechanism according to manufacturer instructions (many require loosening a knob or using the crank). 3) If there is a crank, operate slowly while one person supports the boom and canopy. 4) Lower the boom to its stowed position and lock any transport pin or secondary latch. 5) If removing from a cross base, block the boom so it cannot pivot while you drain/fill the base or unfasten anchors. 6) Follow brand-specific procedures (TUUCI and other premium brands require anchor checks and warn to close at >25 MPH). Do not try to lower a cantilever alone.
Next Articles
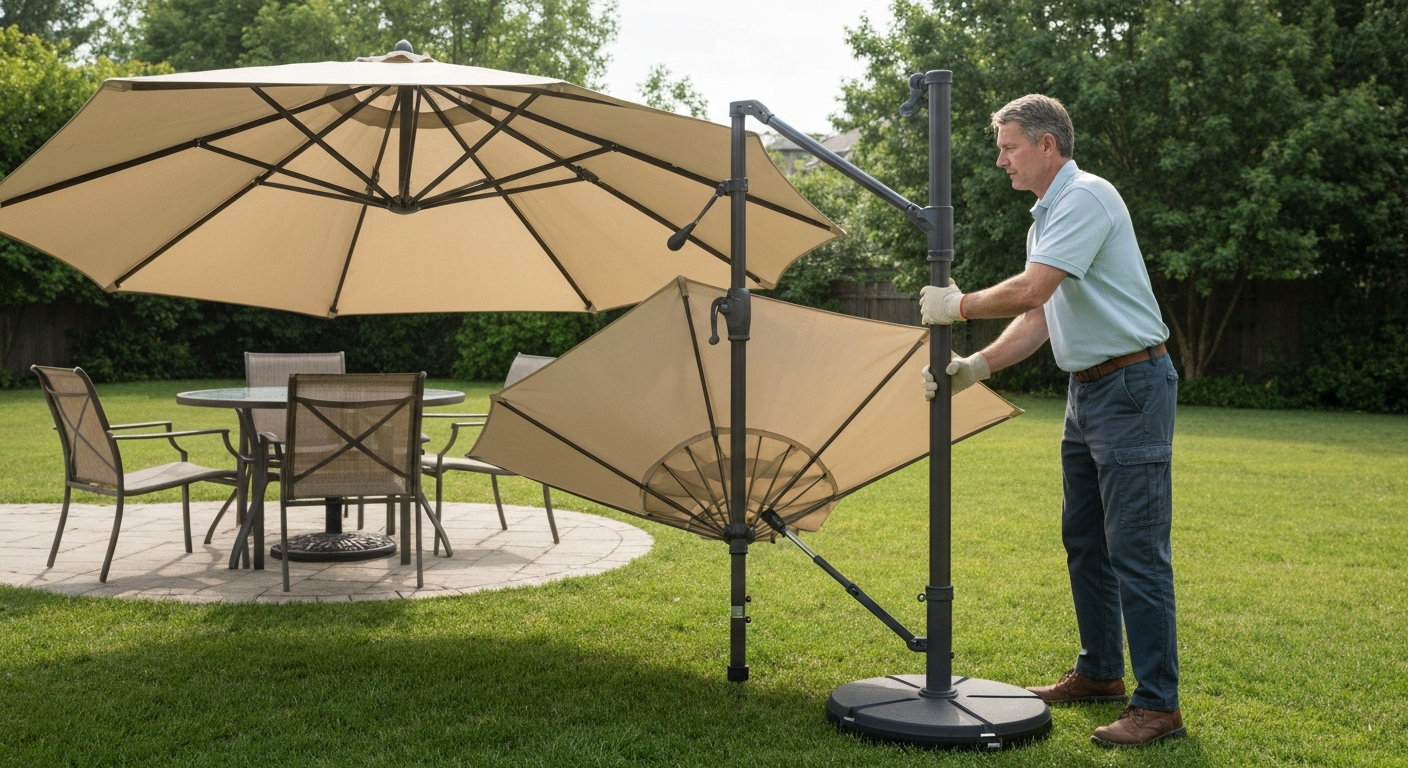
How to Take Down a Patio Umbrella: Safe Folding & Storage
Step-by-step guide to safely lower, fold, disassemble and store all patio umbrella types, plus troubleshooting tips.
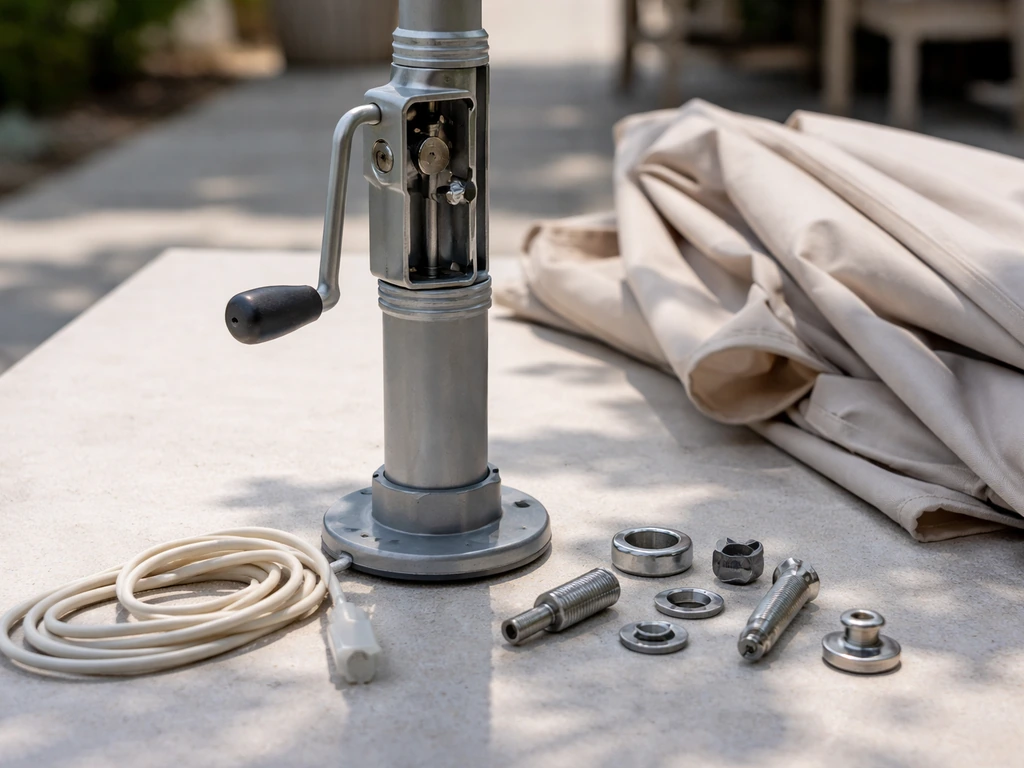
How to Take Apart a Patio Umbrella Step by Step
Step-by-step guide to safely disassemble a patio umbrella, including crank, tilt, cord troubleshooting and reassembly ti
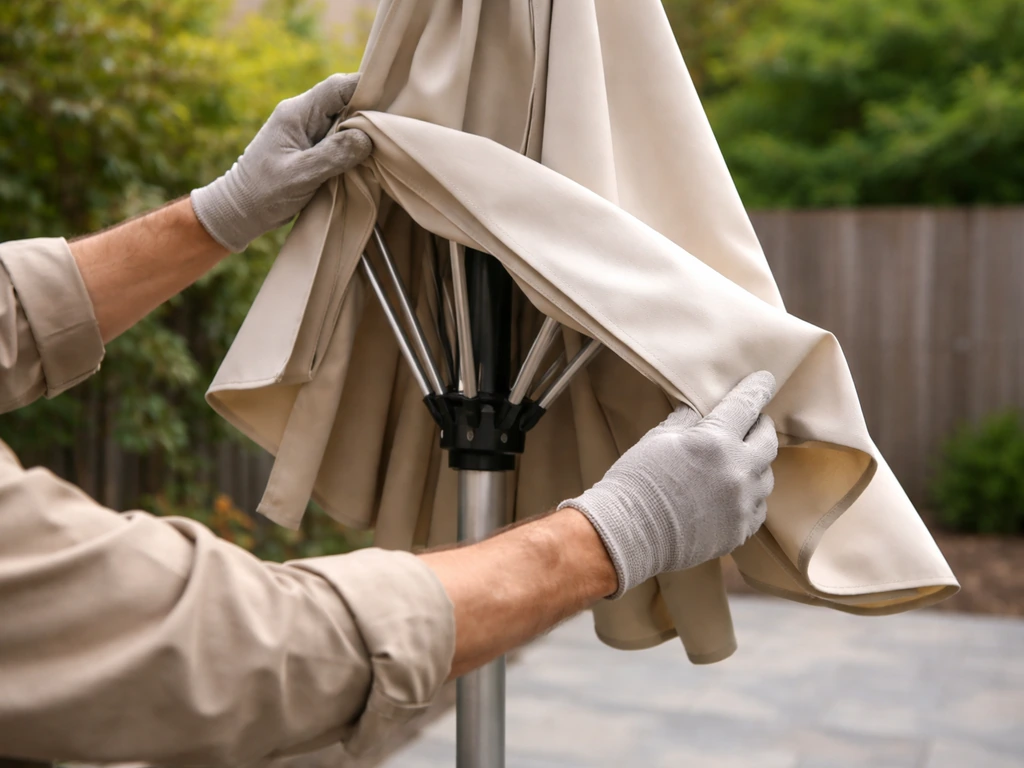
How to Remove a Patio Umbrella Canopy Safely Today
Learn how to remove a patio umbrella canopy safely: identify your type, detach ribs and tilt parts, then clean, store, r