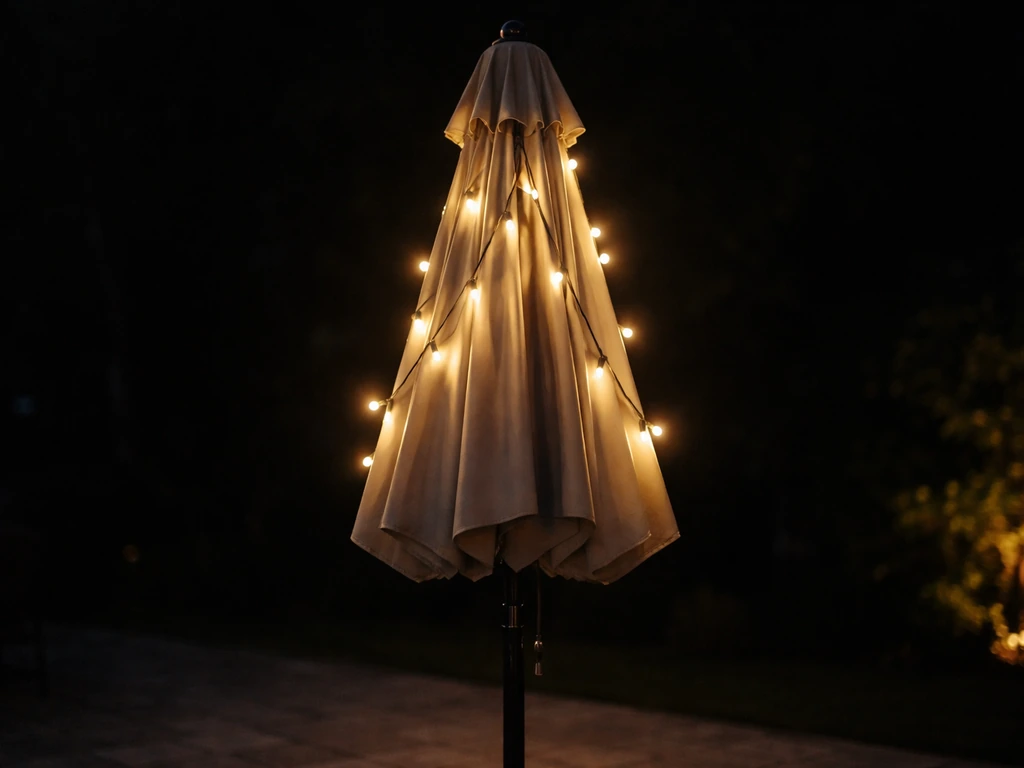
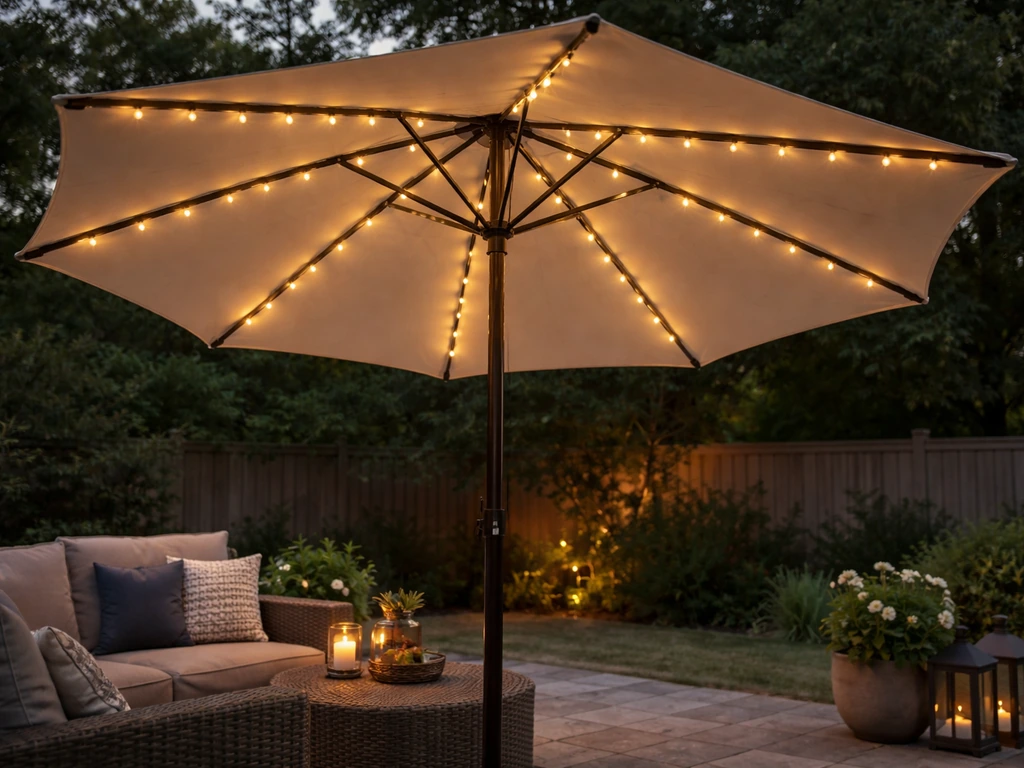
You can add lights to almost any patio umbrella using outdoor-rated string lights, dedicated umbrella light clips, or solar rib lights, attached with zip ties or spring clips every 8 to 12 inches along the ribs, with cord routed down the pole and plugged into a GFCI-protected outdoor outlet. The whole job takes about 30 to 45 minutes, costs anywhere from $15 for a basic battery clip-light to $60 for a full solar string set, and when done right the umbrella still opens, closes, and tilts without tangling a single wire.
How to Add Lights to a Patio Umbrella Step by Step

Luca Morrison
24 Jun 2026
Pick the right lights and power method first
Before you buy anything, decide how you want to power the lights. There are three realistic options for a patio umbrella: solar, battery, and plug-in (wired). Each has a real trade-off, and picking the wrong one causes most of the headaches people run into later.
| Power Method | Best For | Biggest Advantage | Biggest Drawback |
|---|---|---|---|
| Solar string lights | Umbrellas in full or partial sun | No cords to manage; charges itself | Output drops on cloudy days, in winter, or if canopy shades the panel |
| Battery-operated clip light | Any umbrella; quick setup | Totally wireless; clamps to pole in seconds | Batteries need replacing every few weeks of regular use |
| Plug-in string lights (corded) | Umbrellas near a covered patio outlet | Brightest, most consistent light | Cord must be routed and secured; needs a GFCI outlet nearby |
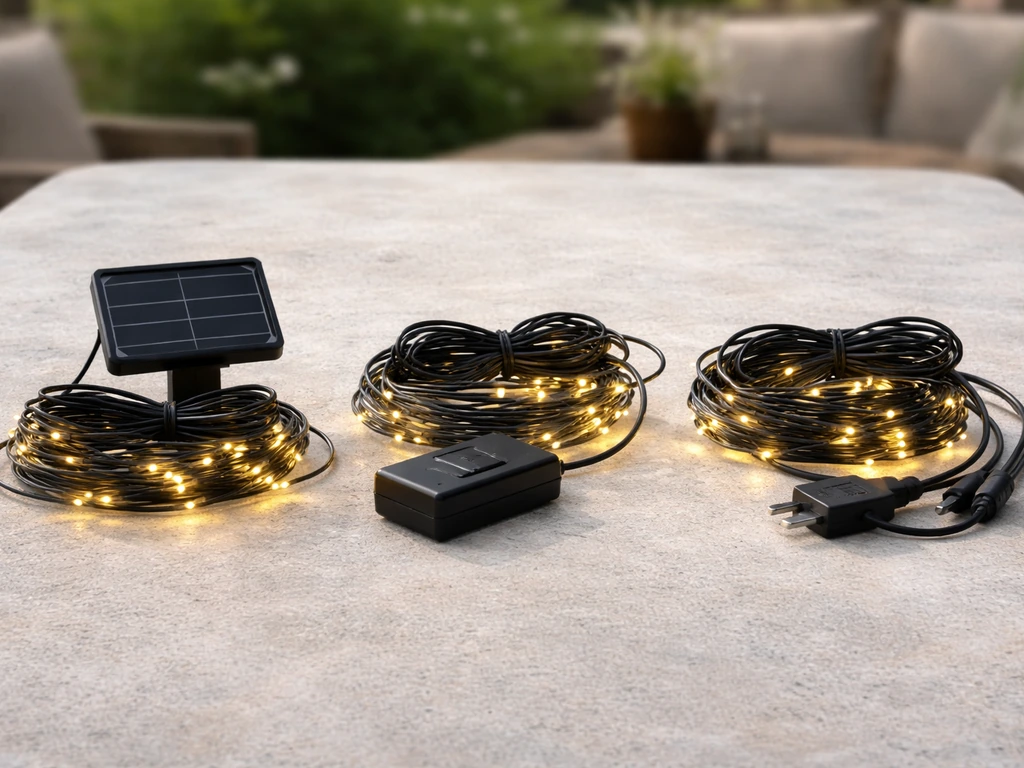
For most people, solar string lights designed for umbrella ribs are the sweet spot, no extension cords, decent brightness, and they come with the clips or ties already included. If your umbrella sits under a deep overhang or gets heavy afternoon shade, go battery or plug-in instead. Solar panels produce maximum output when sunlight hits them close to perpendicular, and a shaded or tilted panel can cut charging dramatically. If you're leaning solar, there's a deeper look at solar-specific gotchas covered in a companion guide on adding solar lights to a patio umbrella.
For light type, stick with LED string lights or fairy lights rated for outdoor use. Look for an IP44 or IP65 rating on the packaging, that means the bulbs and wire connectors are protected against rain and humidity. For wired options, the cord itself needs to be outdoor-rated: UL-listed outdoor cords include a 'W' in the type designation on the jacket, which tells you the insulation is built for moisture and UV exposure. Avoid repurposing indoor string lights from a holiday box, the wire jacketing degrades fast outdoors.
Plan placement so lights don't get caught in the moving parts
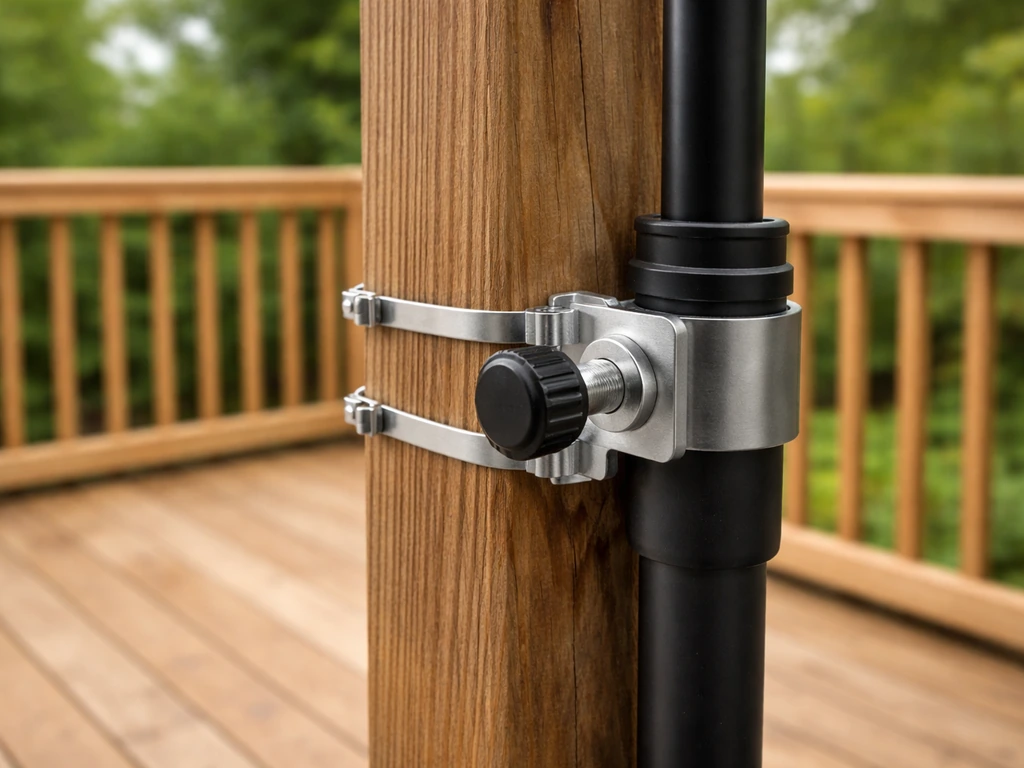
This is the step most people skip, and it's why lights end up tangled in the crank or ripped off the ribs after one season. Spend two minutes mapping out the 'no-go zones' before you attach a single light. Next, make sure the umbrella is attached to the fence in a way that stays secure and avoids pinching or damaging the cord as the umbrella opens and closes attach patio umbrella to fence.
Open your umbrella fully and look at where the ribs connect to the runner (the sliding collar that travels up and down the pole when you crank). That runner moves 6 to 12 inches of vertical travel every time you open or close the umbrella. Any cord hanging loose in that zone will eventually get pinched or wrapped around the pole. The blank" rel="noopener noreferrer">push-button tilt mechanism, usually located a couple of feet up from the base, is another catch point, a cord dangling across it will snag the button and either jam the tilt or pull the lights loose.
- Keep all attachment points on the outer two-thirds of each rib — the section closest to the canopy edge — not near the runner or hub
- Leave 3 to 4 inches of slack at the rib tip so the fabric can gather without pulling the cord tight when the umbrella closes
- Route the main cord down the pole below the tilt button, not alongside it
- For cantilever umbrellas, avoid routing cord near the pivot arm joint — it rotates and will shear a cord over time
- Mark the tilt button and crank handle positions with a piece of tape before routing so you can visually confirm clearance
How to attach lights without damaging the frame
You have four realistic attachment methods: zip ties, hook-and-loop (Velcro) straps, spring-clip umbrella lights, and purpose-built rib clips that come with solar umbrella light kits. Each works on different umbrella styles, so here's how to match them. If you also need help attaching the umbrella itself to the deck, choose the correct mount for your umbrella pole and deck material, then follow a secure installation method match them.
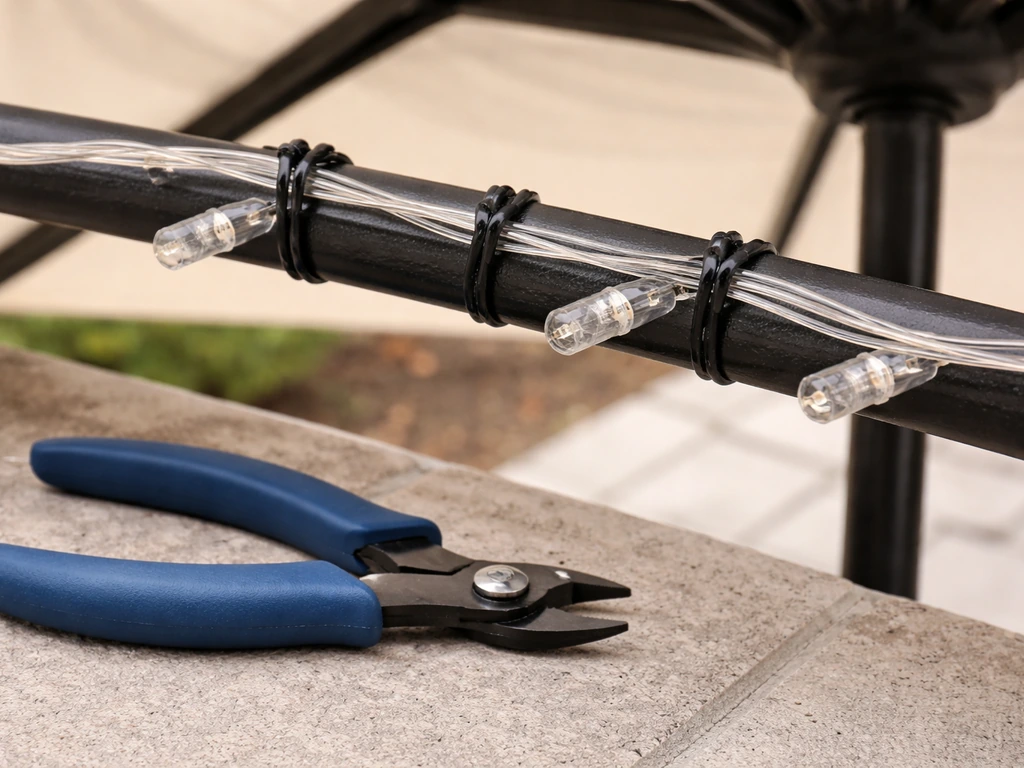
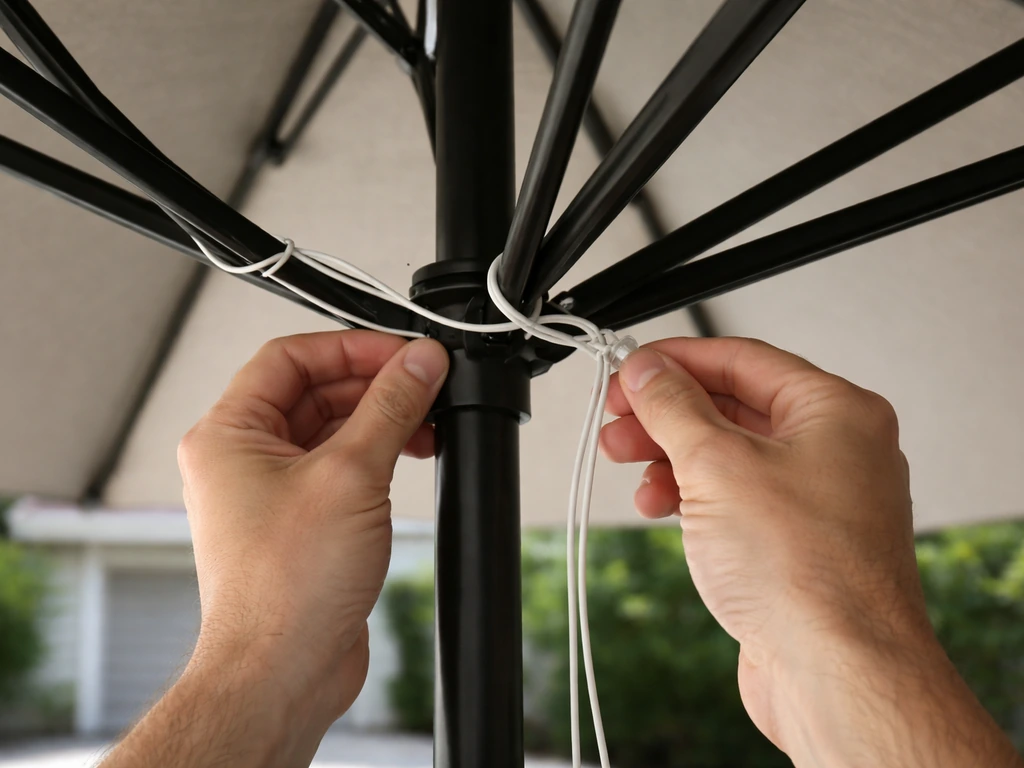
Zip ties (works on almost every umbrella)
Zip ties are the most universal method and the easiest to adjust. Use 4-inch UV-resistant zip ties, the plain white ones go brittle in sunlight within one season. Space them every 8 to 12 inches along each rib, looping around both the rib and the light cord. Snug them so the cord doesn't slide but don't overtighten to the point of denting a fiberglass rib. Trim the tails flush with flush-cut pliers so there are no sharp points catching fabric or hands. Leave a small loop of slack at each rib tip rather than pulling the cord drum-tight, that slack absorbs the movement when the umbrella closes.
Hook-and-loop straps (best for powder-coated aluminum ribs)
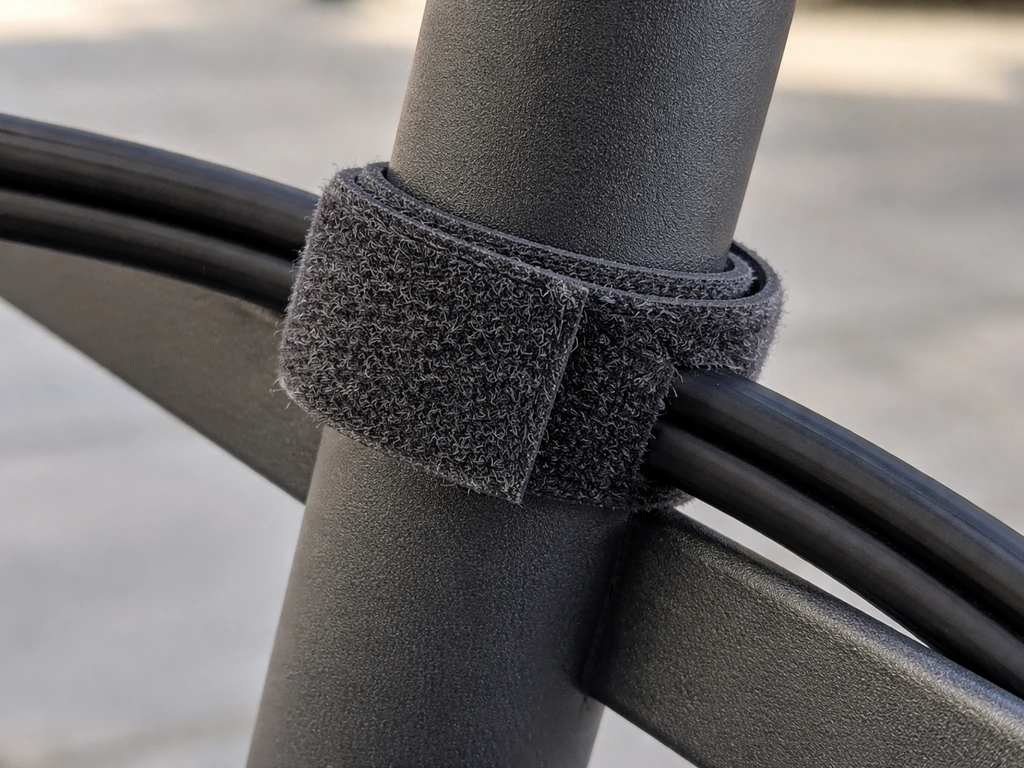
Velcro-style hook-and-loop cable ties wrap around the rib and the cord together without any risk of scratching a coated finish. They're also reusable, which makes seasonal removal much faster. The only downside is they're bulkier than zip ties and can come loose on very thin fiberglass ribs over time.
Spring-clip pole lights (center-pole umbrellas and cantilever poles)
If you want a single overhead light rather than string lights along the ribs, dedicated battery-operated umbrella lights with spring-loaded clamps are the cleanest option. Most fit pole diameters from 1 to 1.7 inches and require zero tools, you just squeeze the clamp, slide it onto the pole, and release. The Lowes Nature Spring model, for example, runs on 4 AA batteries and sits inside the canopy pointing downward. No cords to route, no zip ties. The trade-off is light spread, it covers the area directly below the umbrella but doesn't create the ambient glow that rib-mounted strings produce.
Magnetic mounts (for metal pole and runner umbrellas)
Some LED ball lighting kits designed for center-pole and cantilever umbrellas use a magnetized mount that snaps onto the metal pole or runner without any hardware at all. These work great on steel or iron poles but obviously don't stick to fiberglass or wood. Check your pole material before buying.
Route cords safely and manage slack for full open and close
Cord routing is where wired and solar setups diverge a little, but the core principle is the same: the cord has to have enough managed slack to accommodate every position the umbrella travels through, from fully closed to fully open to tilted.
Once the lights are attached to the ribs, gather the cord ends and bring them to the top of the pole just below the hub. From there, spiral-wrap the cord loosely down the pole, don't run it straight down in a taut line. A gentle spiral adds length that becomes the buffer when the ribs splay outward during opening. Secure the spiral at 12-inch intervals with the same zip ties or hook-and-loop straps. At the bottom of the pole, leave a 12 to 18-inch service loop (a loose coil of extra cord) before the cord goes off to the outlet or battery pack. That service loop is your insurance against strain when someone bumps or shifts the umbrella.
For plug-in setups, use an outdoor-rated extension cord from the pole base to the outlet, one rated for outdoor use, with a 'W' in the UL designation and a heavy-duty jacket. Run it along the edge of the patio, not across a walking path. If it has to cross any foot traffic area, use a cord cover or cable ramp. Plug it into a GFCI-protected outdoor outlet. NEC 210.8 requires GFCI protection for outdoor dwelling-unit receptacles, and it's the protection that trips the circuit before you get a shock if the cord ever gets wet or damaged. Never use an indoor outlet with an extension cord snaked through a door gap as a permanent solution.
For solar setups, position the solar panel so it faces south (in the northern hemisphere) and is as unobstructed by the canopy as possible. Many solar umbrella light kits have a small panel on a short lead that can hang over the edge of the canopy rather than sitting under it. Getting that panel into direct sun rather than canopy shade is the single biggest factor in whether your lights actually work consistently.
Step-by-step installation
What you'll need
- Outdoor-rated LED string lights or solar umbrella light kit (IP44 or higher rated)
- 4-inch UV-resistant zip ties (pack of 50 is enough for one umbrella)
- Flush-cut pliers or small wire cutters
- Outdoor-rated extension cord (if plug-in; look for 'W' in UL designation)
- GFCI outlet at destination (verify it works before starting)
- Hook-and-loop cable ties (optional, for powder-coated frames)
- Electrical tape or outdoor-rated cable clips (for pole cord routing)
- A helper (useful but not required)
Installation sequence
- Open the umbrella fully and lock it in the open position. You need the ribs fully extended to route cord at the right tension — don't try to do this with a partially open umbrella.
- Identify your no-go zones: place a small piece of masking tape at the runner collar, the tilt button, and the crank handle location on the pole. These are your reference markers.
- Start at the canopy tip of one rib. Leave a 3-inch tail of cord past the rib tip (this becomes your slack buffer when the umbrella closes), then begin attaching the cord to the rib with zip ties every 8 to 12 inches, working inward toward the hub.
- Stop attaching cord about 4 inches from where the rib meets the hub connector. Do not tie cord to the hub or the runner — those parts move independently.
- Repeat for each rib, maintaining consistent spacing so the lights hang evenly. For an 8-rib umbrella with a standard 9-foot canopy, each rib is roughly 48 to 54 inches — plan on 5 to 6 zip ties per rib.
- Gather all cord leads at the top of the pole just below the hub. Twist them together loosely and bring them down as a single bundle.
- Spiral-wrap the bundle down the pole below the tilt button, securing every 10 to 12 inches with zip ties. Confirm the tilt button is fully clear — press it to test before moving on.
- At the pole base, create a 12 to 18-inch service loop and secure it loosely with one hook-and-loop strap so it can be released easily.
- Trim all zip tie tails flush with pliers. Run your hand along every rib and down the pole to feel for any sharp points or loops that could catch on the canopy fabric.
- For plug-in: connect to your outdoor-rated extension cord, run it along the patio edge to the GFCI outlet, and test. For solar: position the panel where it gets maximum unobstructed sun. For battery: install batteries and test the on/off switch.
- Close and reopen the umbrella three full times, watching for any cord pulling tight, catching on the crank, or bunching near the runner. Adjust zip ties as needed before calling it done.
Fixing the most common problems
Lights tangling in the crank or runner

This almost always means cord was routed too close to the runner collar or wasn't spiral-wrapped down the pole. Open the umbrella fully, find where the cord is catching, cut the offending zip ties, and re-route the cord at least 2 inches clear of the runner's travel path. Add a zip tie anchor point just below the hub on the pole to keep the cord from migrating upward during operation.
Cord sagging unevenly after opening
Uneven sag between ribs means either the spacing of your zip ties is inconsistent or some ribs have more slack built in than others. Close the umbrella, find the ribs where the cord hangs lowest when open, and add one or two additional zip ties to redistribute the cord against the rib. Consistent 8-to-12-inch spacing is the fix, eyeball each rib when the umbrella is fully open and it should be obvious which sections need tightening up.
Lights flickering or going out intermittently
For plug-in lights, flickering usually points to a loose connection at the plug, a failing bulb socket, or a cord that's been pinched and is developing an internal break. Wiggle the cord near the plug first, if the flickering stops, the connection is loose. Try a different outlet to rule out a tripped GFCI.
For partial string failures where every other bulb is out, the issue is almost always a failed bulb in the series circuit, swap bulbs starting from the dead section working back toward the plug. For solar lights, flickering or dimming typically means the battery inside the solar unit is depleted from poor charging. Reposition the solar panel out from under the canopy shade and let it charge for a full sunny day before concluding the battery is dead.
Solar lights not charging or not turning on
The most common causes are shade on the panel (including shade from the umbrella canopy itself), a dirty panel surface, or a battery that's worn out. Clean the panel with a damp cloth, reposition it for maximum direct sun, and give it a full day. If it still won't charge, check whether the unit has a small on/off switch, many solar lights have one tucked near the battery compartment that gets accidentally switched off.
Cold weather can also tank battery performance, which is worth keeping in mind in shoulder seasons. There's a full breakdown of solar-specific issues in a companion guide on patio umbrella solar lights not working. If you’re dealing with patio umbrella solar lights not working, these checks can help you narrow down whether it’s charging, the switch, or a worn battery.
Power loss after rain
If plug-in lights go out after rain, check the GFCI outlet first, it may have tripped, which is exactly what it's supposed to do if moisture got into a connection. Press the reset button on the outlet. If it trips again immediately, there's moisture in a cord connection somewhere. Dry all connections thoroughly, replace any outdoor connectors that show corrosion or cracked insulation, and make sure all connection points have a weatherproof cover or at minimum are positioned so water doesn't pool on them.
Weatherproofing, safety checks, and seasonal storage
Ongoing safety checks
Do a quick visual inspection at the start of each week during the season. Look for zip ties that have cracked or yellowed (UV degradation), cord insulation that's cracking or showing the inner wire, and any spot where the cord is rubbing against a metal edge. Pay special attention to where the cord enters any plug or connector, that's called the strain relief point, and it's where cords fail first. If the jacket is cracking at the plug end, replace the cord rather than taping over it. OSHA and CPSC both flag damaged cord insulation as a shock and fire risk, and outdoor cords take more mechanical stress than indoor ones.
Always pull plugs out by the plug body, not the cord. It sounds obvious, but yanking a cord repeatedly by the wire eventually breaks the internal conductors even if the outside looks fine. If your outlet isn't GFCI-protected and you're in a house built before the mid-1970s, get an electrician to upgrade it, you can't safely run outdoor lights long-term on a non-GFCI circuit.
Securing lights in wind
Loose cord sections that haven't been properly zip-tied will whip in wind and either rip free or damage the canopy fabric by abrading it repeatedly. Before any storm, do a quick check to make sure no cord section has worked loose from its zip ties. If you're in a windy area, consider adding a wrap of self-fusing silicone tape at the pole base where the cord exits, it creates a weatherproof strain relief collar without adding bulk.
End-of-season removal and storage
Don't store the umbrella with the lights still attached and coiled under tension. That's the fastest way to destroy both the cord insulation and the umbrella fabric. At the end of the season, cut the zip ties (hook-and-loop straps can be unpeeled and reused next year), remove the lights, and coil them in large loose loops, about 12 inches in diameter, before storing. Coiling tightly or folding string lights creates stress points in the wire that show up as dead sections the following spring. Store lights indoors in a bag or box away from temperature extremes; leaving solar lights outside in freezing temperatures accelerates battery wear.
If your umbrella goes into a cover bag for winter storage, make sure all lights and cords are fully removed first. Even a small connector clip left on a rib can abrade the fabric from the inside during months of storage or in wind, and you'll end up with a tear that's much more annoying to deal with than removing the lights was in the first place.
FAQ
Can I add lights to a patio umbrella that has ribs made of fabric, not metal or fiberglass?
You can, but you usually should not zip-tie directly to fabric ribs. Use purpose-built umbrella rib clips or reroute the cord so clips fasten to the frame members only, then secure the light string so it cannot sag into fabric contact when the umbrella tilts and opens.
What’s the safest way to prevent lights from tangling when the umbrella opens and closes?
Create clearance by keeping every cord section out of the runner collar travel zone and the tilt mechanism area, then spiral-wrap the cord with slack down the pole. After installation, open and close the umbrella at least 5 full cycles while watching the cord near the hub, if it ever catches, re-route immediately before using it outside.
How much slack should I leave on the cord near the top hub and along the ribs?
Leave a small rib-tip loop rather than pulling the cord tight, and keep a dedicated service loop near the bottom of the pole (about 12 to 18 inches) for bumps and shifts. If you still see tension when the umbrella is fully closed and tilted, add more slack using longer cord spirals rather than overtightening zip ties.
Will zip ties damage the umbrella ribs over time?
They can if you overtighten or if you use the wrong type. Use UV-resistant zip ties and snug them so the cord cannot slide, avoid denting fiberglass, and trim flush so no sharp ends can snag fabric or skin during normal use.
Can I cut the string lights to fit a shorter patio umbrella?
Only if the specific light kit is designed for field trimming. Many LED string sets are not cuttable except at marked points, and cutting elsewhere breaks the series circuit. If your kit is not labeled as cuttable, use the provided end-to-end connectors or choose a kit with the right length.
What should I do if the solar lights seem dim, even after a full day in the sun?
First check that the panel is actually receiving direct sun, ideally with the panel positioned to avoid shade from the canopy. Then confirm the switch setting is on (some kits have a mode switch near the battery), and clean the panel surface. If it still underperforms, the battery may be aged, solar lights often decline noticeably after a couple of seasons of heavy use.
Can I use indoor extension cords or plug outlets since the umbrella is under an overhang?
Avoid it. Even if the umbrella is mostly sheltered, outdoor cords and connections must tolerate moisture and UV exposure. Use an outdoor-rated extension cord with a jacket marked for wet locations, and plug into a GFCI-protected outdoor outlet to reduce shock risk if water reaches the connection.
Why do plug-in patio umbrella lights flicker only sometimes?
Most intermittent flicker comes from an imperfect connection, either at the outlet plug or at an inline connector. Test by gently wiggling the cord near the plug, try a different GFCI outlet, and inspect for pinched sections along the patio edge. If flicker persists, replace the damaged cord or connector rather than using non-rated tape.
What kind of extension cord should I buy for plug-in umbrella lights?
Choose an outdoor-rated, heavy-duty cord with a wet-location designation (often indicated by a “W” on the UL jacket marking). Also route it along a non-traffic edge, use a cord cover or ramp if you must cross a walking area, and avoid leaving it tight where it could be pulled when the umbrella is moved.
How often should I inspect the lights during the season?
Do a quick weekly check, focusing on UV degradation on zip ties, cracking at the cord insulation near the plug or connectors (strain relief), and any spot where the cord rubs metal during operation. Early replacement at the damaged spot prevents the internal conductor breaks that show up later as complete failures.
Is it okay to leave the lights on the umbrella during winter storage?
No, do not store the umbrella with lights still attached and coiled under tension. Remove the lights and any connectors first, then store lights in loose, large-diameter loops so they are not folded tightly. If solar lights are left outdoors in freezing temps, battery wear accelerates.
How do I clean and maintain the lights without reducing their lifespan?
For most outdoor LED sets, wipe the solar panel or light surface with a damp cloth, avoid abrasive scrubbing, and let everything dry fully before recharging or plugging in. If you see corrosion at connectors or damaged insulation, replace the affected connector or cord section rather than continuing to use it.
Next Articles
How to Attach a Patio Umbrella to a Deck Post
Step-by-step ways to attach a patio umbrella to a deck post with clamps, mounts, and stability tips plus troubleshooting
How to Add Solar Lights to a Patio Umbrella
Step-by-step guide to install solar lights on a patio umbrella, including mounting, wiring, wind-safe securing, and trou

How to Fix a Patio Umbrella That Won't Open or Close
Step-by-step fixes for patio umbrellas that won’t open or close, with checks for jams, cords, latches, and lubricating t