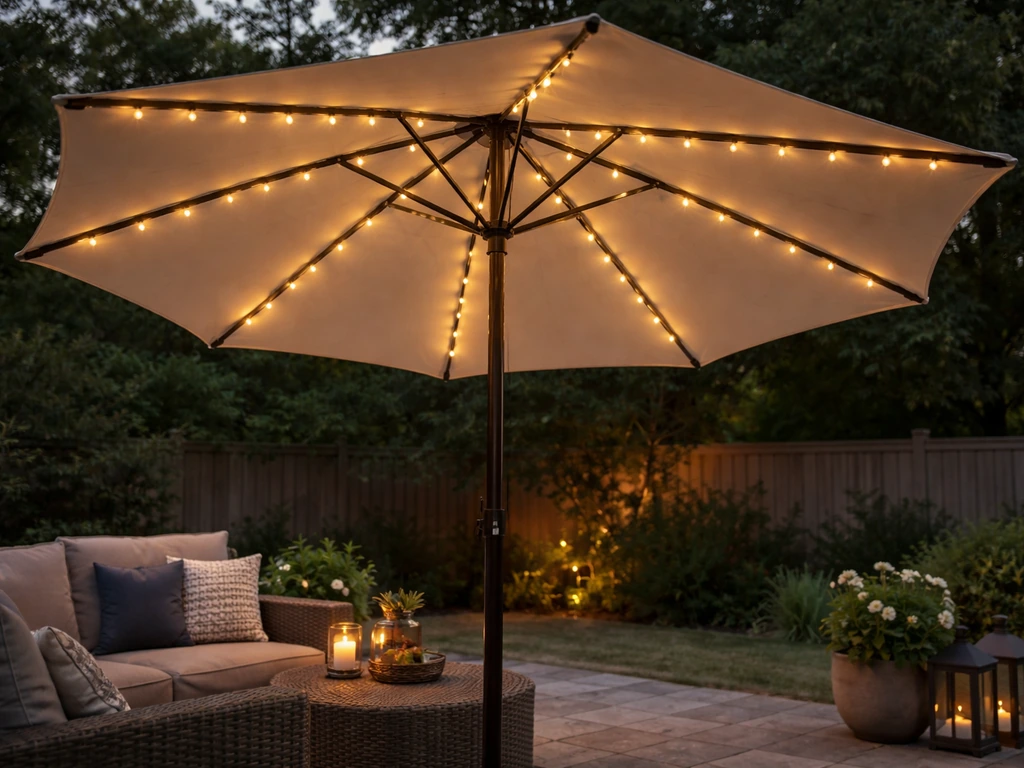
Adding solar lights to a patio umbrella is a straightforward weekend project. You clip or strap the lights onto the ribs or pole of your umbrella, route the solar panel so it faces the sky without being covered by fabric, and secure the wiring so nothing snags when you open, close, or tilt the umbrella. Done right, the whole thing takes under an hour and you'll have reliable evening light without running a single extension cord.
How to Add Solar Lights to a Patio Umbrella

Luca Morrison
6 May 2026
Choosing the right solar light type for your patio umbrella
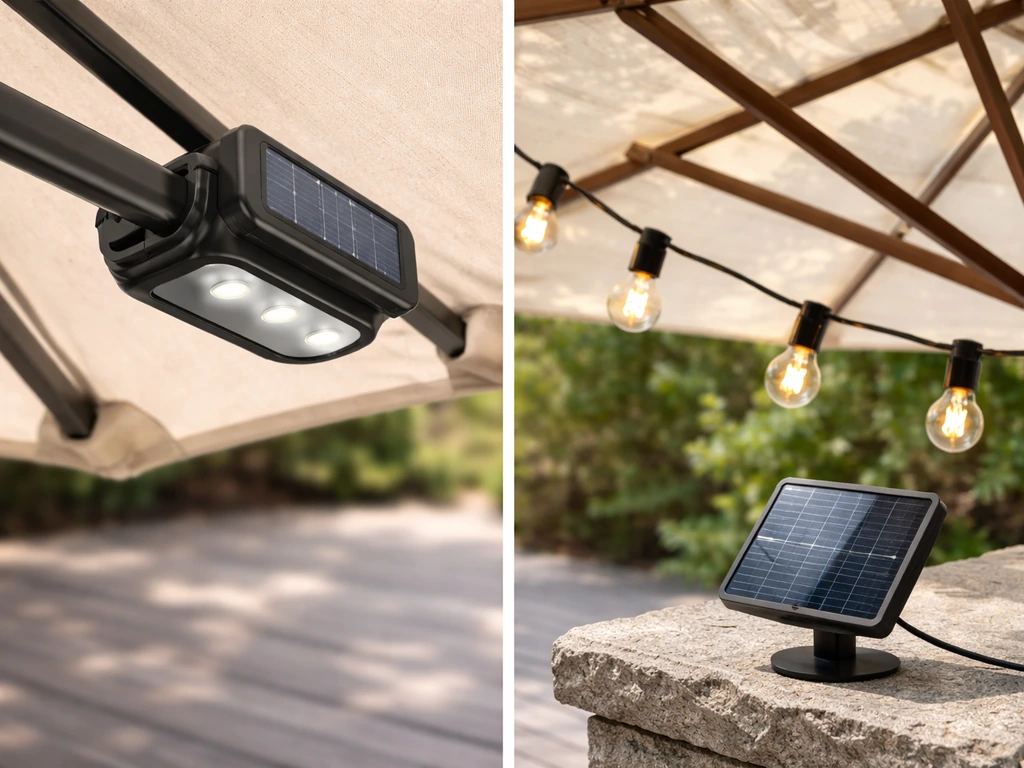
Not every solar light works well on an umbrella, so picking the right style upfront saves you a lot of frustration later. The two most popular options for umbrellas are rib-mount clip-on lights and string lights with an attached solar panel. Each has a real use case, and the best pick depends on how your umbrella is built and how much light you actually want.
| Light Type | How It Mounts | Best For | Main Gotcha |
|---|---|---|---|
| Rib-mount clip-on (e.g., HELESIN HE-11) | Auto-adjustable clamp clips directly onto umbrella ribs or pole, no tools or drilling needed | Umbrellas with standard round ribs; easy install and removal for storage | Clamp must fit your rib diameter; overtightening can dent or crack the rib |
| Solar string lights | Wrap or clip strands along ribs; solar panel hangs or clips near the outer edge | Decorative, warm ambiance; great for market-style umbrellas | Wires need careful routing so they don't catch when closing |
| Built-in solar umbrella (factory-integrated) | Panel and LEDs are integrated into the umbrella structure at the factory | Best performance and cleanest look | Only an option when buying a new umbrella; not a retrofit |
For most people retrofitting an existing umbrella, a rib-mount clip-on light set is the cleanest option. Products like the HELESIN HE-11 are specifically designed to clamp onto umbrella ribs without any drilling, and the solar panel is built into the unit so exposure management is simple. String lights work well too, especially if you want that warm, festive look, but they take more time to route cleanly and need an external solar panel secured somewhere it can actually see the sky.
One thing to check before you buy: look at the rib diameter on your umbrella (the thin arms that support the fabric). Most clip-on lights are designed for a range of rib sizes, but some market-style or heavy-duty commercial umbrellas have unusually thick or flat ribs that won't fit standard clamps. Measure before you order.
Planning placement without blocking open/close or tilting
This is the step most people skip, and it's where things go wrong. If you just clip lights wherever they fit and zip-tie wires wherever they reach, you'll end up with snapped wires, lights that fly off, or a mechanism that won't close fully. Spend five minutes thinking through placement before you touch anything.
The core rule: nothing mounted to the ribs should extend past the outer edge of the canopy when the umbrella is closed. When you fold the umbrella, the ribs collapse inward and stack tightly. Any light or wire that sticks out wider than the folded canopy will get crushed, pinched, or knocked off. Open and close your umbrella once before installing anything, and watch exactly how the ribs move and where they end up when fully closed.
- Mount clip-on lights in the middle third of each rib, not at the very tip or right at the hub, so they have clearance when folded
- If your umbrella tilts, manually tilt it to its full range and watch whether any planned mounting spot would press against the pole or canopy edge
- For string lights, plan your wire route along the top surface of the ribs so the wire lies flat and doesn't dangle into the closing path
- The solar panel must sit outside the umbrella canopy and face upward or angled toward the sun. Placing it under the fabric means zero charging, period
- On pole-mount clip lights with an integrated panel, position the unit so the panel faces the sky, not toward the fabric or downward
If your umbrella has a tilt mechanism, pay special attention to how the hub area and upper pole shift when you tilt. Wires routed along the pole need enough slack to accommodate that movement without pulling tight. A wire that's just barely long enough when the umbrella is straight will yank itself loose the first time you tilt for afternoon shade.
Tools and materials you'll need
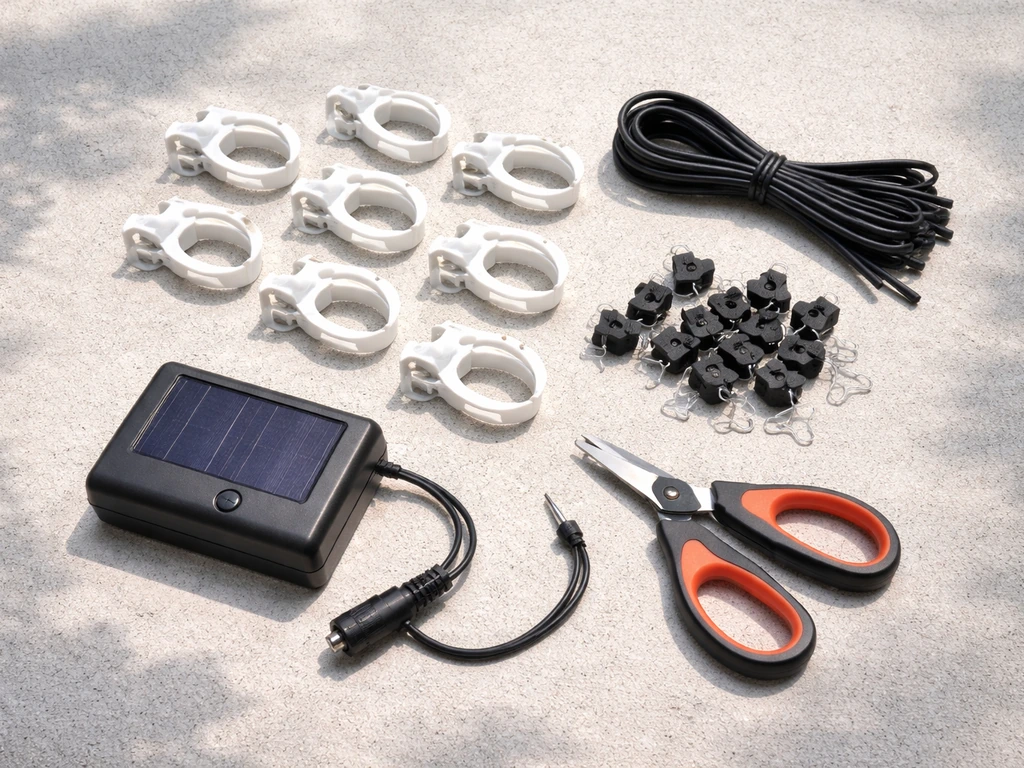
You probably have most of this already. The list is short because the best solar umbrella lights are designed to install without drilling or wiring work.
- Solar umbrella lights (rib-mount clip style or string lights with solar panel, rated for outdoor/weather exposure)
- UV-resistant zip ties or outdoor-rated hook-and-loop straps for securing wire runs
- Outdoor-rated electrical tape or self-fusing silicone tape if you need to protect any connection points
- A soft dry cloth for cleaning rib surfaces before mounting (helps clamps grip)
- A tape measure to verify rib diameter and placement spacing
- A stepladder if your umbrella is taller than you can comfortably reach
- Optional: small cable clips or adhesive wire guides rated for outdoor use, if routing wires along the pole
You do not need a drill, wire strippers, or any electrical knowledge for a standard clip-on solar light install. If a product you're looking at requires hardwiring or drilling into the pole, that's a more advanced project, and honestly, most clip-on solar sets are reliable enough that you don't need to go that route.
Step-by-step: attaching solar lights to the umbrella frame
These steps work for clip-on rib-mount lights, which is what most people are installing. If you're doing string lights, the same logic applies but step 3 will involve wrapping the strand along each rib instead of attaching individual units.
- Fully open your umbrella and lock it in position. You need the ribs extended flat to mount lights accurately. Do not try to install on a partially open umbrella.
- Wipe down each rib with a dry cloth where you plan to clamp. Dust, pollen, and grime reduce grip and let clamps shift over time.
- Open the clamp on your light unit. Most auto-adjustable clamps have a screw collar or a squeeze mechanism. Position it on the rib at your planned spot (middle third of the rib is usually ideal) and close the clamp until it holds firmly. For units like the HELESIN HE-11, finger-tight plus a quarter turn is enough. Do not overtighten. Overtightening can crack the clamp housing, dent the rib, or warp aluminum poles.
- Orient the solar panel face-up or at an angle toward the sky. If the light unit has an integrated panel, rotate the housing until the panel is pointing upward and not obscured by the canopy fabric.
- Repeat for each rib or at your planned mounting points. Most kits include enough lights for four to eight ribs. Space them evenly for balanced light coverage.
- For any external wiring connecting multiple lights or leading to a separate solar panel, lay the wire along the top surface of the rib and secure it every six to eight inches with a UV-resistant zip tie. Leave a small loop of slack at the hub end so the wire doesn't pull when the ribs flex.
- If routing a wire down the pole to a separate panel or battery pack, tape or clip it loosely along the pole with enough slack at the tilt joint to accommodate full tilt range.
- Close the umbrella slowly and watch for any wire catching, clamps shifting, or lights pressing against other ribs. If anything binds, adjust before calling it done.
- Reopen the umbrella and do a final check that all panels are facing the sky and all clamps are still properly positioned.
Securing wiring and weather-proofing for reliable outdoor use
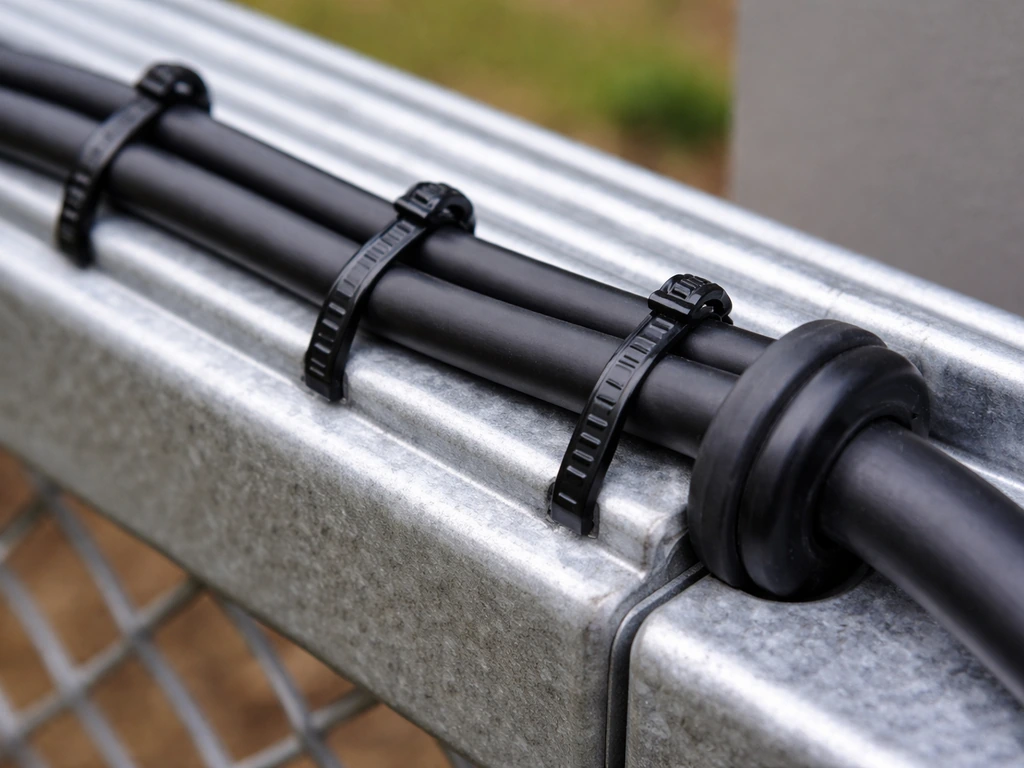
Wiring is the part that fails first on most outdoor light setups, not because the lights themselves are bad, but because the wires get wet, get abraded, or get snagged repeatedly until something breaks. A few minutes of proper securing when you install will save you real headaches later.
Use UV-resistant zip ties rather than standard ones. Standard zip ties become brittle and snap within a season when exposed to sunlight. UV-resistant (usually black) ones last several years under the same conditions. Trim the tails flush after cinching so there are no sharp ends poking out to scratch the canopy fabric.
Any connection point where a plug meets a socket is a potential water entry point. If your setup has an external solar panel that plugs into a battery pack or controller, push the connector fully seated and then wrap the joint with self-fusing silicone tape. Superglue Corporation describes E-Z Fuse Tape as waterproof and weather-resistant, sealing weatherproof electrical connections with a permanent bond. This tape sticks to itself, creates a waterproof seal, and peels off cleanly when you need to disconnect it for storage. Regular electrical tape works in a pinch but tends to peel and leave adhesive residue after a season outdoors.
Keep the solar panel surface clean. For Clas Ohlson string lights, ensure the solar cell switch is in the correct position during operation and charging, and blank" rel="noopener noreferrer">clean the panel with a soft, damp cloth to help maintain charging and performance. Dirt, tree sap, pollen, and bird droppings all reduce how much light hits the panel and cut into your charging efficiency. A quick wipe with a soft dry cloth every couple of weeks during the season is all it takes. Avoid abrasive pads or harsh cleaners that can scratch the panel surface.
If you live somewhere that gets strong afternoon thunderstorms regularly, consider whether your wire routes have any low spots where water can pool and wick into a connection. Route wires so they angle downward toward the outer edge of the rib rather than forming a U-shape that collects water.
Charging, testing, and fixing common problems
Before you declare the install done, do a full charge cycle. Several manufacturers, including those behind the Lowes PU87L umbrella system, specifically recommend fully charging the solar panel before first use. Set your umbrella up in its normal outdoor position on a sunny day, leave the lights switched off, and let the panel charge for a full day. That evening, switch the lights on and verify they work. If your patio umbrella solar lights still aren’t working after charging, focus next on the panel placement, battery condition, and connection points patio umbrella solar lights not working. If you have a charge indicator (red for charging, green for fully charged is the common convention), check it midday to confirm the panel is actually receiving power.
A key thing people miss: keep the light switch in the OFF position during the day. Some solar light controllers will not charge the battery properly if the lights are switched on during daylight hours. Switch off during the day, switch on at dusk, and the system works as designed.
When the lights don't come on or die too quickly
- Check solar panel position first. Is the panel actually in direct sun for most of the day, or is it shaded by the canopy, a nearby tree, or a building overhang? Even partial shading significantly reduces charging.
- Clean the solar panel surface. Dirty panels are one of the most common causes of poor charging performance. Wipe with a soft dry cloth and try another full charge day.
- Check the battery connection. Open the battery compartment (if accessible) and look for corrosion on the contacts or a battery that isn't fully seated. Clean contacts with a dry cloth and reseat the battery firmly.
- Verify the plug/socket connection on any external panel. Press it firmly until it clicks or seats fully. A half-connected plug is a frequent culprit on string-light style setups.
- Check whether the daytime switch position is correct. The switch should be OFF during charging hours.
- If the lights still don't hold a charge after a full sunny day with the panel properly positioned, the rechargeable battery may be worn out. Many solar light battery packs use standard AA or AAA NiMH batteries that can be replaced inexpensively.
If you're working through a non-charging issue and want a deeper dive into diagnostics, the troubleshooting approaches covered for solar umbrella lights generally follow the same sequence regardless of brand: panel, connection, battery, switch state. Getting any of those wrong is almost always the problem before you start suspecting a defective unit.
Seasonal care, storage, and wind-safety tips
Solar umbrella lights need a little attention at the start and end of each season to stay reliable. The most important thing at season's end: remove the batteries from any removable battery pack before storing the umbrella for the winter. Leaving batteries in a solar light through a cold, damp storage season is a reliable way to end up with corroded contacts and a dead battery pack come spring. This is specifically called out in several manufacturer manuals for a reason.
When you're closing up for the season, unclip the light units from the ribs if possible and store them indoors. Most clip-on lights are not designed to sit through hard freezes, and the clamp materials can become brittle in extreme cold. Storing them inside extends the life of the clamps and the battery significantly.
Protecting lights in wind
Wind is the other big threat to umbrella-mounted lights. If your umbrella catches a strong gust while open, the ribs flex and vibrate, and anything mounted to them gets shaken hard. A few things help here. First, make sure every clamp is snug but not overtightened, and check clamp tightness once a month during the season since vibration can loosen them gradually. Second, if you know a windstorm is coming, close the umbrella. Lights clipped to closed ribs are protected. Open ribs in high wind can flex enough to pop a light unit off and send it across the yard.
If you're in an area with frequent afternoon wind, it's worth thinking about how your umbrella is anchored as a whole. A light that's mounted perfectly won't survive if the umbrella itself tips over. Make sure the base is properly weighted or the umbrella is secured to your table or deck before worrying about the lights. Before you worry about mounting the umbrella lights, make sure the umbrella itself is secured, which is a different but related step to how to attach patio umbrella to fence. To keep patio umbrella lights from getting knocked around, make sure your umbrella base is properly weighted or secured to your deck how to attach patio umbrella to deck.
Spring startup checklist
- Reinstall batteries (or replace them if they're more than two seasons old)
- Clean the solar panel surface with a dry cloth before the first charge
- Inspect all clamps for cracks or deformation from storage
- Check all zip ties and wire routing before reopening the umbrella
- Do a full charge day and evening function test before relying on the lights for guests
Solar lights are one of the lowest-effort upgrades you can make to an existing patio umbrella, and if you install them thoughtfully the first time, they'll last several seasons with minimal fuss. The main things that kill them early are poor panel placement, skipped battery maintenance, and wires that get pinched every time the umbrella closes. Nail those three things and you're set.
FAQ
Can I put solar lights on the umbrella fabric instead of the ribs?
It is usually a bad idea. Most units are meant to be clamped to moving structure (ribs or the pole), fabric flex can fatigue the mounts, and the panel can end up facing the wrong way when the umbrella tilts. If you want to illuminate the shade area, mount the lights to the ribs but aim the light downward, and keep wires routed so they never get pinched when closed.
What if my umbrella rib is an odd shape, like flat or very thick?
Measure the rib thickness and the rib-to-rib spacing, then compare to the light set’s stated clamp range. Some commercial umbrellas have ribs that are too flat for “round” clamps, or too thick for the latch to fully close. In that case, choose a string-light style with an external solar panel, or look for a set that explicitly supports your rib dimensions.
How do I prevent the wires from twisting or twisting the light when I open the umbrella?
Use a routing path that follows the same travel direction each time, and leave a deliberate slack loop near the tilt hub or upper pole. After install, open and close the umbrella several times while watching for wire torsion, then retighten any zip ties so they do not allow the wire to rotate freely.
Do I need to waterproof the solar light connections if the lights are “outdoor rated”?
Outdoor rating helps, but it does not guarantee resistance at the plug connection points. For any detachable solar panel or battery controller plug, fully seat the connector and seal the joint with self-fusing silicone tape. This reduces water entry during morning dew and rain exposure, which is a common failure trigger.
Should I use UV-resistant zip ties on the battery pack wires too?
Yes, especially if any tie will be exposed along the ribs or pole. Standard ties can crack from UV and sunlight heat, which then lets wires sag and snag during opening or closing. Use UV-resistant ties for any part that will sit outdoors year-round, and trim tails flush to avoid canopy abrasion.
My lights charge in the daytime but are dim at night, what should I check first?
Start with panel exposure and battery health. Even if the panel charges, dirty surfaces or partial shading (umbrella fabric overlaps, or the panel is not fully facing sky) can reduce stored power. Next check the battery pack condition, and confirm the switch is set to OFF during daylight so the controller has a full charging window.
Can I leave the lights installed through the winter?
For many clip-on sets, leaving them on through hard freezes can shorten clamp life. A safer approach is removing the light units and, if there is a removable battery pack, taking the batteries indoors for winter storage. If your area has only light cold, still inspect clamps and connections at the start of the season for brittleness or looseness.
What is the right way to store removable battery packs and batteries?
Remove batteries before long storage in cold, damp conditions, store them indoors at moderate temperatures, and keep the pack contacts dry and clean. Corroded contacts are often the reason a battery pack seems “dead” next spring, even if the solar panel placement was correct.
How can I tell if the solar panel is actually receiving enough sun?
If your kit has a charge indicator, check it around midday after a clear day, not just at dusk. If there is no indicator, observe whether the lights brighten over several evenings after an initial full day charge. If performance does not improve, reposition the panel so it has a clear line to the sky when the umbrella is in its normal use position.
Can I use these lights on a tilt umbrella with a wind gust problem?
Yes, but you need to manage both wire slack and clamp security. Route wires with extra slack for tilt movement and avoid low wire loops that collect water. For wind, make sure the umbrella base is properly weighted or secured, then tighten (not overtighten) clamps and recheck monthly, since vibration can loosen mounts over time.
Next Articles

How to Fix a Patio Umbrella That Won't Open or Close
Step-by-step fixes for patio umbrellas that won’t open or close, with checks for jams, cords, latches, and lubricating t
How Does a Patio Umbrella Work? Components, Use, and Fixes
Learn how patio umbrellas work: components, open close tilt, stability, and step by step troubleshooting common mechanic
Patio Umbrella Crank Not Working: DIY Fix Guide
Fix a patio umbrella crank that won’t work with safe step-by-step jam, gear, and base troubleshooting and repair tips.